> ## Documentation Index
> Fetch the complete documentation index at: https://docs.pipeshub.com/llms.txt
> Use this file to discover all available pages before exploring further.
# Gmail Toolset
> Email management integration for AI agents
Gmail Toolset
Email management and communication
Documentation in Progress
Google Workspace
## Overview
The Gmail toolset enables AI agents to send, read, and manage emails in Gmail.
### Key Capabilities
* Send and reply to emails
* Create draft emails
* Search and read messages
* Access email attachments
* View user profile information
***
## Available Tools
| Tool | What it does |
| ----------------------- | ------------------------------------------------ |
| `send_email` | Send an email with subject, body, and recipients |
| `reply` | Reply to an email message |
| `draft_email` | Create a draft email |
| `search_emails` | Search emails using Gmail search syntax |
| `get_email_details` | Get details of a specific email |
| `get_email_attachments` | Get attachments for a specific email |
| `get_user_profile` | Get the authenticated user's Gmail profile |
***
## Setup
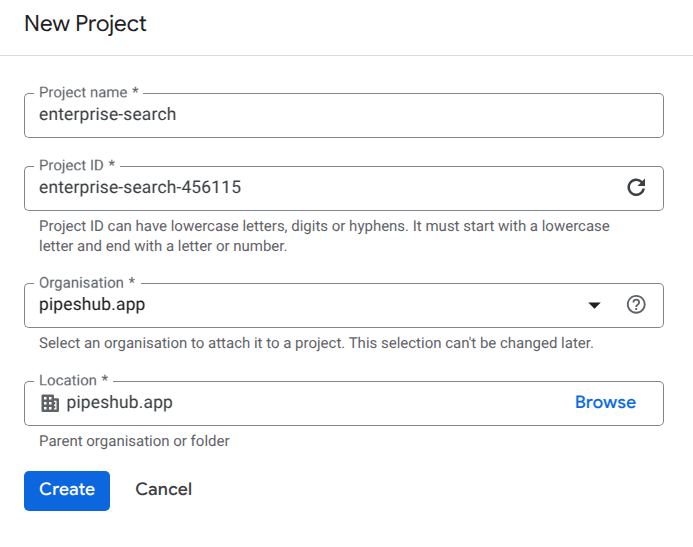
### Step 1: Create Google Cloud Project
1. Go to [Google Cloud Console](https://console.cloud.google.com/)
2. Click the project dropdown and select **"New Project"**
3. Enter a project name
4. Click **"Create"**
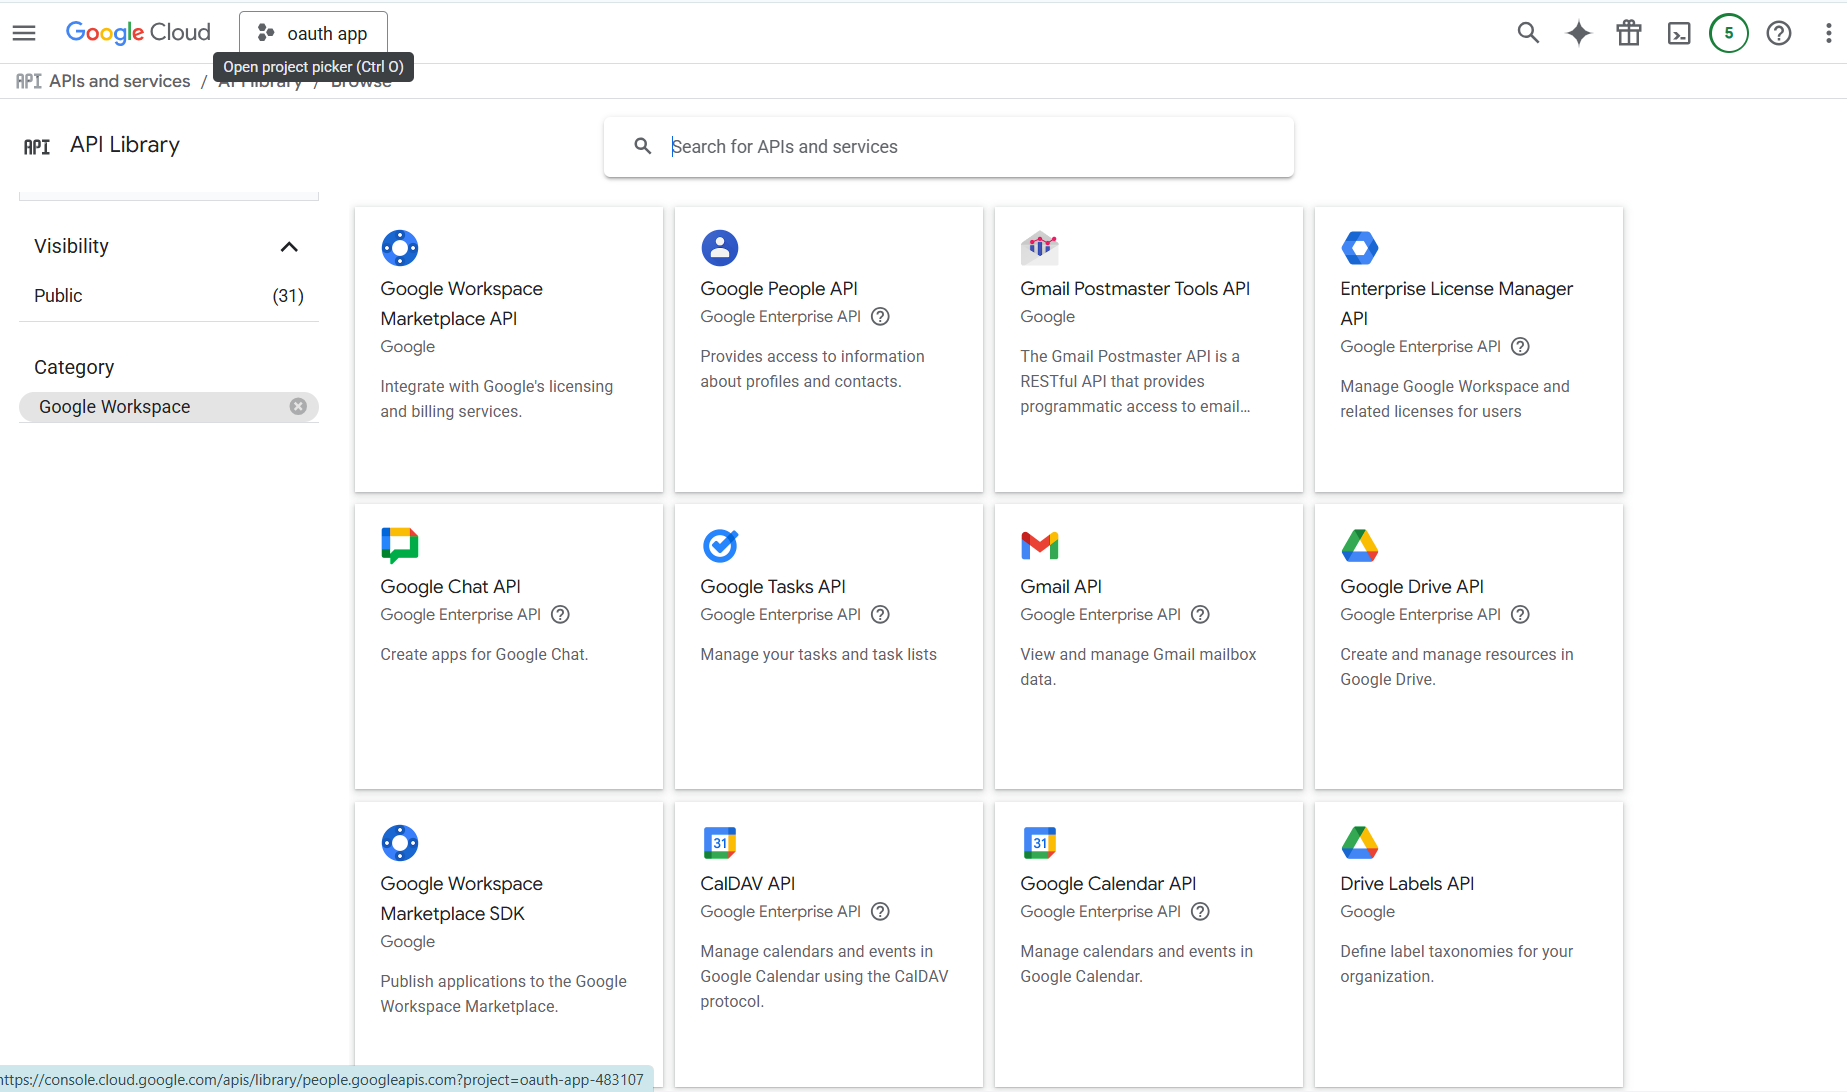
### Step 2: Enable Gmail API
1. Navigate to **APIs & Services > Library**
2. Search for **"Gmail API"**
3. Click on it and click **"Enable"**
### Step 3: Configure OAuth Consent Screen
1. Navigate to **APIs & Services > OAuth consent screen**
2. Choose **External** user type (or **Internal** for Workspace accounts)
3. Fill in app information:
* **App name**: e.g., "PipesHub Gmail Toolset"
* **User support email**: Your email
* **Developer contact email**: Your email
4. Click **"Save and Continue"**
### Step 4: Add Required Scopes
1. On the **Scopes** page, click **"Add or Remove Scopes"**
2. Search and add these Gmail API scopes:
**Required Scopes:**
* `https://www.googleapis.com/auth/gmail.send` - Send emails
* `https://www.googleapis.com/auth/gmail.readonly` - Read emails
* `https://www.googleapis.com/auth/gmail.modify` - Modify labels and metadata
3. Click **"Update"** and **"Save and Continue"**
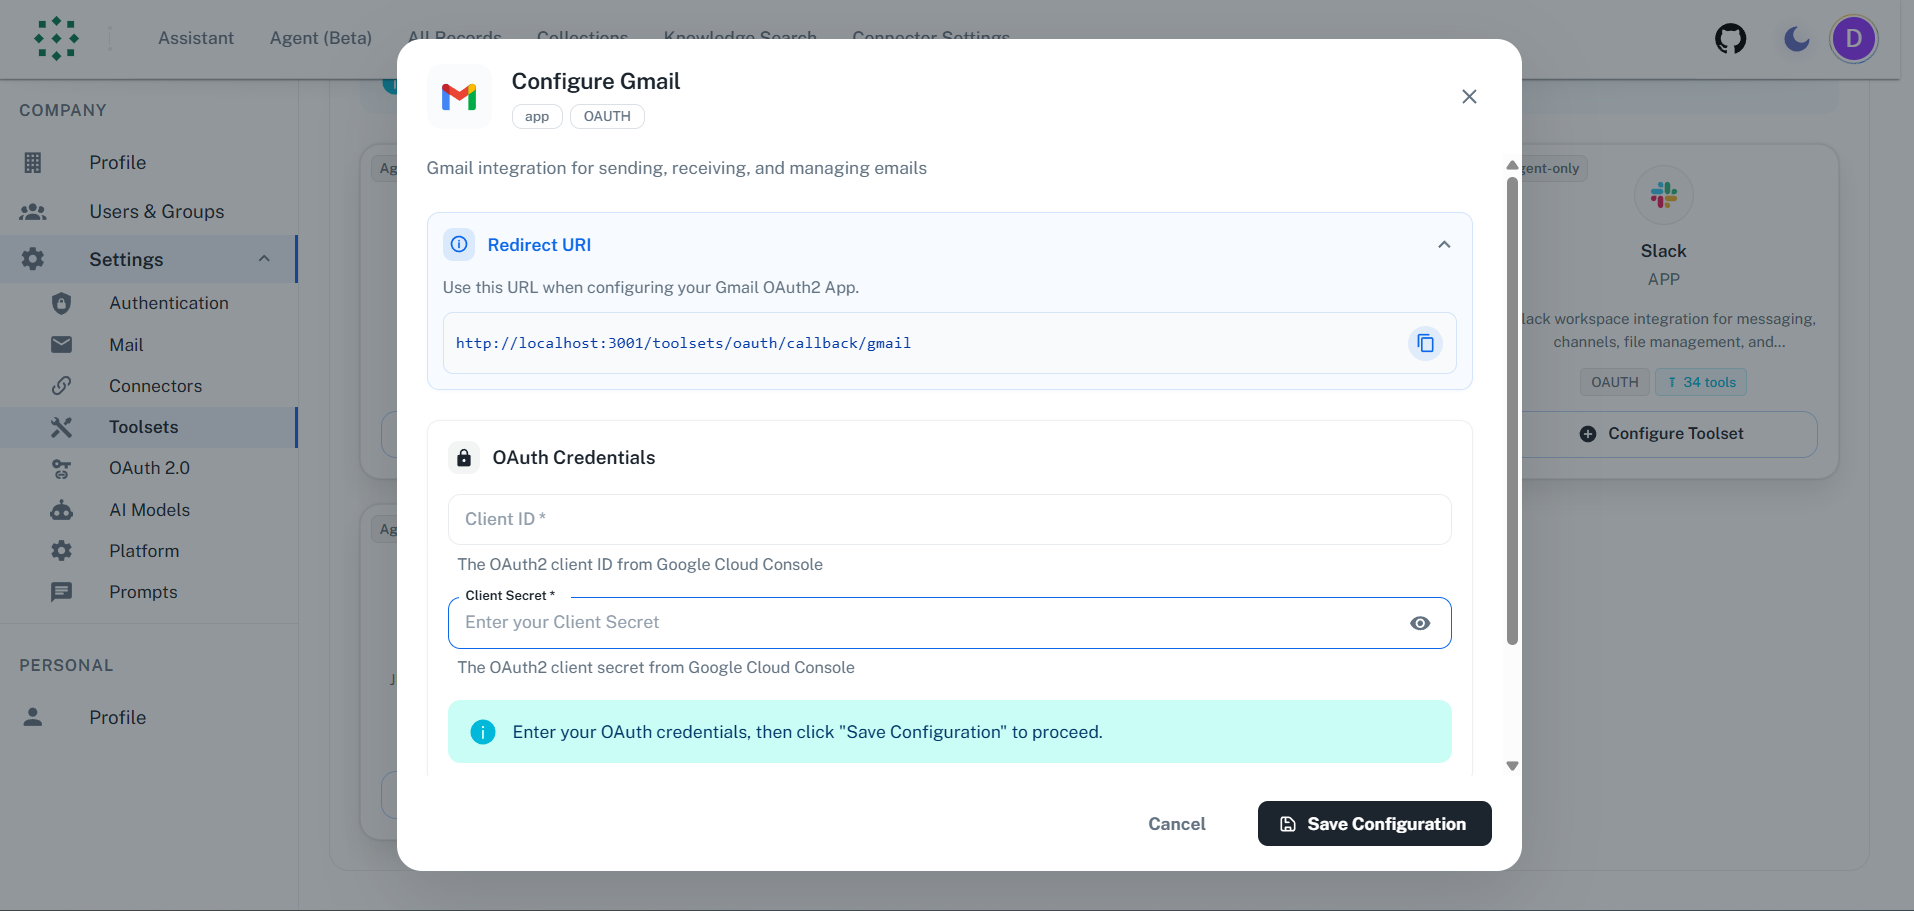
### Step 5: Get Redirect URI from PipesHub
1. In PipesHub, go to **Settings > Toolsets**
2. Find **Gmail** and click **"Configure"**
3. Copy the **Redirect URI** shown in the dialog
### Step 6: Create OAuth Client ID
1. Navigate to **APIs & Services > Credentials**
2. Click **"Create Credentials"** > **"OAuth client ID"**
3. Select **"Web application"**
4. Enter a name (e.g., "PipesHub Gmail")
5. Under **"Authorized redirect URIs"**, click **"Add URI"**
6. Paste the **Redirect URI** from PipesHub
7. Click **"Create"**
The redirect URI must match exactly. Any mismatch will cause authentication to fail.
8. Copy the **Client ID** and **Client Secret** from the popup
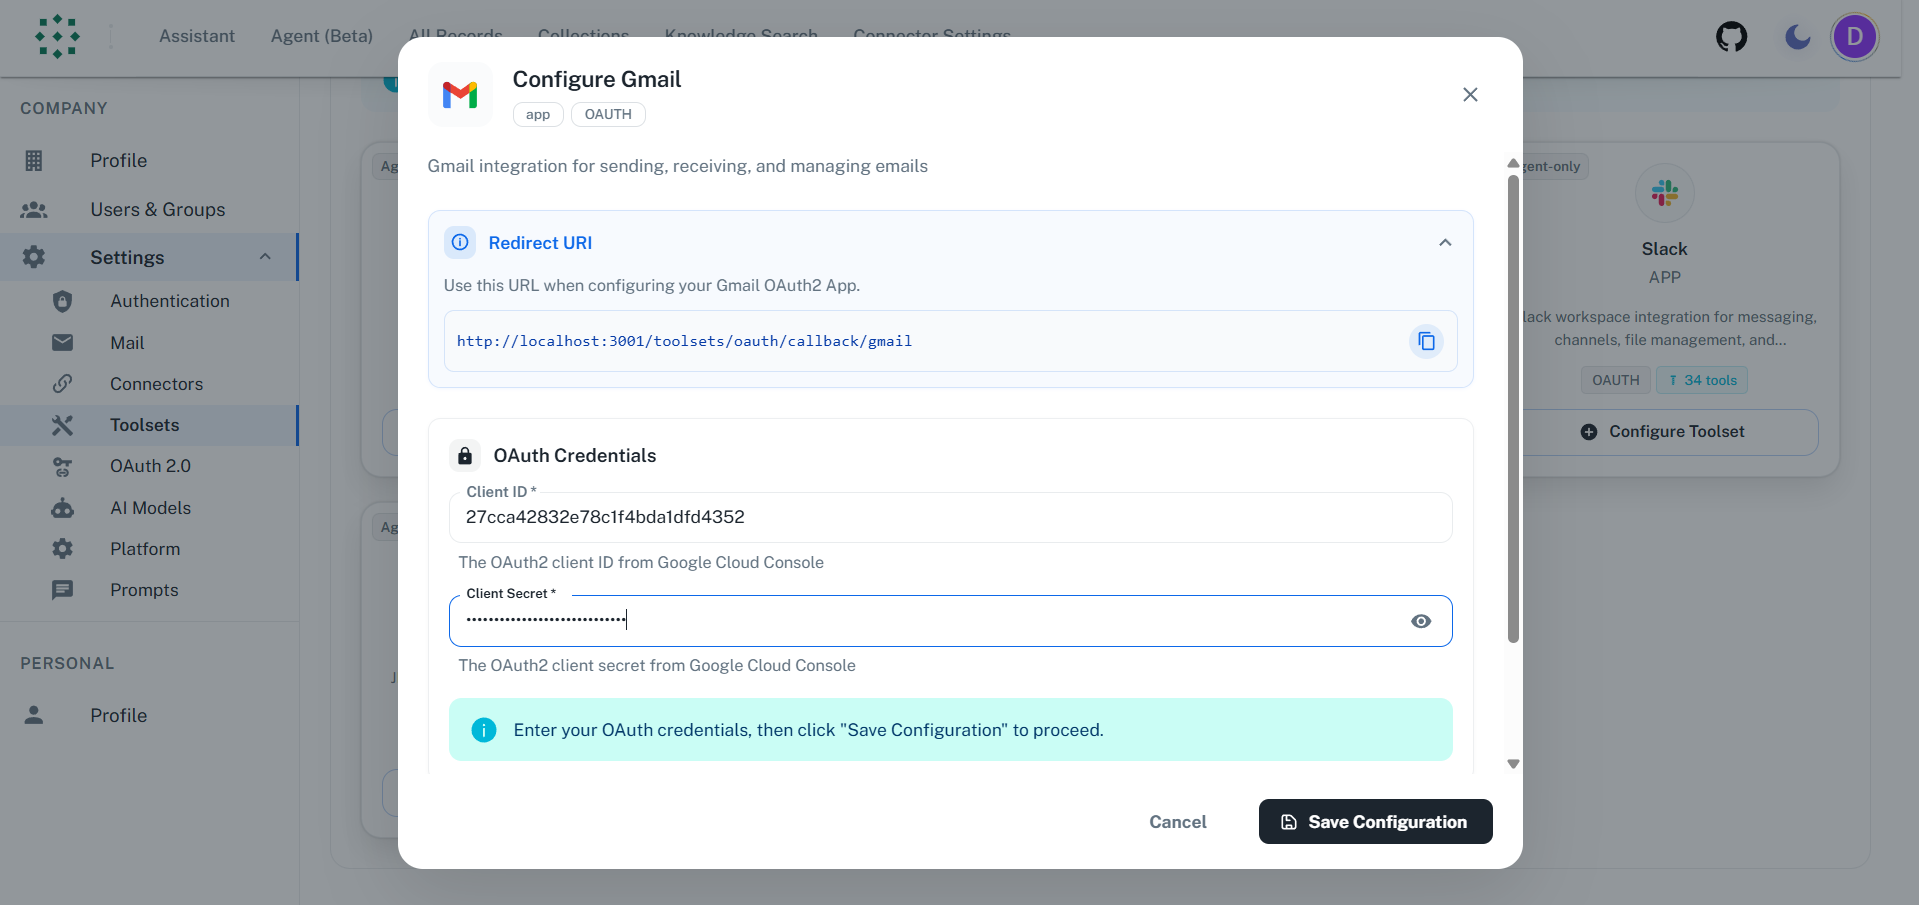
### Step 7: Configure in PipesHub
1. Return to the PipesHub Gmail configuration dialog
2. Enter your **Client ID** and **Client Secret**
3. Click **"Authenticate"**
### Step 8: Authorize Access
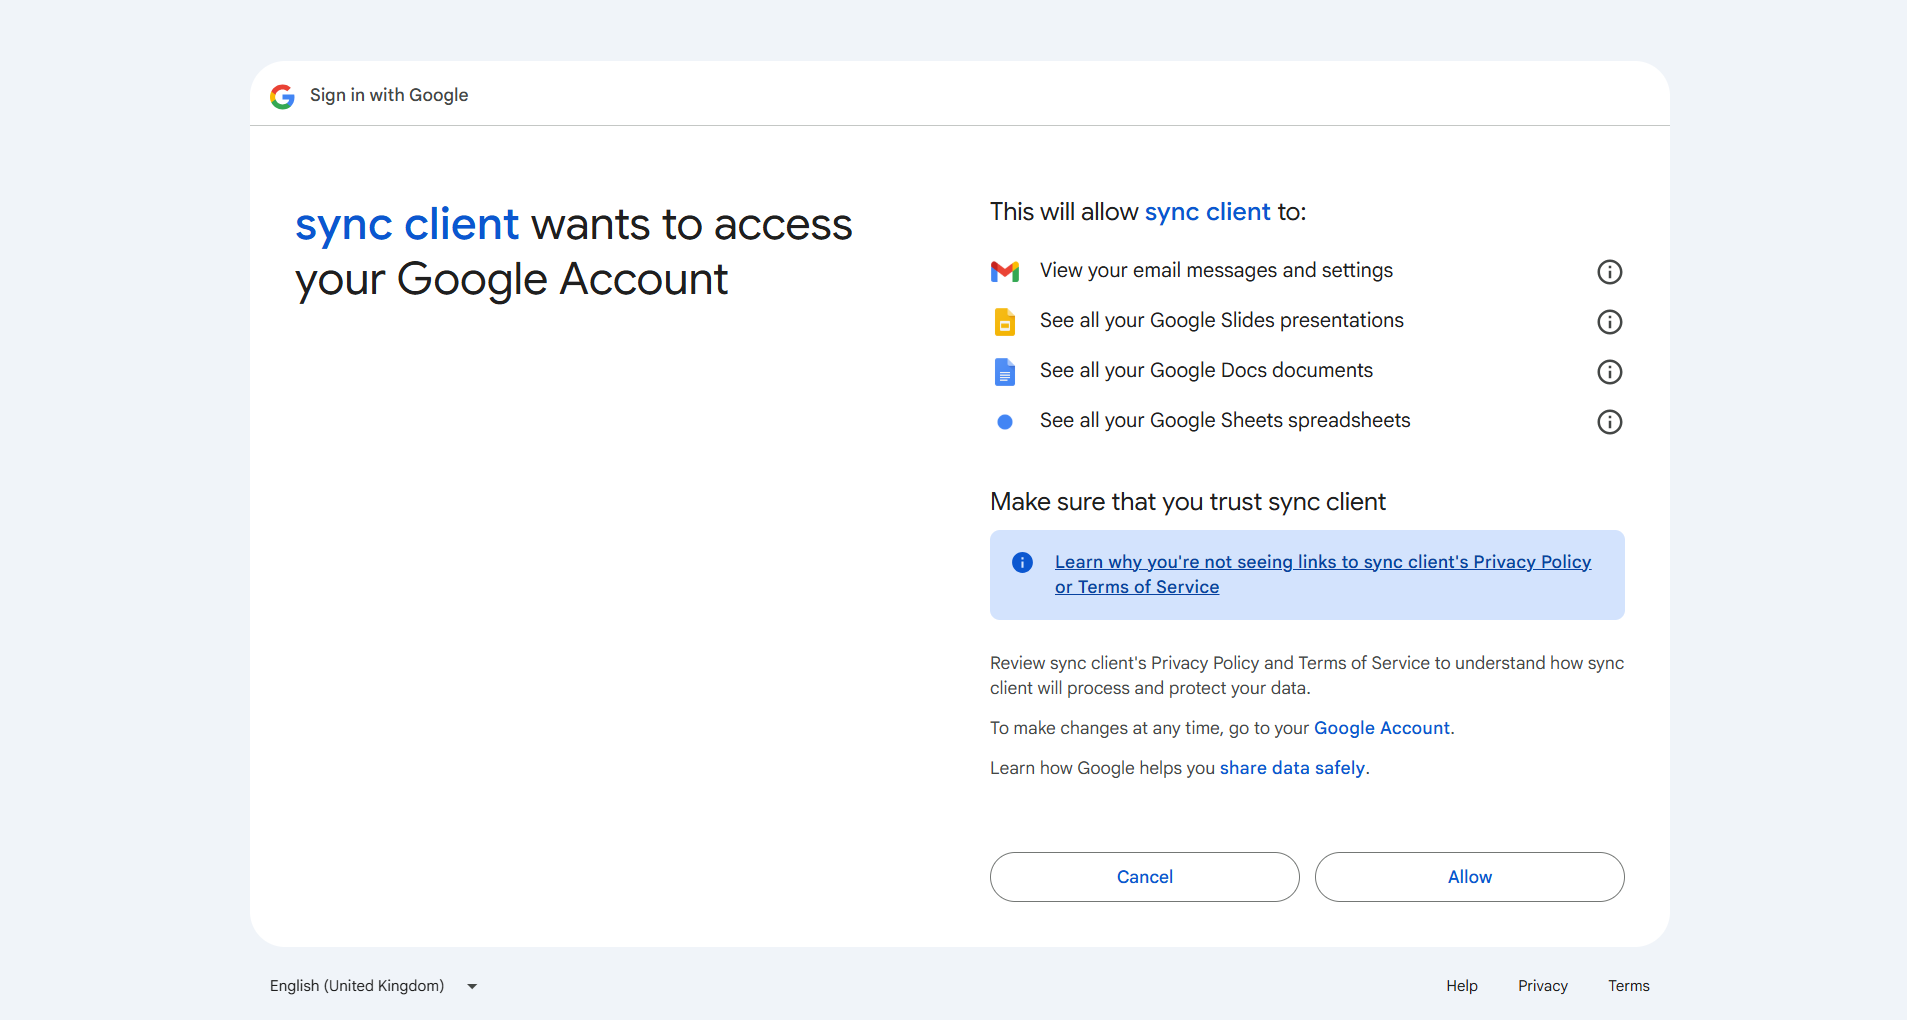
1. A popup window will open to Google's authorization page
2. Sign in with your Google account
3. Review the permissions and click **"Allow"**
4. You'll be redirected back to PipesHub
5. The toolset will show **"Authenticated"** status
***
## FAQ
| Aspect | Gmail Connector | Gmail Toolset |
| --------------- | -------------------------------------------- | ------------------------------------------- |
| **Purpose** | Sync and index emails for search | Enable agents to perform email actions |
| **Data Flow** | One-way (import data into PipesHub) | Two-way (read and write via API) |
| **When to Use** | Query/search email history and conversations | Send emails, manage messages, create drafts |
**Example:** Use **Gmail Connector** to search past email conversations. Use **Gmail Toolset** to let agents send replies or forward messages.
***
## Usage Tips
**How do I send an email?**\
Ask your agent to "send an email to [user@example.com](mailto:user@example.com)" and provide the subject and message.
**How do I search for emails?**\
Ask to "search my emails for \[keyword]" or use specific criteria like "find emails from [john@example.com](mailto:john@example.com) with subject report".