> ## Documentation Index
> Fetch the complete documentation index at: https://docs.pipeshub.com/llms.txt
> Use this file to discover all available pages before exploring further.
# Agent Setup Guide
> Step-by-step guide to creating and configuring AI agents
🛠️
Agent Setup Guide
Create your first AI agent with the visual flow builder
## Prerequisites
Before creating an agent, ensure you have:
1. **AI Models Configured** - At least one reasoning-enabled LLM provider set up in your organization
2. **Toolsets Configured** (optional) - Any external toolsets you want the agent to use
3. **Knowledge Sources** (optional) - Connectors or collections for document search
Toolsets must be authenticated before they can be added to an agent. If you plan to use Jira, Slack, or other external toolsets, configure them first in **Settings > Toolsets**.
***
## Step 1: Navigate to Agents
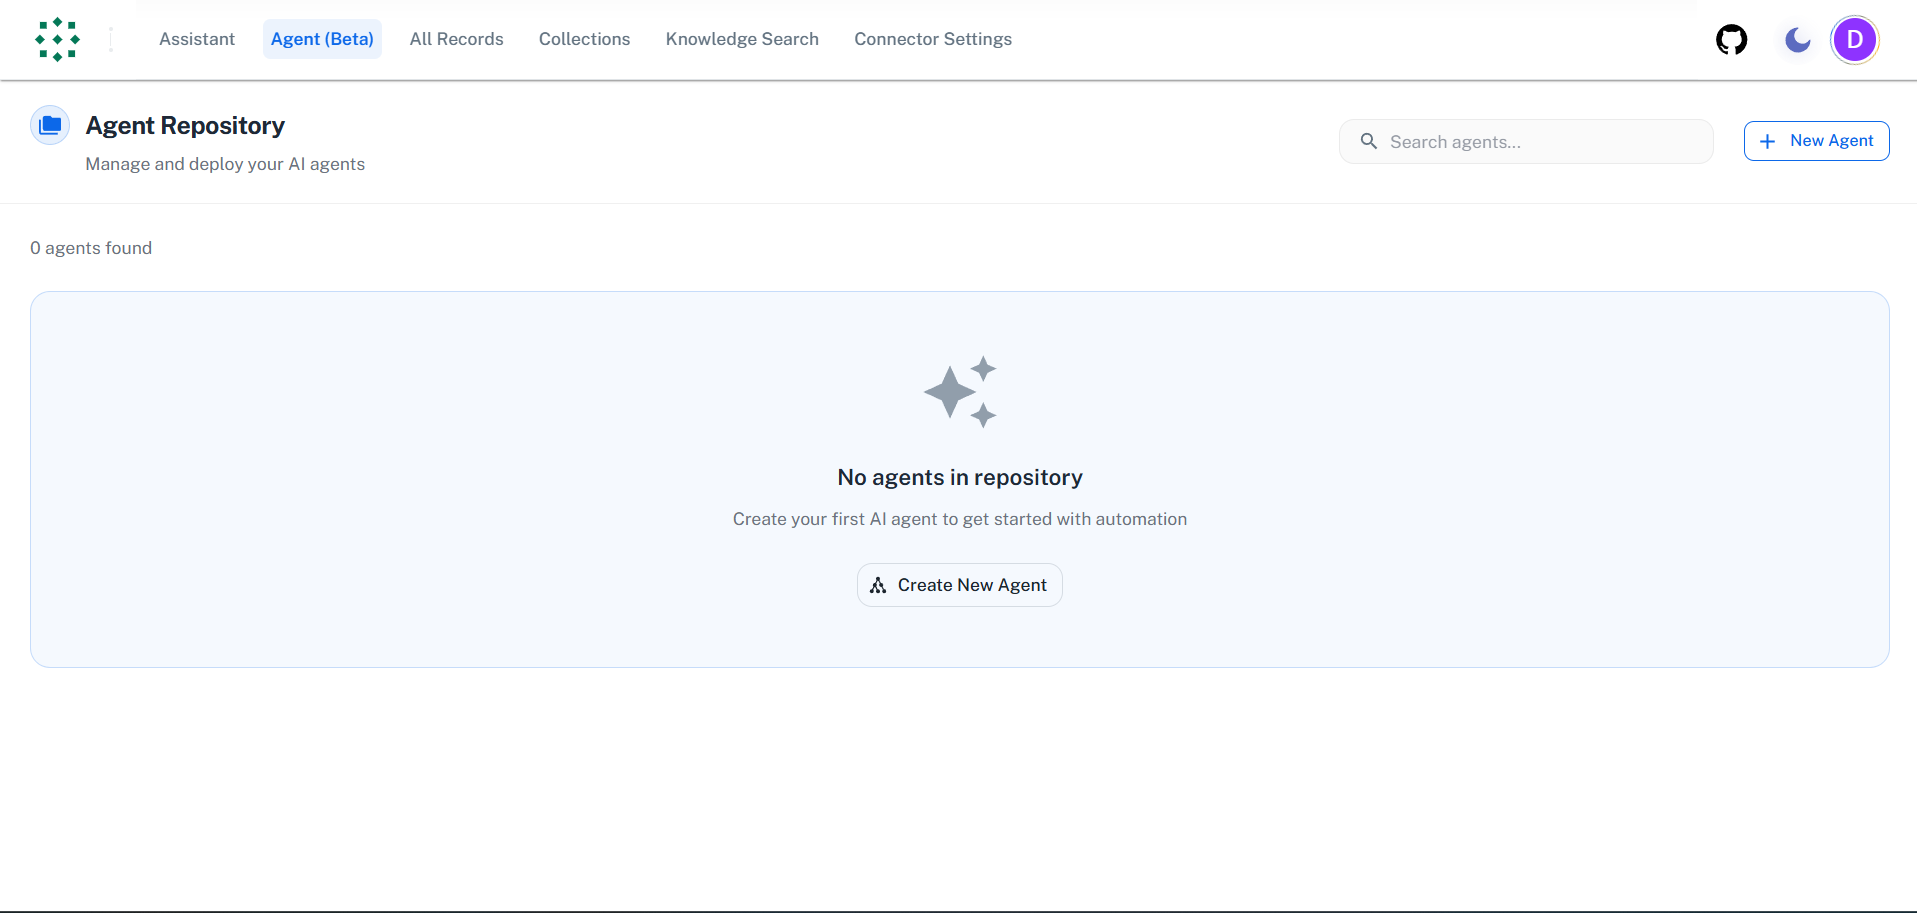
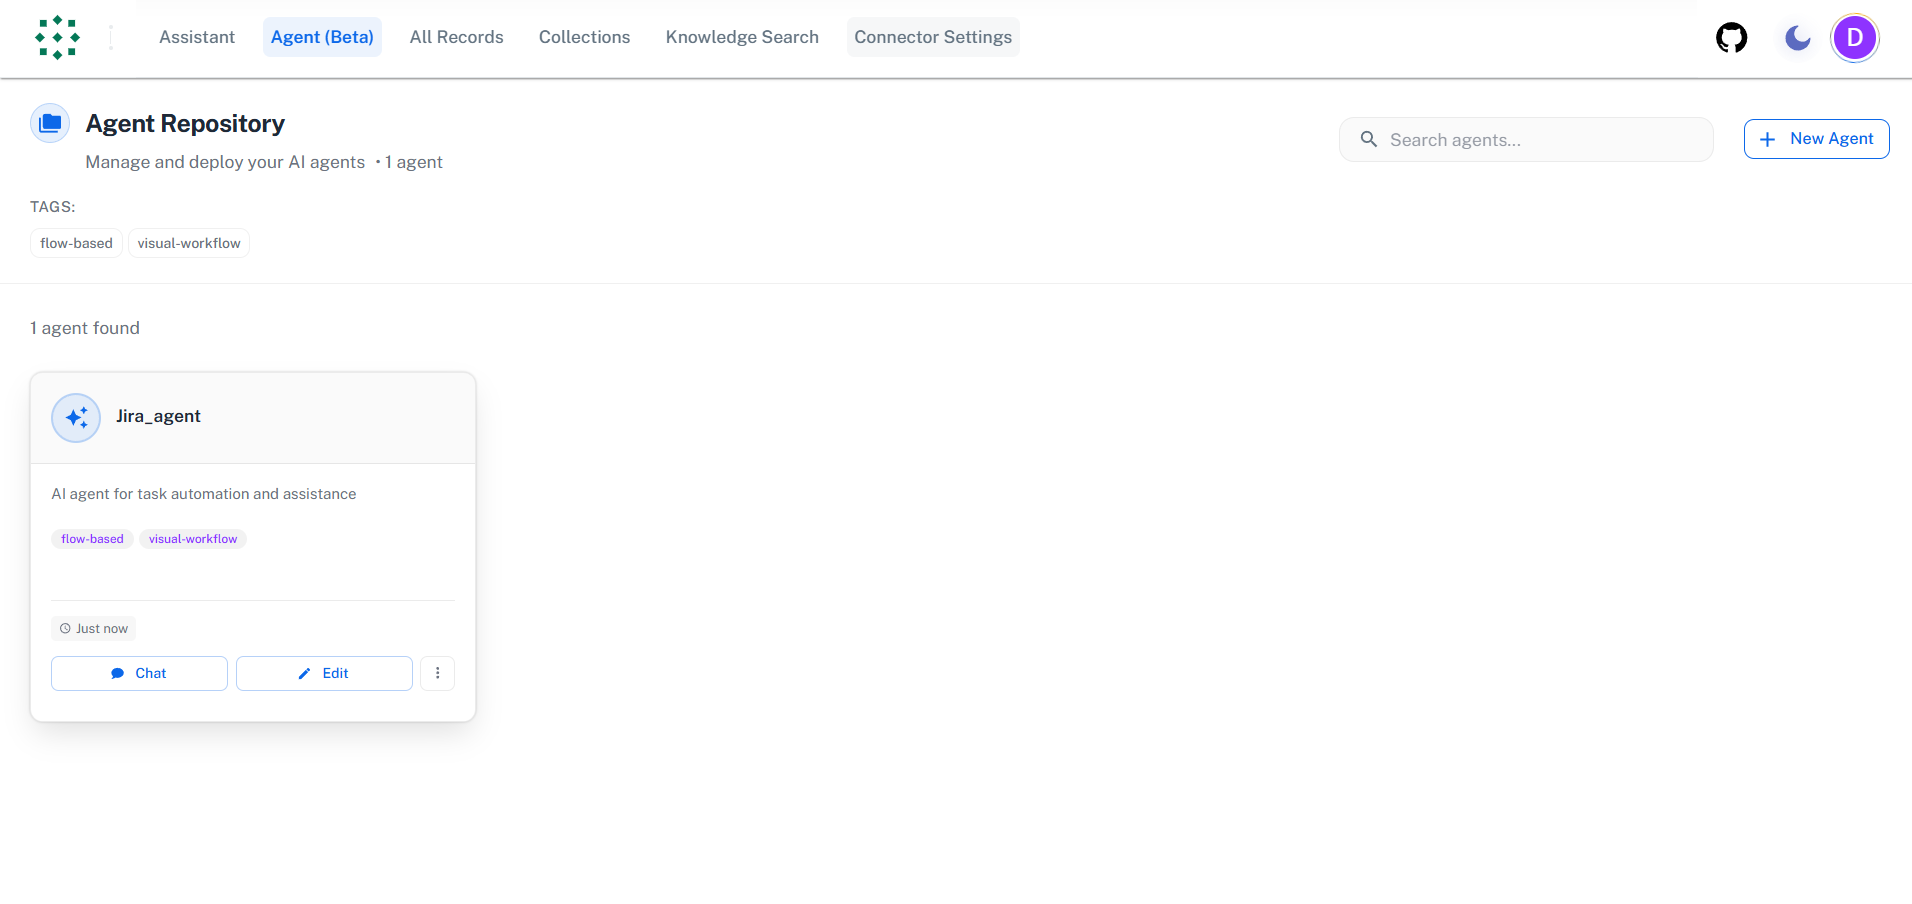
1. From the main navbar, click **"Agent (Beta)"**
2. You'll land on the **Agents Management** page showing your existing agents (if any)
***
## Step 2: Create New Agent
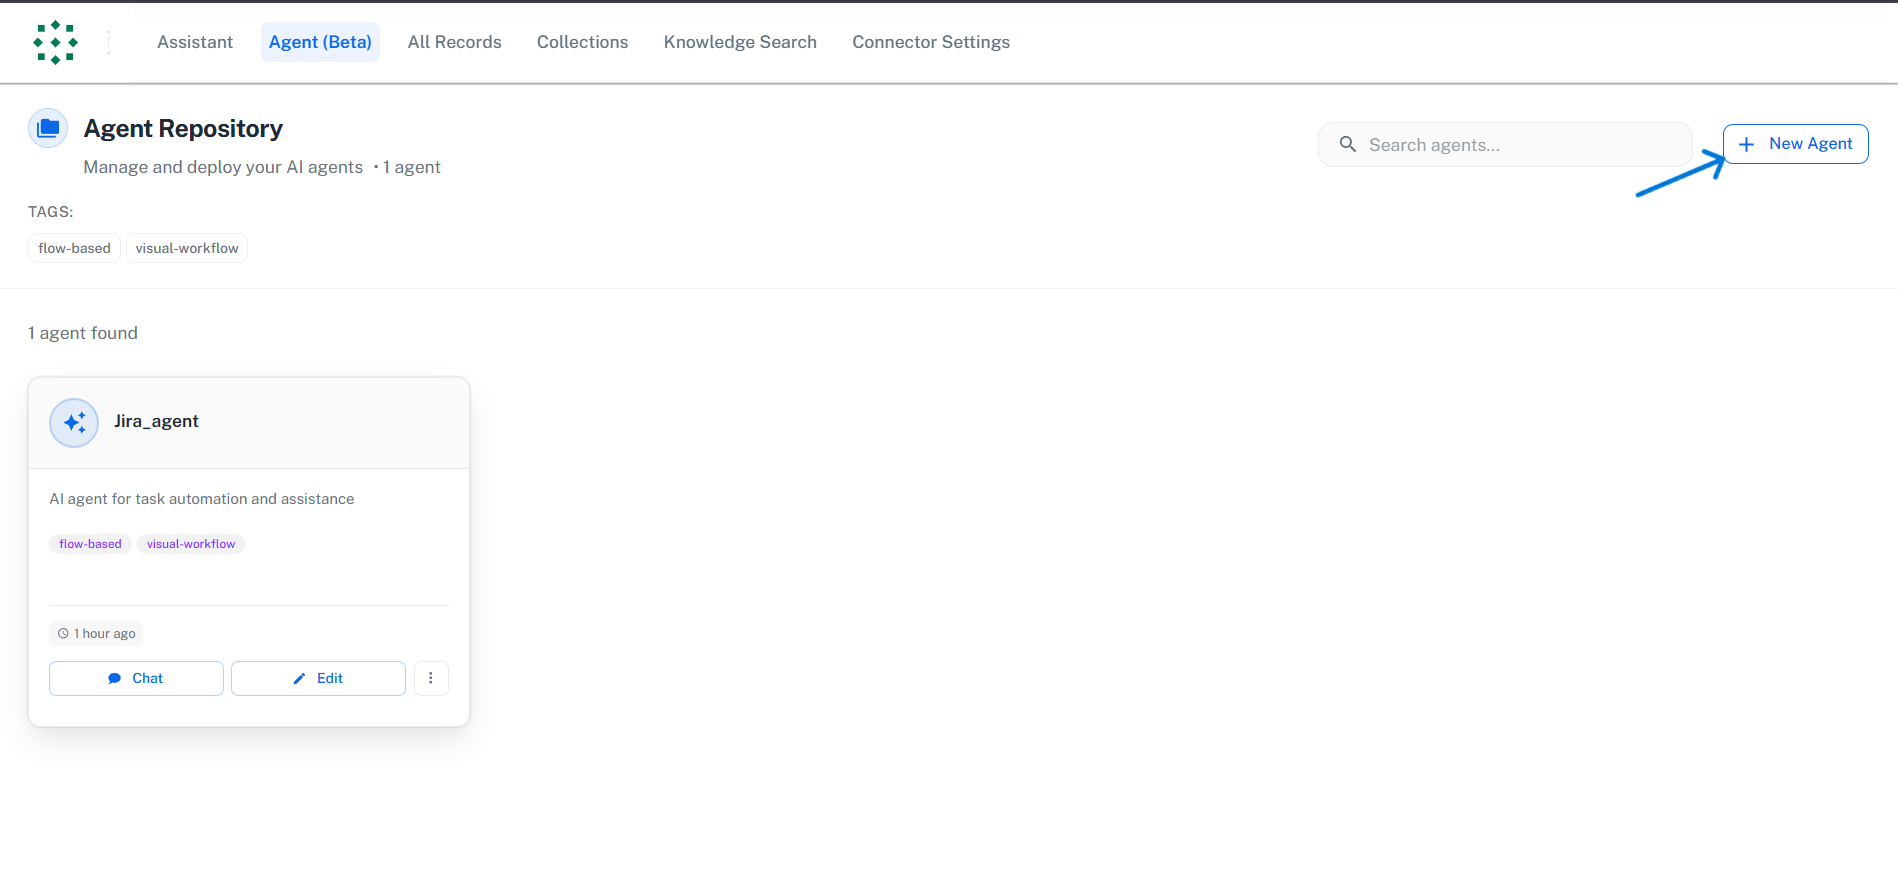
Click the **"+ New Agent"** button in the top-right corner
***
## Step 3: Configure Agent Core
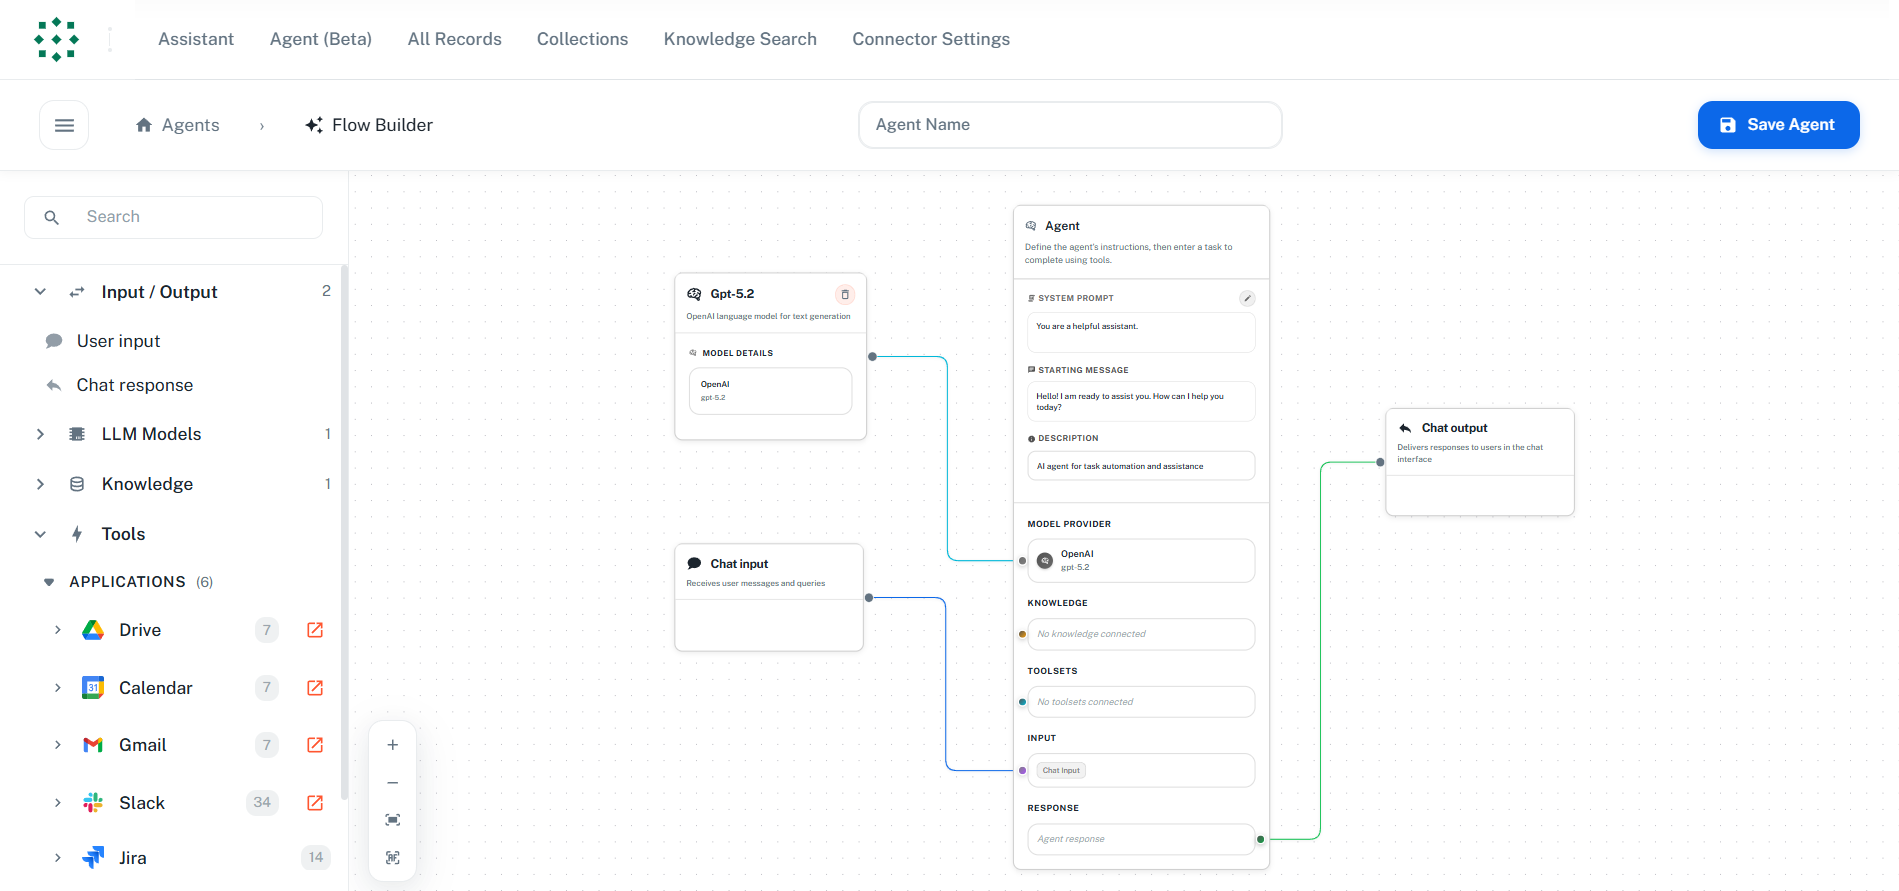
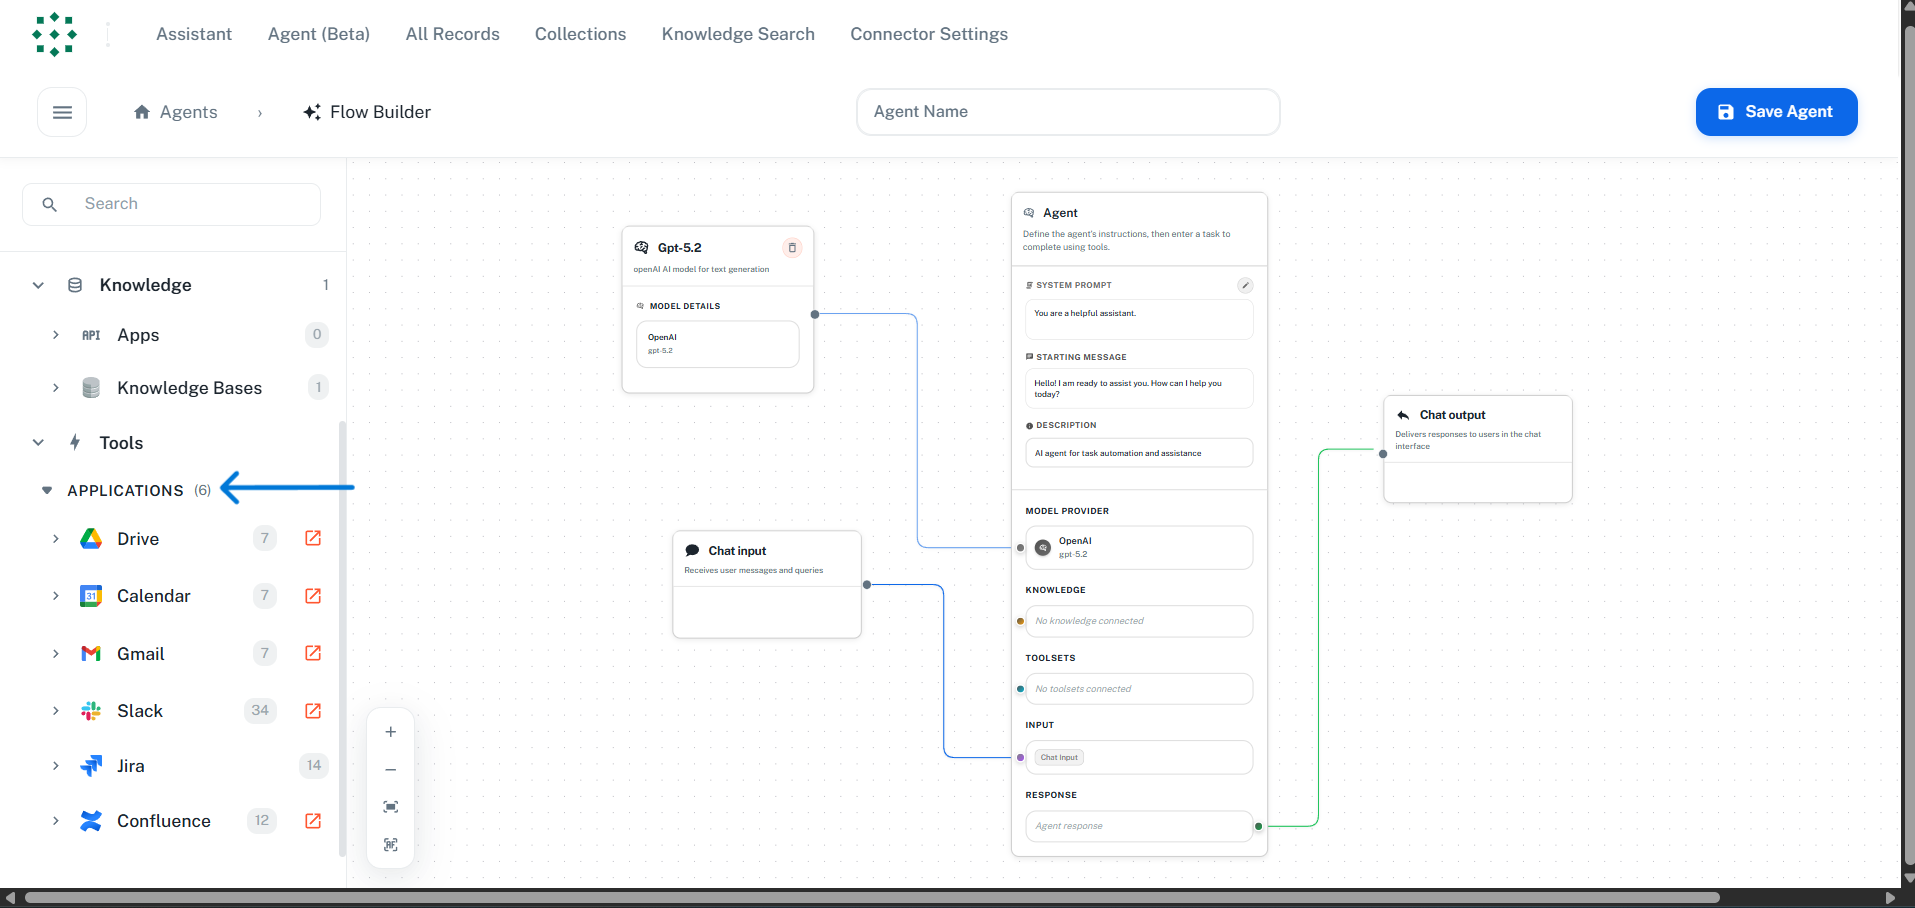
The **Agent Builder** opens with a visual flow canvas. You'll see an **Agent Core** node already placed on the canvas.
### Configure the Agent Core
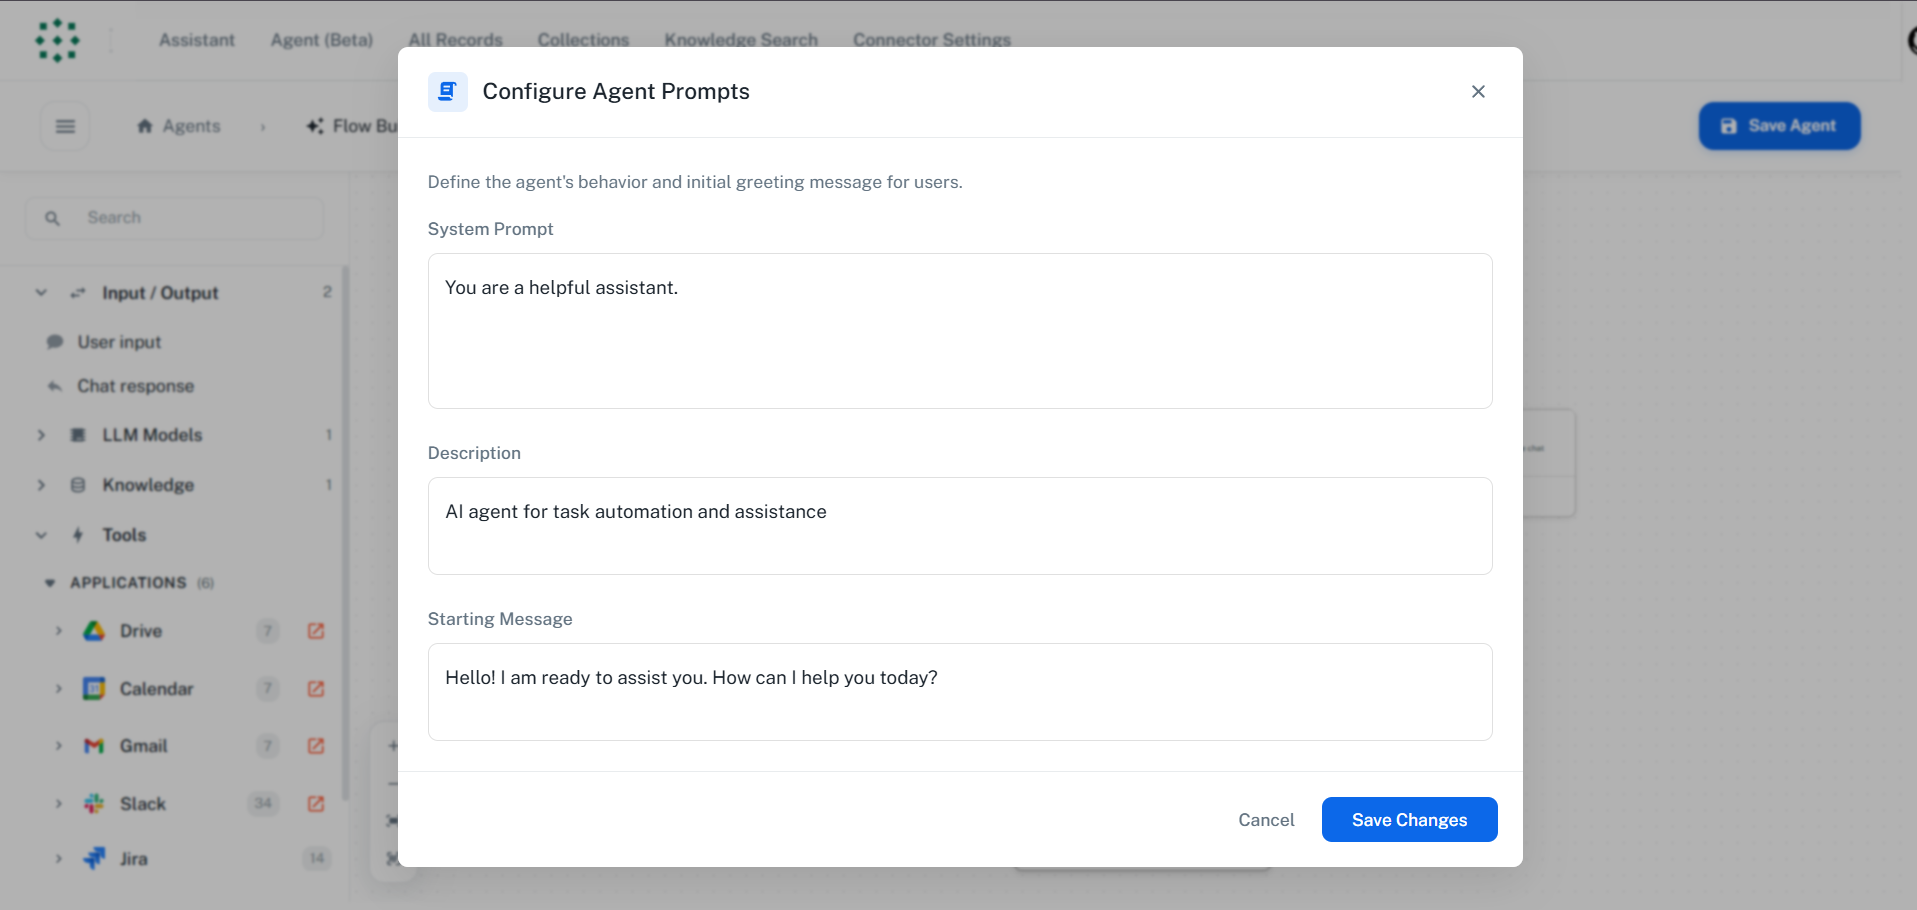
1. Click the **edit pencil icon** near the System Prompt section to open the configuration dialog
2. Fill in the following fields:
| Field | Description | Example |
| ----------------- | --------------------------------------------------------------- | ----------------------------------------------------------------------------------------- |
| **System Prompt** | Instructions that define the agent's behavior | "You are a helpful project management assistant..." |
| **Description** | Brief description of what the agent does | "Helps manage Jira tickets and Confluence docs" |
| **Start Message** | Initial greeting when users start a conversation | "Hi! I can help you manage your projects. What would you like to do?" |
| **Instruction** | Detailed instructions for the agent's behavior and capabilities | "You can create Jira tickets, search documentation, and answer questions about projects." |
3. Click **"Save Changes"** to apply the configuration
The **System Prompt** is crucial for defining your agent's behavior. Be specific about what the agent should and shouldn't do, its tone, and any constraints.
***
## Step 4: Add Reasoning LLM Model
Every agent needs at least one reasoning-enabled LLM model to power its intelligence.
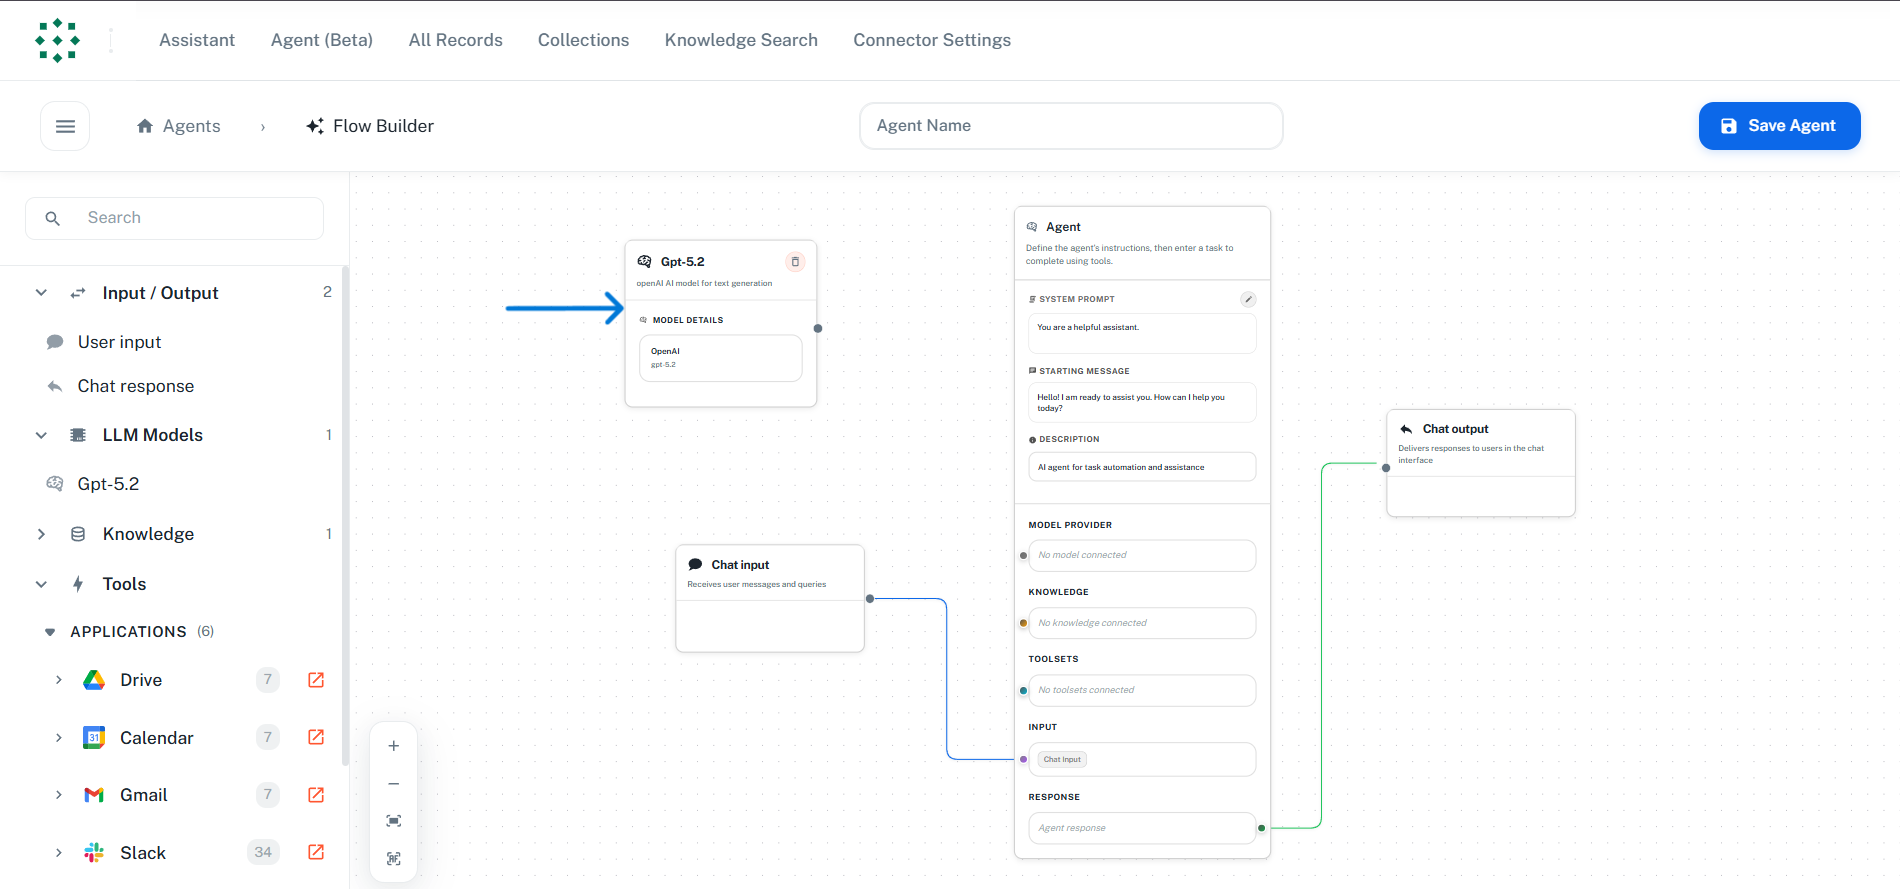
1. In the left sidebar, expand the **"LLM Models"** section
2. Drag a LLM model node onto the canvas
3. **Connect** the reasoning LLM model node to the Agent Core:
* Click and drag from the output handle of the **Agent Core** node
* Connect to the input handle of the **MODEL PROVIDER** node
**Reasoning models** are LLM models with reasoning capabilities enabled, allowing the agent to think through complex problems step-by-step before responding.
***
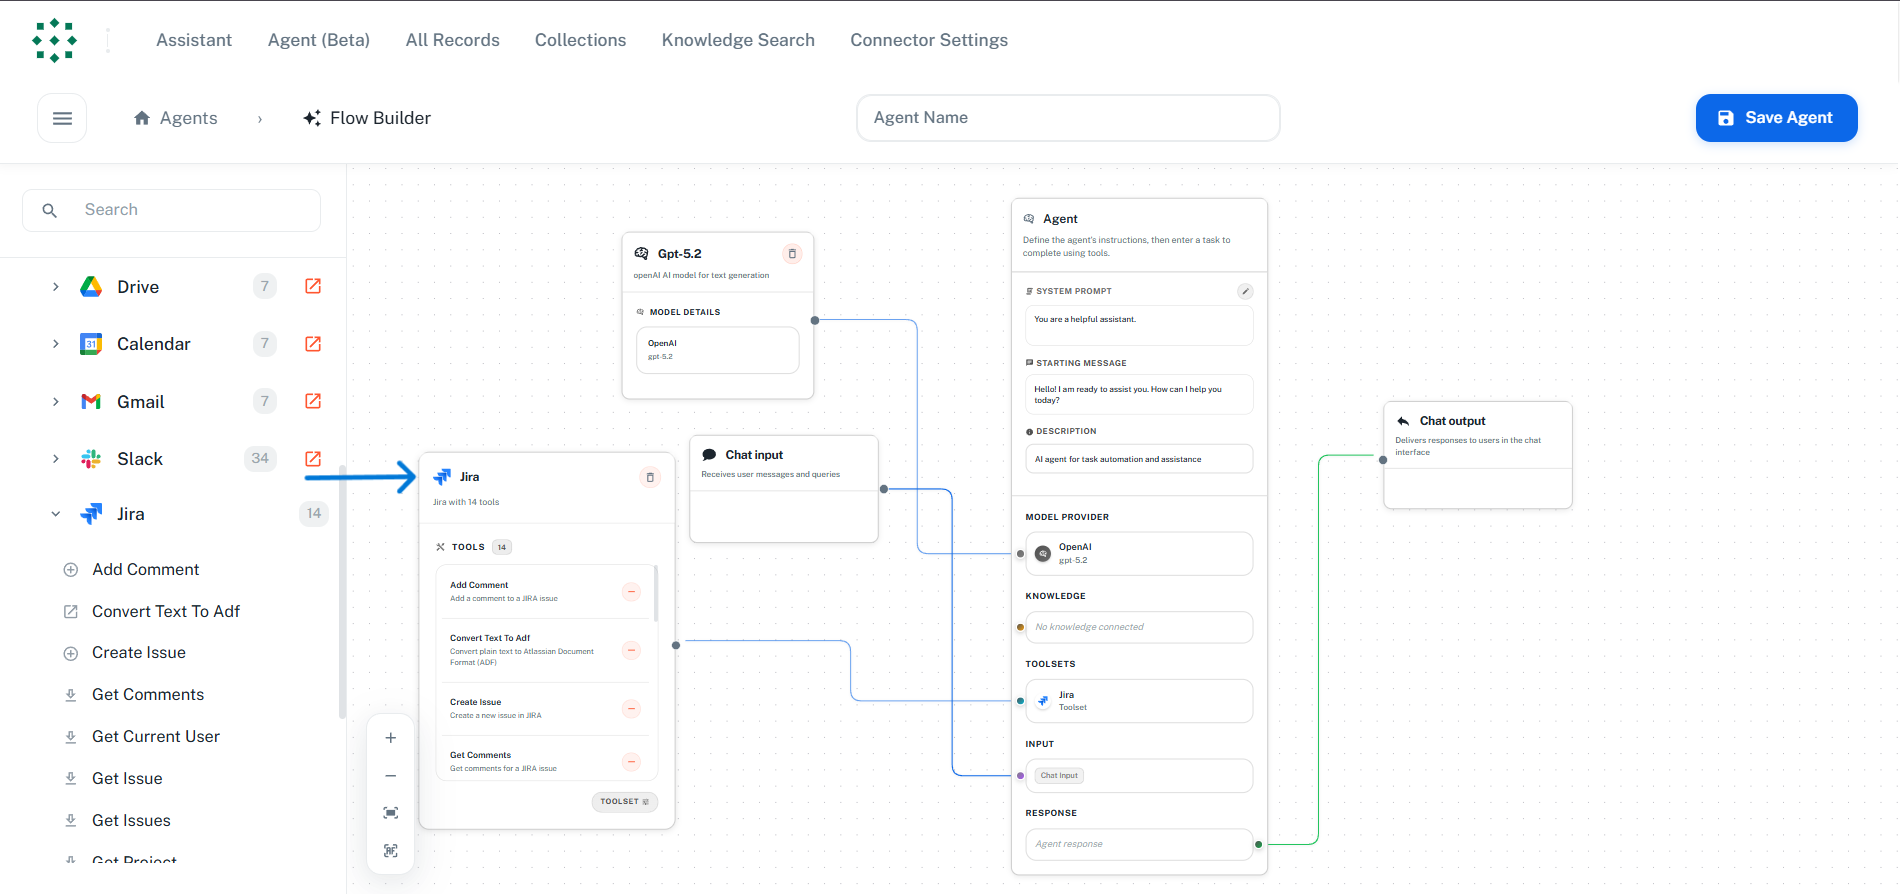
## Step 5: Add Toolsets (Optional)
Toolsets give your agent the ability to interact with external applications.
### Viewing Available Toolsets
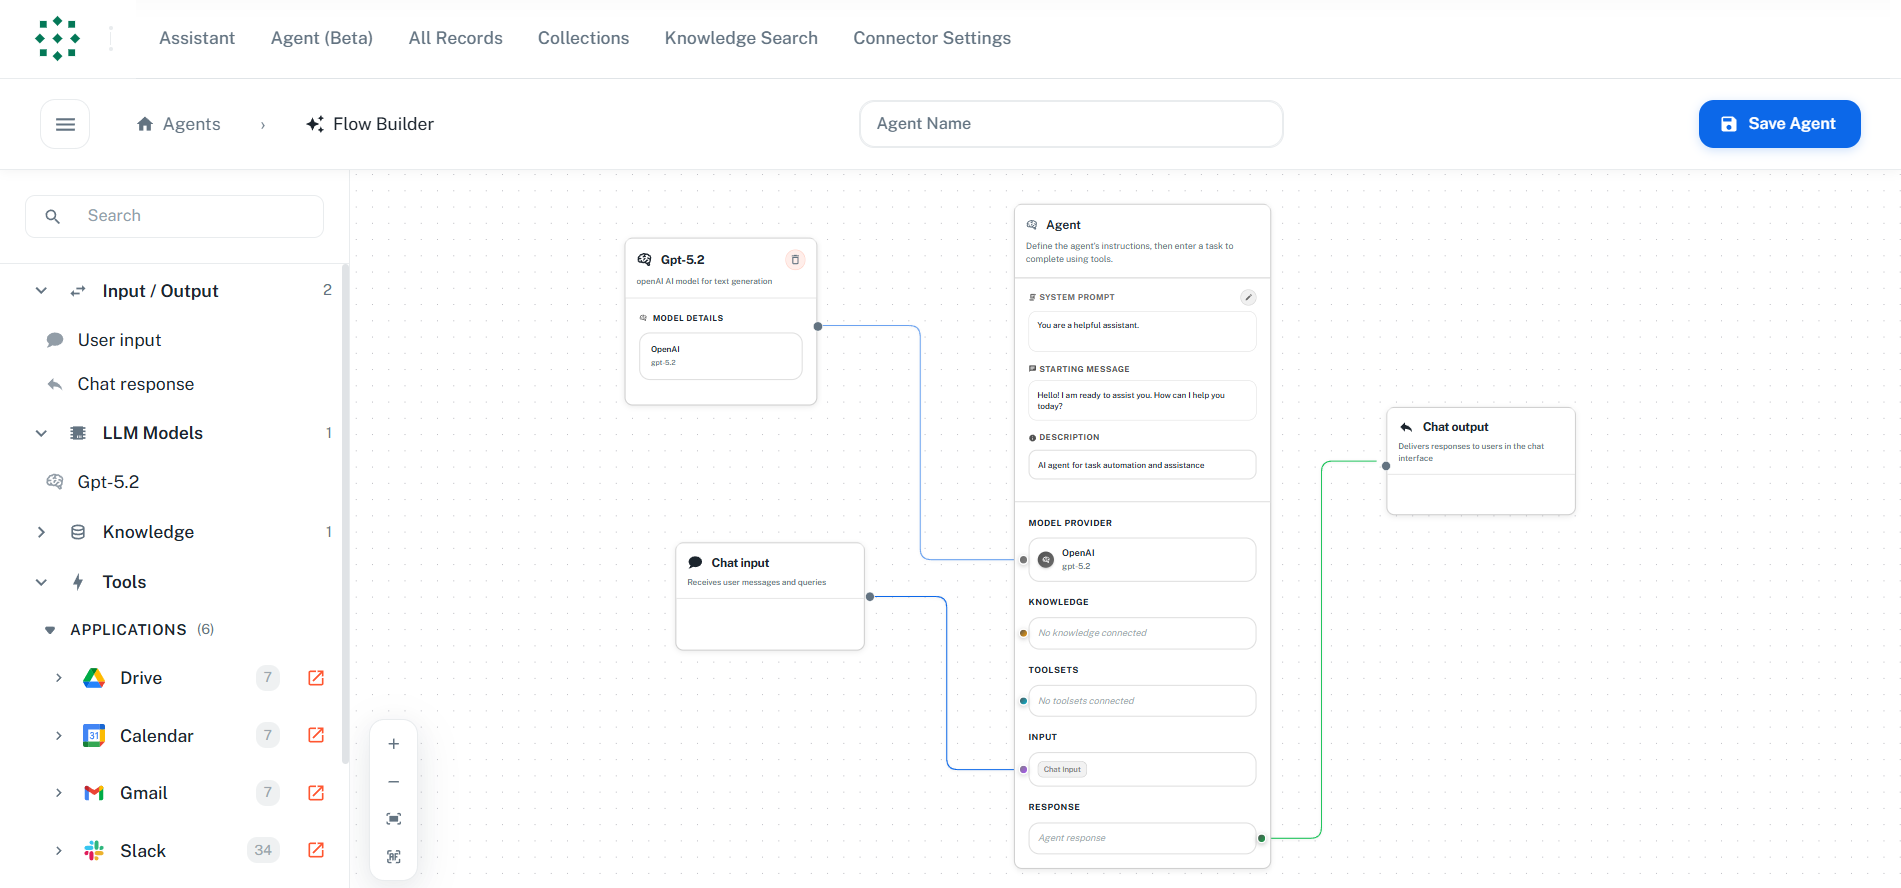
1. In the left sidebar, expand the **"Tools"** section
2. Expand **"APPLICATIONS"** to see authenticated toolsets with the number of tools each provides:
### Adding Toolsets to Your Agent
You have two options for adding tools:
**Option 1: Drag Entire Toolset**
* **Drag** the entire toolset onto the canvas to add all its tools
* **Connect** the toolset node to your Agent Core
**Option 2: Drag Individual Tools**
* Expand a toolset to see its individual tools
* **Drag** specific tools you need onto the canvas
* This gives you more control over which tools the agent can use
### Managing Tools
* **Remove individual tool**: Click the remove button on the right side of any tool in the toolset node
* **Remove entire toolset**: Click the delete button in the top-right corner of the toolset node
See the individual [Toolset Documentation](/toolsets/overview) for complete details on each toolset's tools and capabilities.
***
## Step 6: Add Knowledge Sources (Optional)
Give your agent access to your indexed documents and collections.
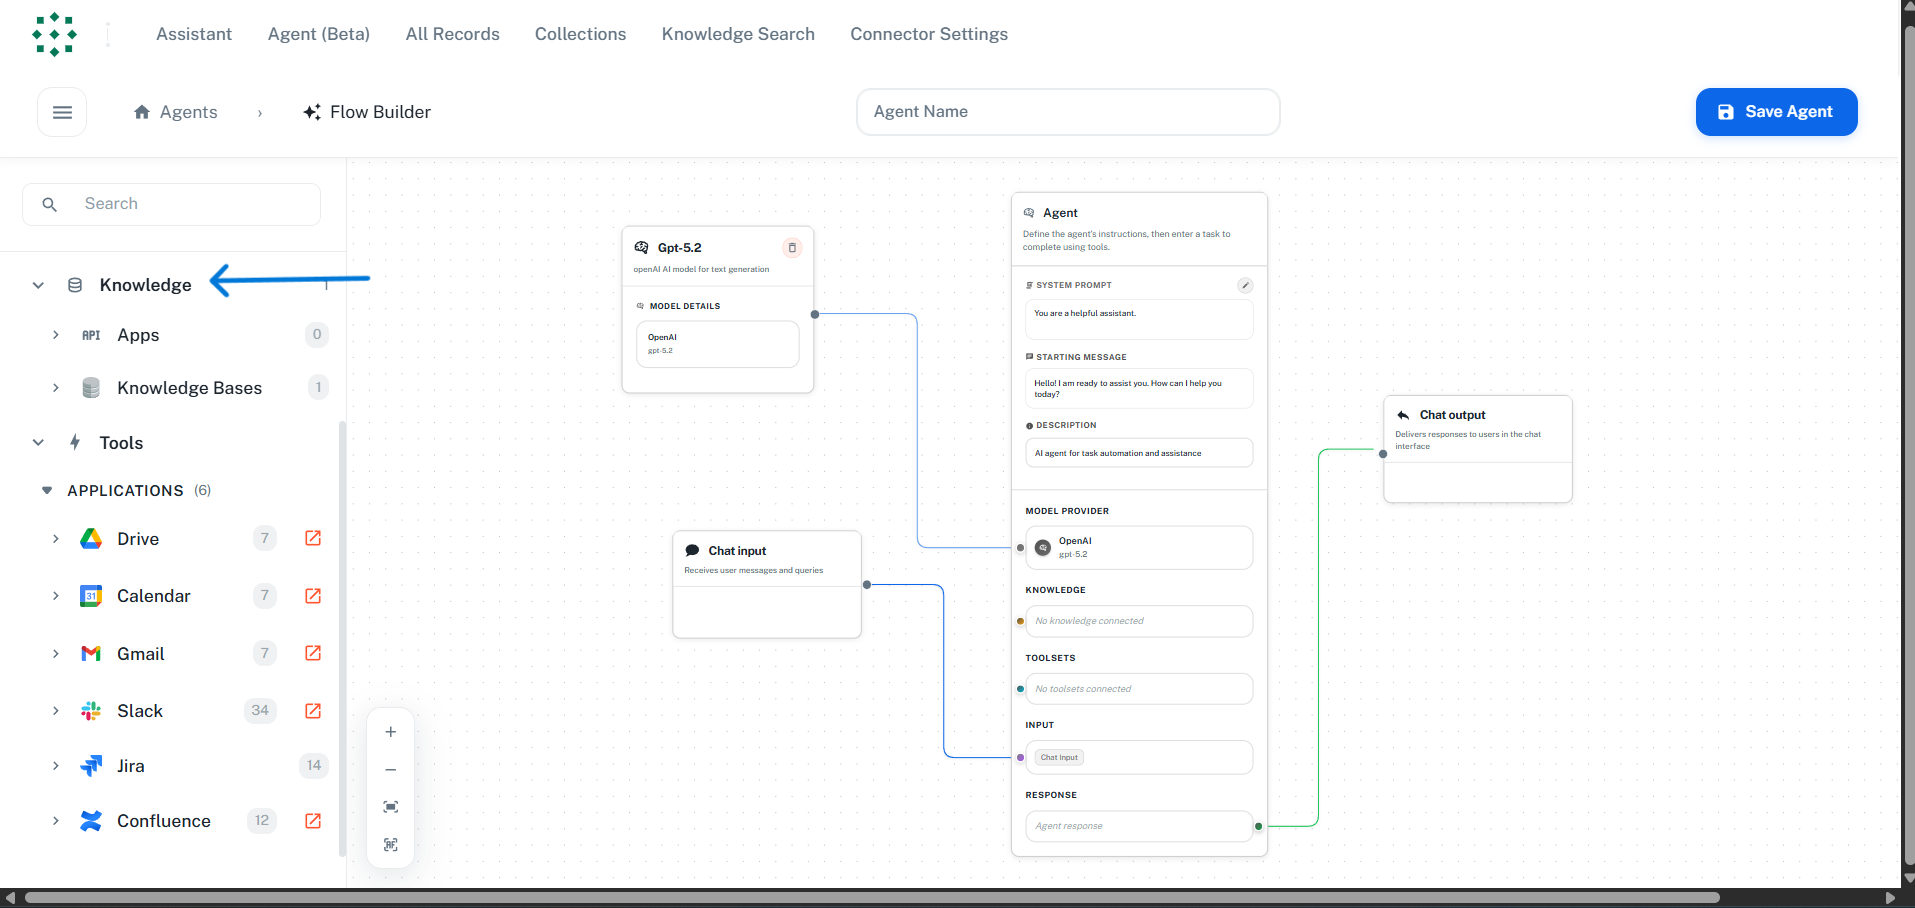
1. In the left sidebar, expand the **"Knowledge"** section
2. You'll see:
* **Apps** - Indexed content from connected applications
* **Collections** - Your custom document collections
3. **Drag** the knowledge source onto the canvas
4. **Connect** it to your agent flow
The **Internal Retrieval** tool is a built-in utility that searches across all your indexed content. It requires no additional configuration and is always available.
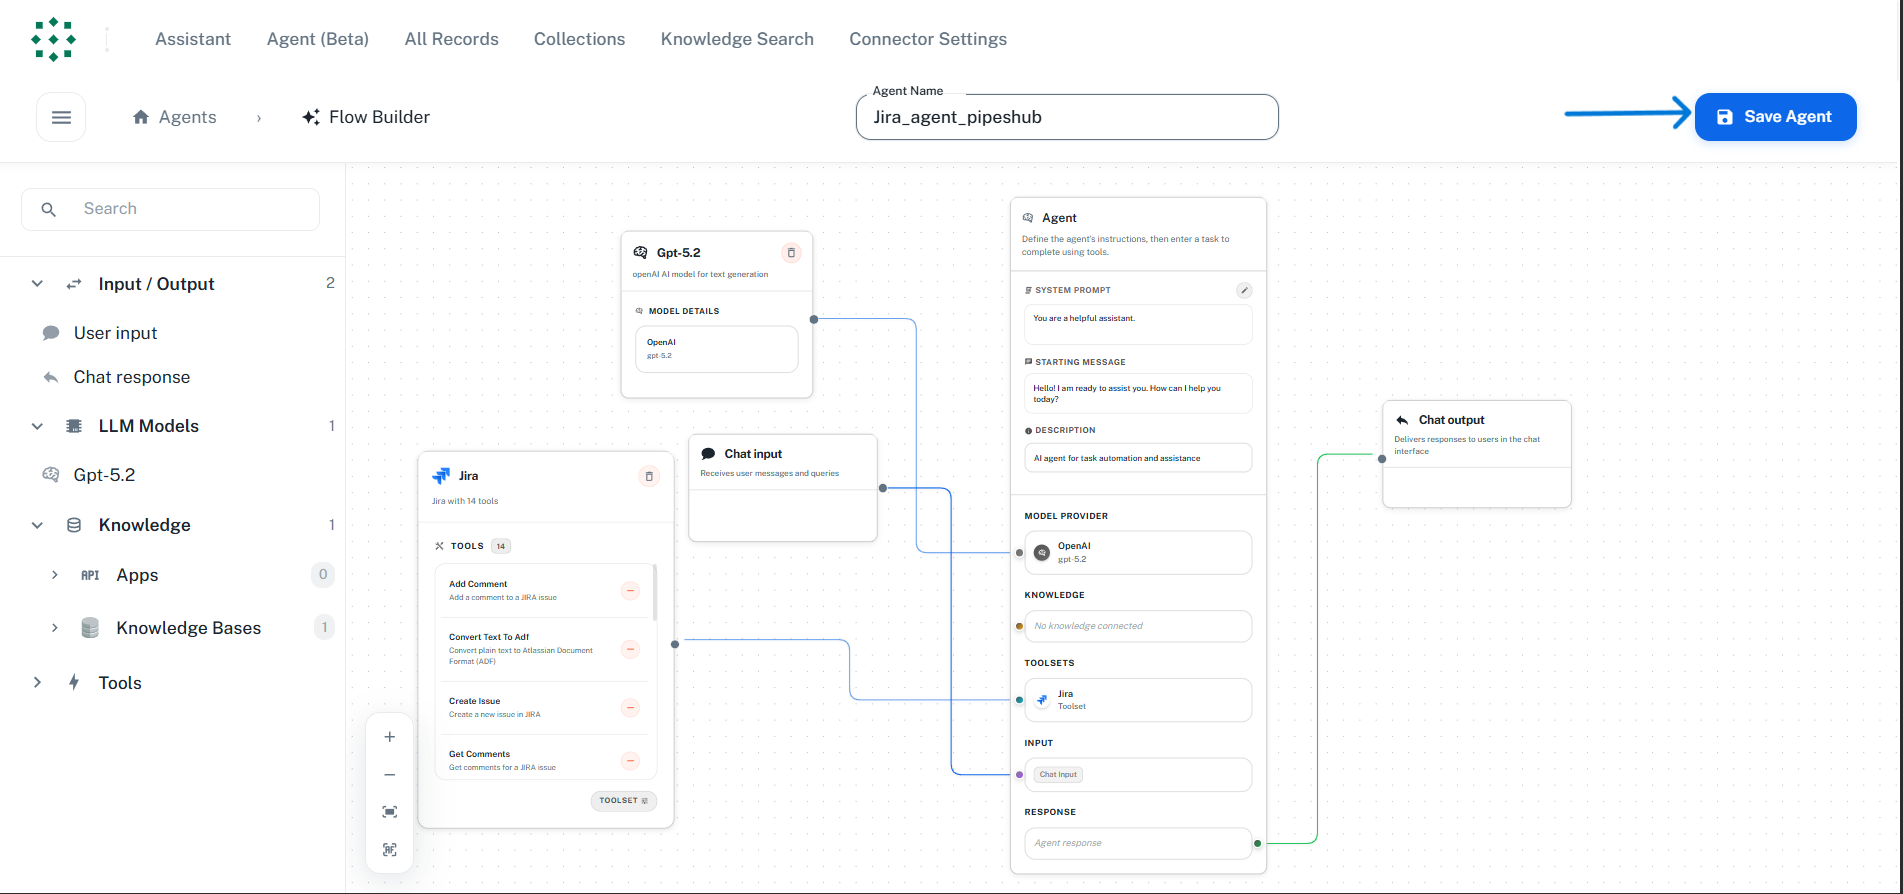
## Step 7: Save Your Agent
1. Enter a name for your agent in the **header input field** (top of the page)
2. Click the **"Save Agent"** button
3. Your agent is now saved and ready to use!
***
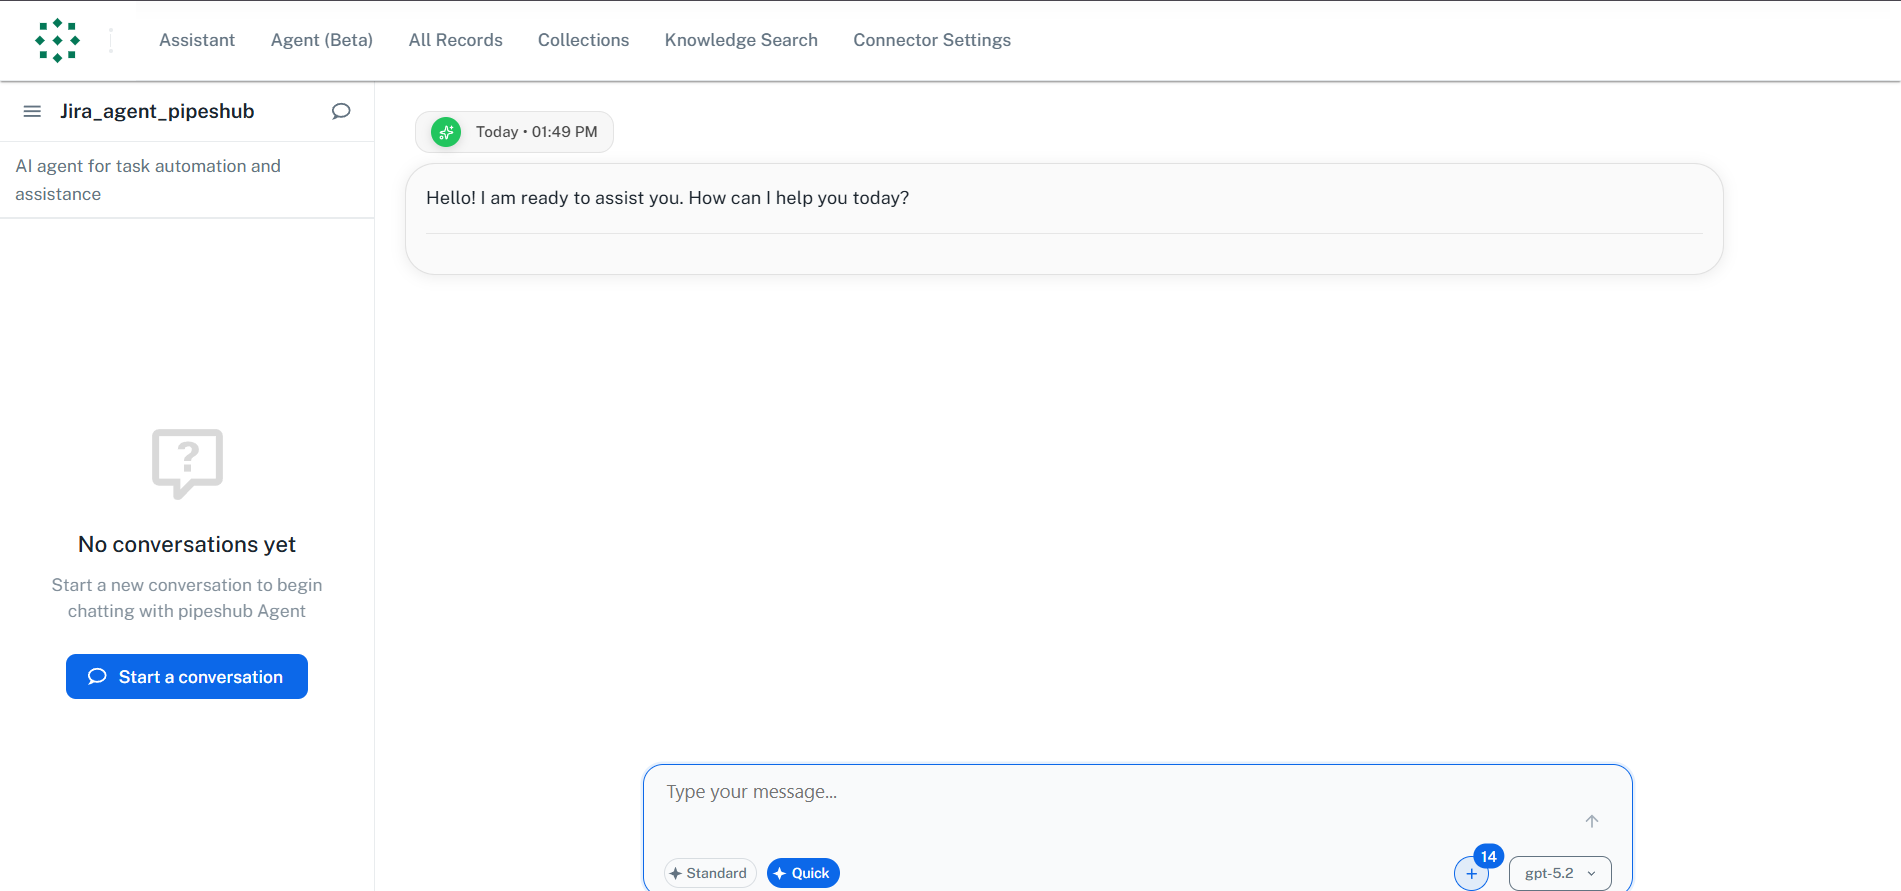
## Step 8: Test Your Agent
1. After saving, you can navigate to the agent's chat interface
2. Click on your agent from the **Agents Management** page
3. Start a conversation to test its capabilities
***
## Troubleshooting
**Possible causes:**
* The toolset is not configured in Settings > Toolsets
* The toolset is not authenticated (OAuth flow not completed)
**Solution:**
1. Go to **Settings > Toolsets**
2. Find the toolset and click "Configure"
3. Complete the authentication flow
4. Return to the Agent Builder - the toolset should now appear
**Possible causes:**
* Reasoning model not properly configured or reasoning not enabled
* Toolset authentication expired
* System prompt causing issues
**Solution:**
1. Check that your LLM provider is properly configured with reasoning enabled in **Settings > AI Models**
2. Re-authenticate any toolsets that may have expired tokens
3. Simplify the system prompt and test again
**Possible causes:**
* No content indexed for the connected sources
* Filters too restrictive
* Indexing still in progress
**Solution:**
1. Check **Connector Settings** to verify connectors are synced
2. Verify collections have content
3. Wait for indexing to complete if recently added
**Possible causes:**
* Missing required fields (name, reasoning model)
* Invalid node connections
**Solution:**
1. Ensure the agent has a name
2. Verify at least one reasoning model is connected to the Agent Core
3. Check all node connections are valid
***
## Next Steps