Overview
Zammad is an open-source, web-based helpdesk and customer support ticketing system. It provides a unified interface for managing customer communications across multiple channels including email, chat, telephone, and social media, making it ideal for support teams of all sizes.Zammad Data Structure
The connector understands Zammad’s hierarchical data model:- Users (customers and agents with role assignments)
- Groups (support teams/departments)
- Tickets (with articles and attachments)
- Roles (permission sets assigned to users)
- Knowledge Base
- Categories (hierarchical structure)
- Answers (articles with translations and attachments)
What Gets Synced
The connector indexes the following content for AI-powered search:| Content Type | Details |
|---|---|
| Tickets | Title, state, priority, group, owner, customer, articles (messages/replies), attachments |
| Knowledge Base | Categories, answers/articles with translations, and associated attachments |
| Users | Customer and agent profiles with emails and roles |
| Groups | Support team/department information |
| Roles | User roles and permission assignments |
| Permissions | Group-based access controls for tickets, role-based access controls for knowledge base |
Configuration Guide
Setup
Setup
Getting Started
The Zammad connector provides access to your helpdesk data through API Token authentication. It syncs tickets, knowledge base content, users, and groups, enabling comprehensive support ticket search and access across your Zammad instance.Authentication Method
The Zammad connector uses API Access Token authentication (HTTP Token Authentication). This is the recommended method by Zammad for external integrations.API operations performed with the token inherit the same permissions as the user who generated it. For full access to all tickets and data, use an admin user’s token.
How to Configure and Enable the Zammad Connector
Step 1: Access User Profile in Zammad
- Log in to your Zammad instance with an account that has administrator privileges
- Click on your user avatar in the bottom left corner of the Zammad interface
- Select “Profile” from the dropdown menu
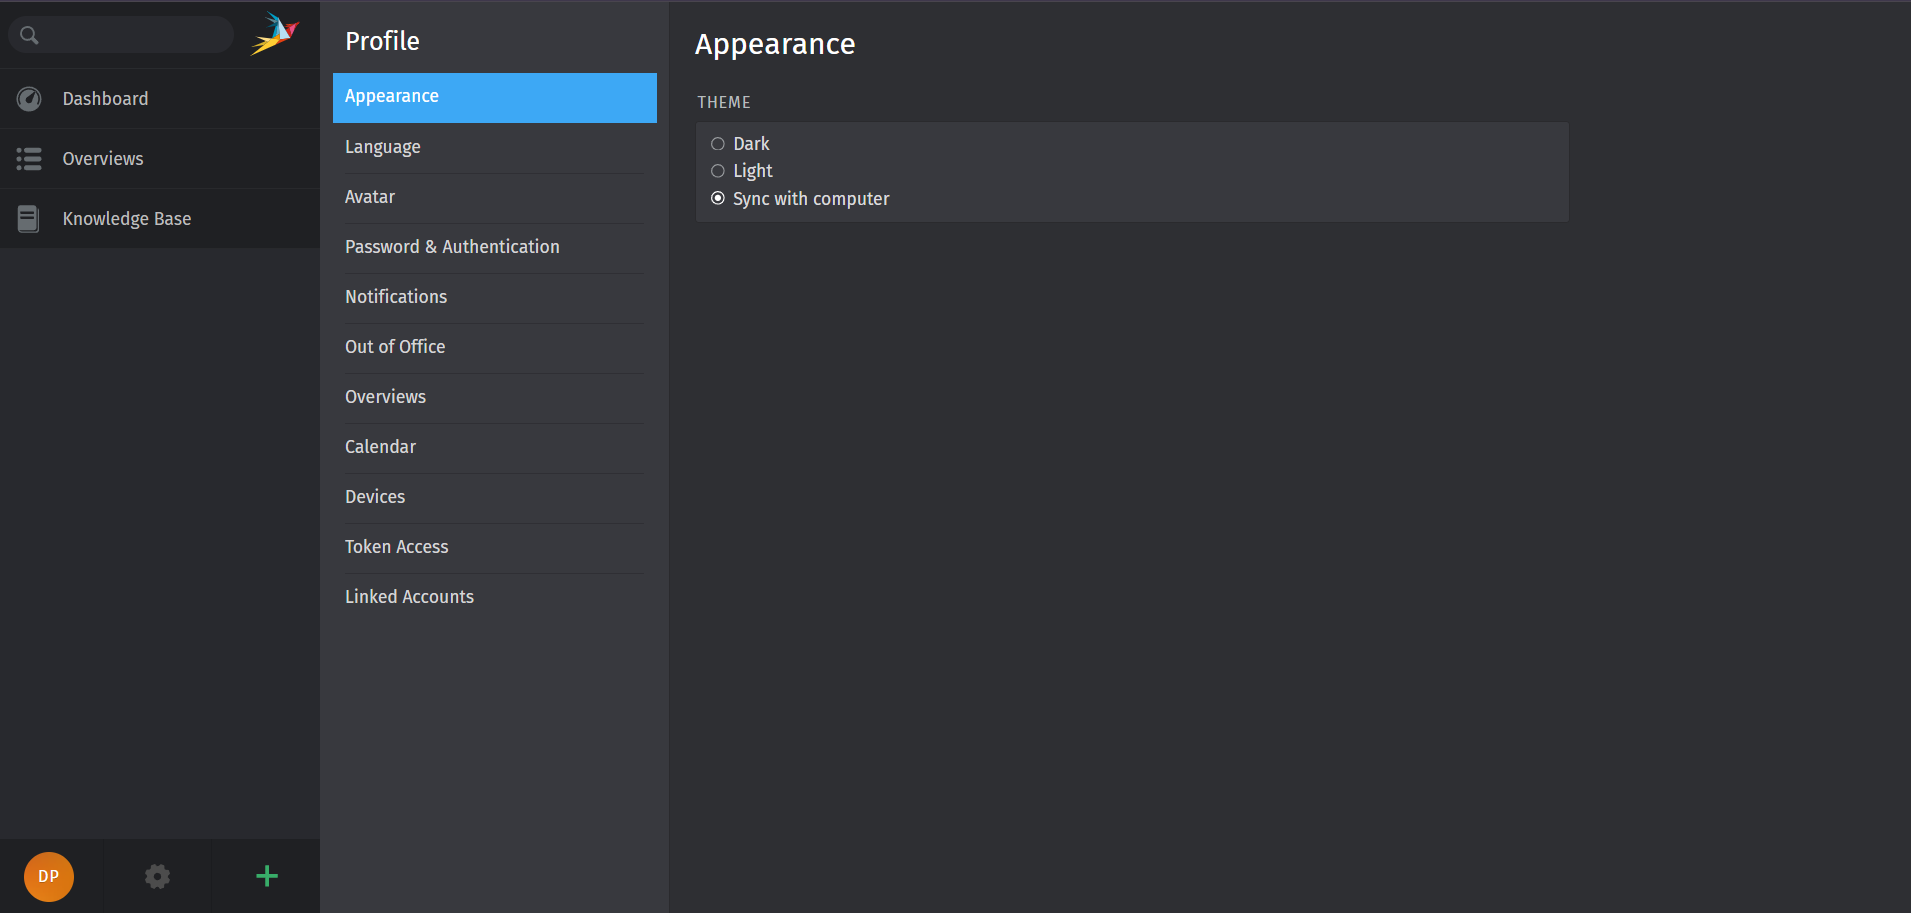
Step 2: Navigate to Token Access
- In the profile settings page, locate the “Token Access” tab
- Click on it to open the Personal Access Tokens section
- You’ll see a list of any existing tokens (if previously created)
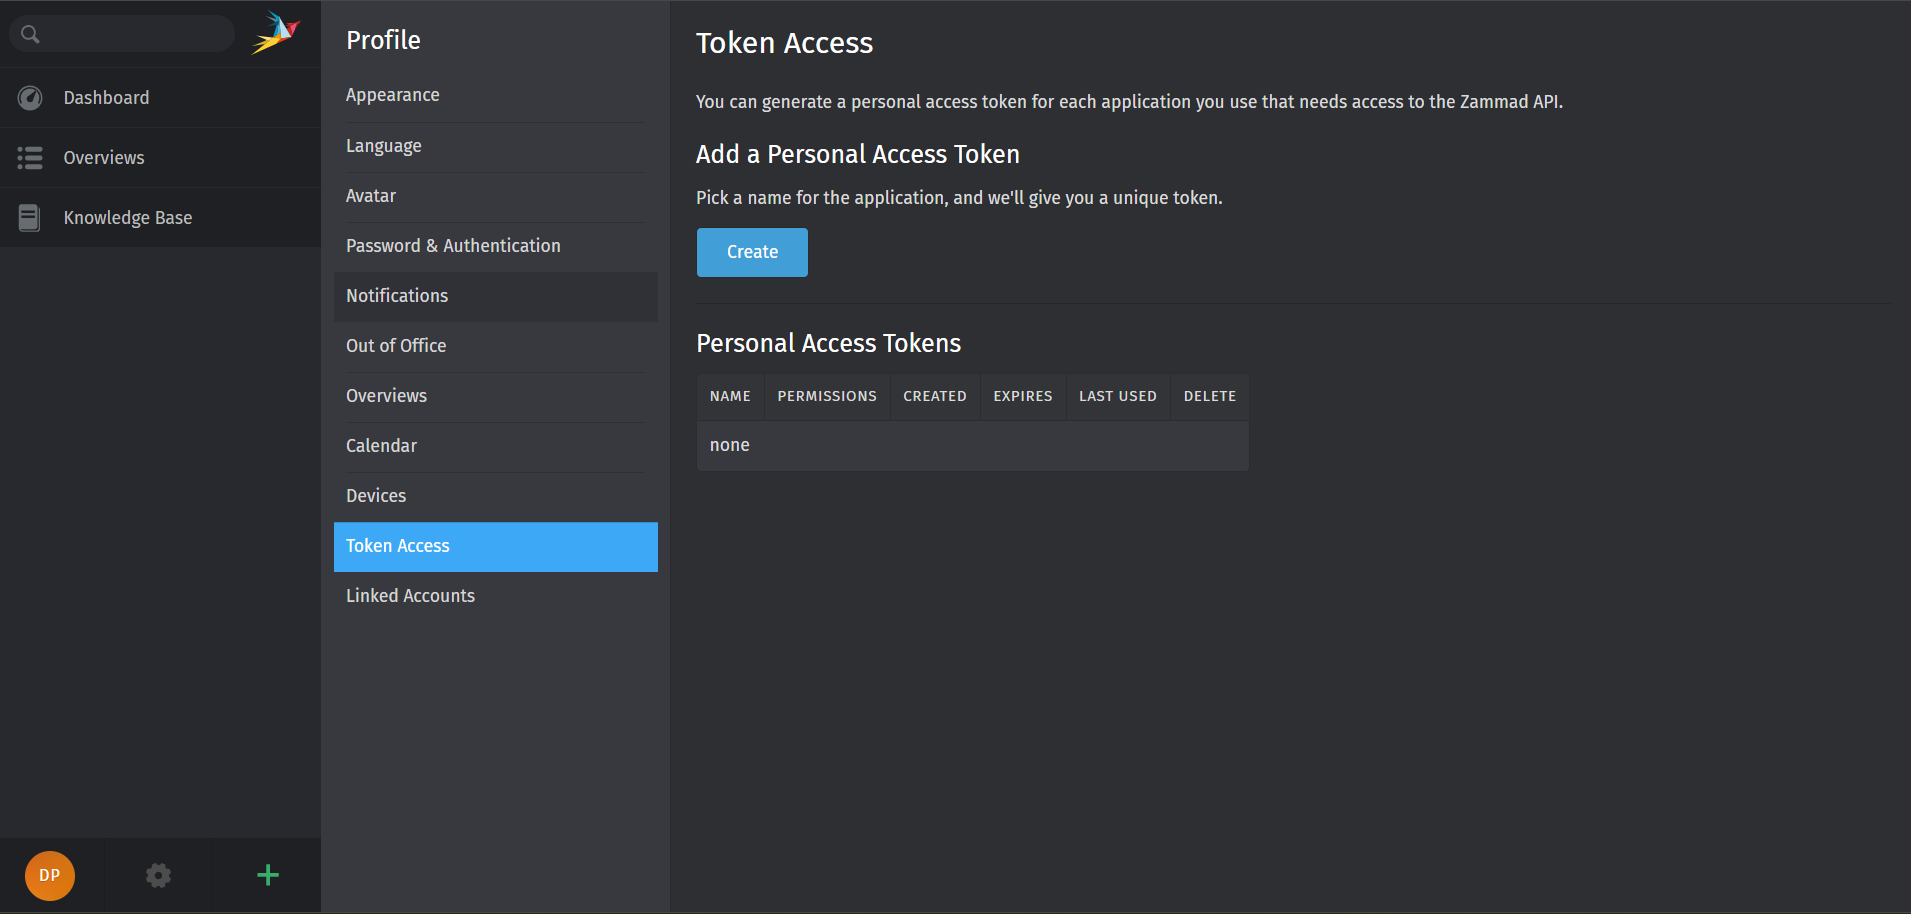
Step 3: Create a New API Token
- Click the “Create” button to generate a new token
-
Fill in the token configuration:
Field Description Recommendation Name A descriptive identifier for the token Use something like “PipesHub-Integration” Expiry Date Expiration date for security set based on your security policy -
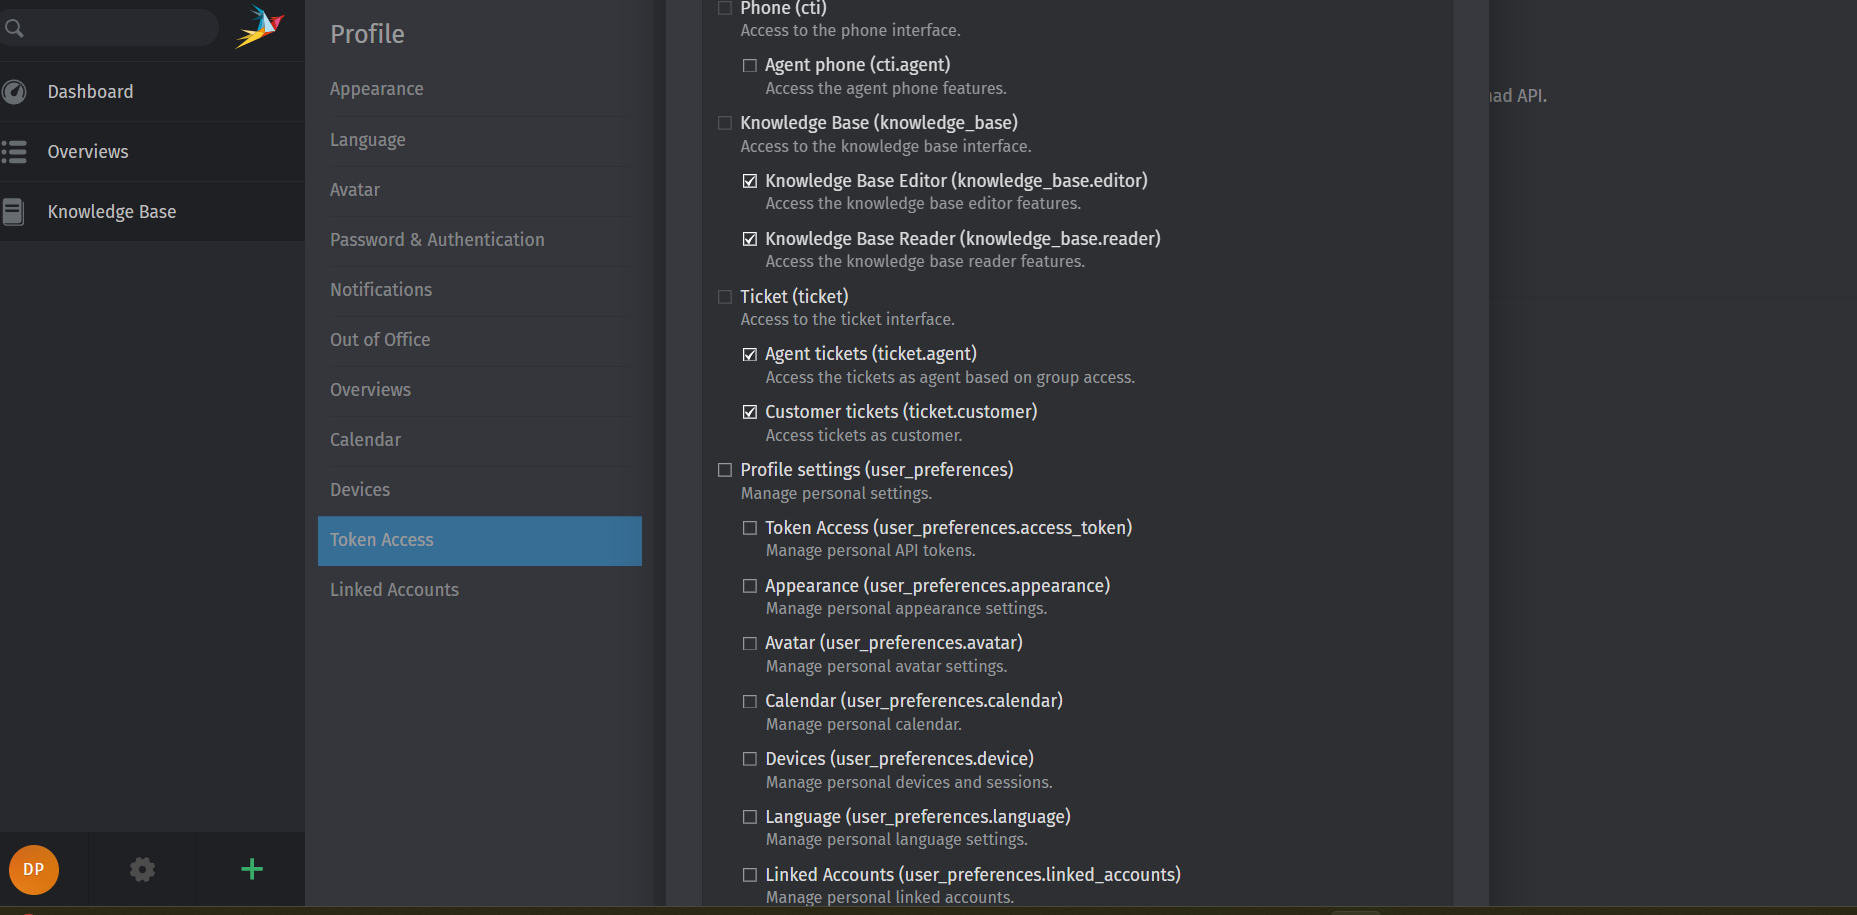
Enable the following Permissions for the token:
Permission Description ticket.agent Access the tickets as agent based on group access ticket.customer Access tickets as customer knowledge_base.editor Access the knowledge base editor features knowledge_base.reader Access the knowledge base reader features - Click “Create” or “Save” to generate the token

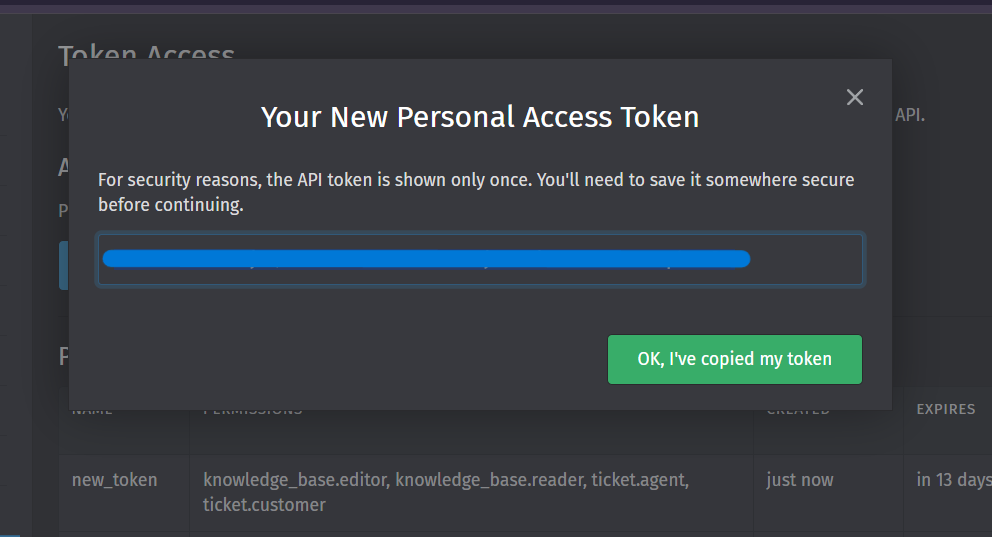
Step 4: Copy the API Token
- After clicking Create, the token will be displayed in a dialog or on screen
- Immediately copy the token to a secure location
- Store it temporarily until you complete the PipesHub configuration
Step 5: Configure Connector in PipesHub
- Open PipesHub and navigate to Connectors Settings
- Find the Zammad connector and click “Save Configuration”
- The configuration dialog will appear with authentication settings
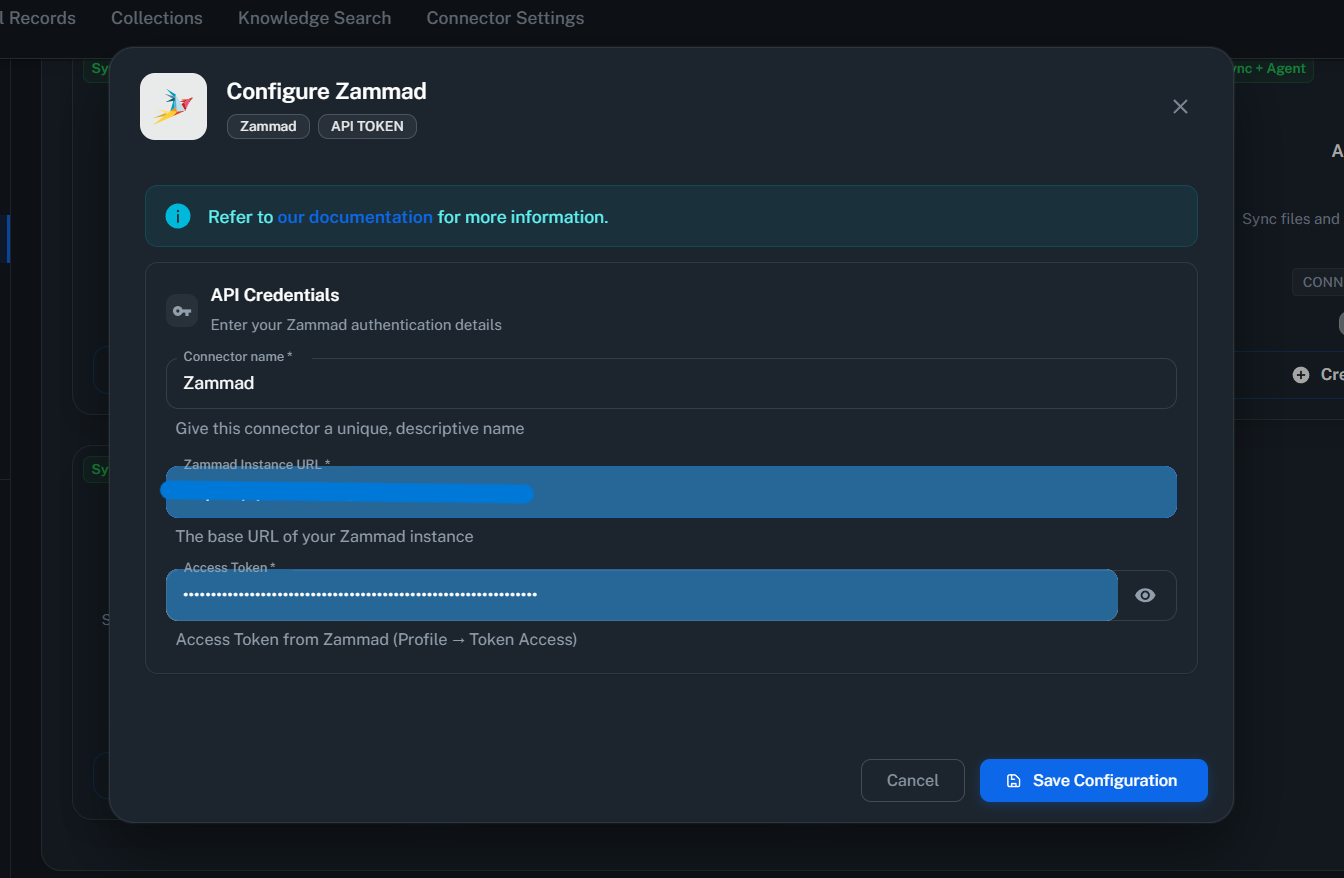
-
Enter your Zammad instance details:
Field Description Example Zammad URL Your Zammad instance base URL https://support.yourcompany.comAPI Token The token you copied in Step 4 your-api-token-here - Click “Save Auth Settings” to save the configuration
Ensure the Zammad URL does not include a trailing slash. Use
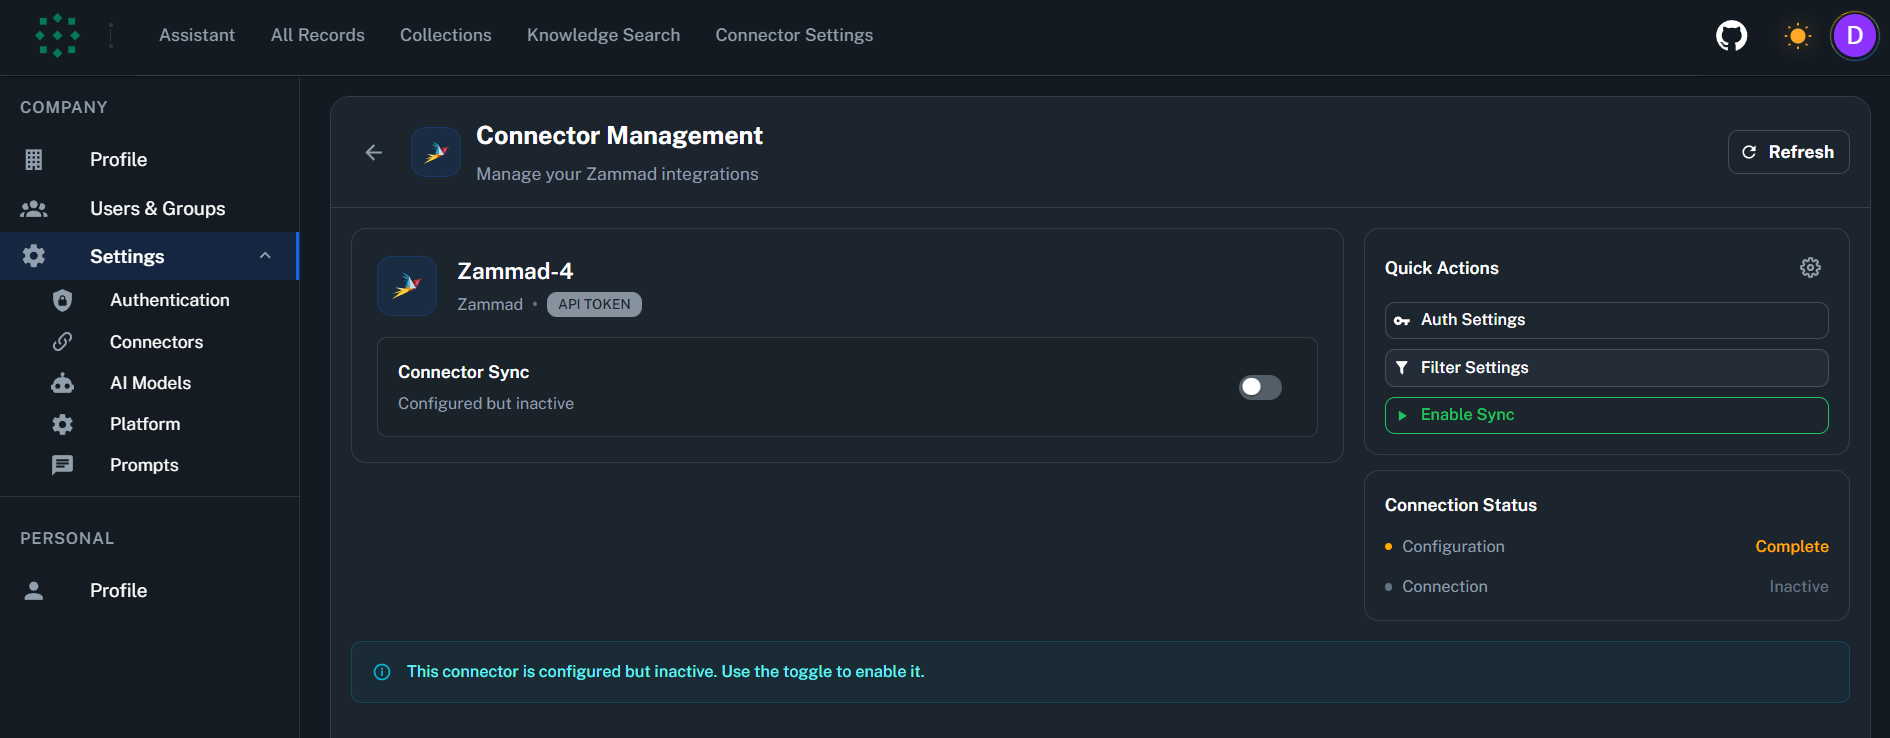
https://support.yourcompany.com not https://support.yourcompany.com/.Step 6: Enable and Configure the Connector
- After saving the authentication settings, click “Enable Sync” to activate the connector
- Configure synchronization settings:
Sync Filters
Sync filters determine which content is downloaded from Zammad. Data excluded by sync filters is never downloaded.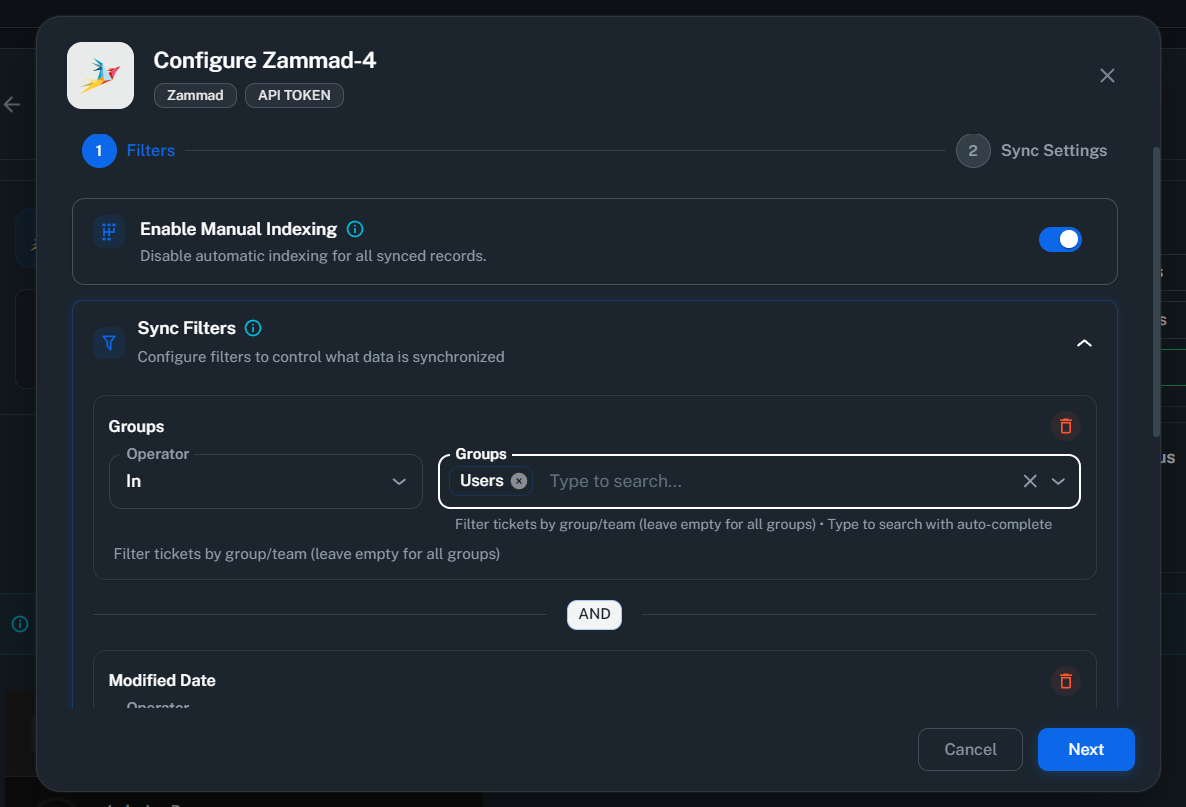
-
Enable Manual Indexing - Control indexing trigger method
- Enabled: Records are indexed only when you manually trigger it
- Disabled (default): Records are indexed automatically after sync
-
Groups - Filter tickets by support group/department
- Operator:
In(include only) orNot In(exclude) - Selection: Choose from a searchable dropdown of your Zammad groups
- Leave empty to sync all groups
- Operator:
-
Modified Date - Filter by last modification date
- Operators:
Is After,Is Before, orIs Between - Use case: Sync only recently updated tickets
- Operators:
-
Created Date - Filter by creation date
- Operators:
Is After,Is Before, orIs Between - Use case: Sync only tickets created within a specific timeframe
- Operators:
Indexing Filters
Indexing filters control what synced data gets processed for AI search.Available Indexing Filters:- Index Tickets (default: enabled) - Include ticket content in search
- Index Attachments (default: enabled) - Include file attachments in search
- Index Knowledge Base (default: enabled) - Include knowledge base articles in search
Sync Settings
Configure your synchronization preferences:- Sync Strategy: Choose between “Scheduled” or “Manual”
- Sync Interval: Choose how often to sync (default: 60 minutes)
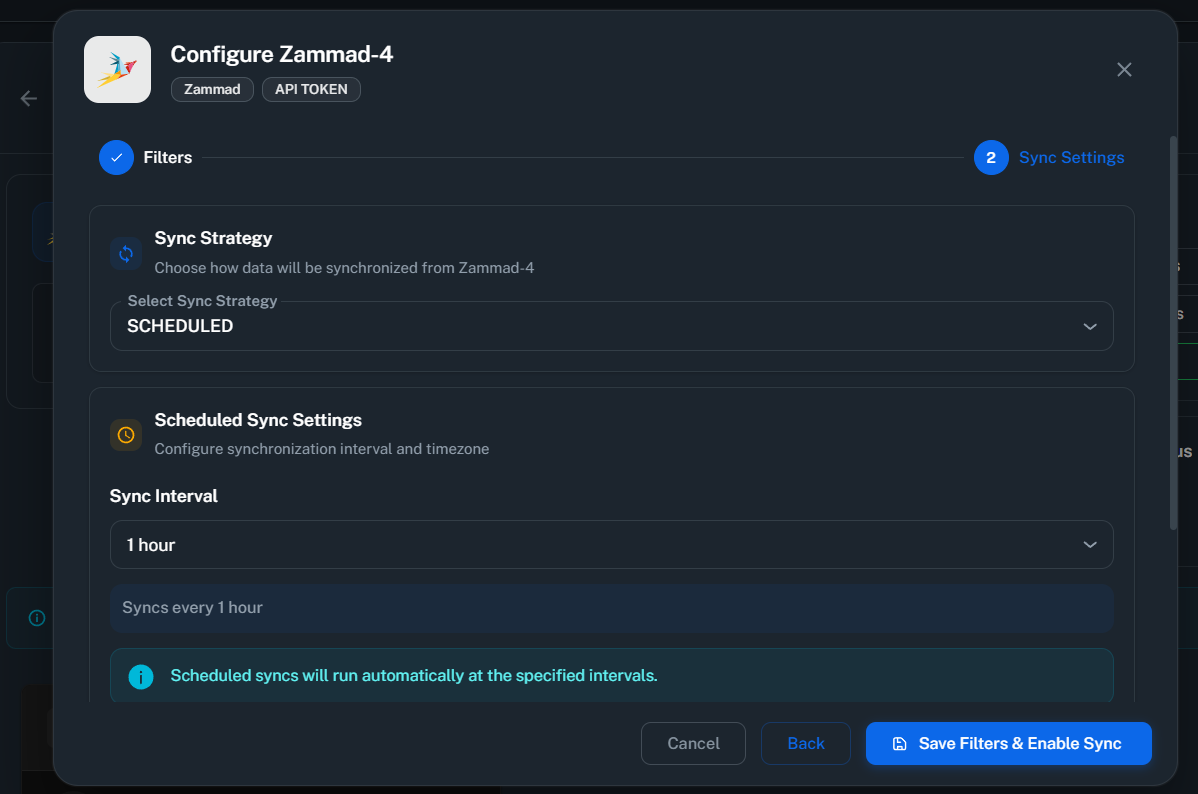
Scheduled sync runs automatically at the specified intervals. Manual sync requires you to trigger synchronization on-demand.
Save and Activate
- Click “Save” to save your configuration and enable the connector
- The connector will verify credentials and begin initial synchronization
- Wait for the status to show “Active” or “Syncing”
- Monitor the Indexing Progress to track sync completion
Supported Features
The Zammad connector provides:- Full content sync: Tickets, knowledge base, attachments, users, and groups
- Incremental sync: Only fetches changes since last sync using
updated_attimestamps - Batch processing: Fetches data in optimized batches for performance
- Permission preservation: Respects group-based access controls
- Attachment handling: Syncs file attachments from ticket articles
- Knowledge Base sync: Syncs categories and answers with translations
Permission Model
Zammad uses different permission models for different content types:- Tickets: Group-based access controls. Users can only access tickets in their assigned groups.
- Knowledge Base: Role-based access controls. Access to knowledge base content is determined by user roles.
- Group assignments determine which agents can view synced tickets in PipesHub
- Internal articles respect the internal/public visibility flag
Useful Links
- Zammad API Documentation: docs.zammad.org/en/latest/api/intro.html
- Zammad REST API Reference: docs.zammad.org/en/latest/api/
- Zammad User Documentation: user-docs.zammad.org
- Zammad Admin Documentation: admin-docs.zammad.org
Troubleshooting
Troubleshooting
Troubleshooting
Common Issues
Invalid API token error:- Verify the API token was copied correctly without extra spaces
- Check that the token has not expired (if expiry date was set)
- Ensure the token was not revoked in Zammad
- Generate a new token if the current one is compromised or lost
- Verify the Zammad URL is correct and accessible
- Check that your Zammad instance is running and reachable from PipesHub
- Ensure there are no firewall rules blocking the connection
- Verify SSL/TLS certificates are valid (for HTTPS connections)
- The API token inherits the creating user’s permissions
- Use an admin user’s token for full API access
- Check that the user account is active and not locked
- Verify the user has access to the required groups
- Verify the connector status shows “Active”
- Check that tickets exist in Zammad within your filter criteria
- Ensure the API token user has access to the groups being synced
- Review sync logs for specific error messages
- Verify group filters aren’t excluding the desired content
- Check that the API token user has access to those groups
- Ensure ticket state filters aren’t excluding tickets
- Verify date filters aren’t too restrictive
Connector Workflow
Synchronization Process
Synchronization Process
The Zammad connector follows a structured synchronization process to ensure all data is accurately synced and permissions are properly maintained.
Sync Order
The connector syncs data in the following order:- Users → Sync all Zammad users with their profiles and emails
- Groups → Sync support groups/departments (creates both RecordGroups and UserGroups for permissions)
- Roles → Sync user roles for knowledge base access controls
- Tickets → Sync tickets per group with articles and attachments
- Knowledge Base → Sync categories and answers with translations
Full Sync vs Incremental Sync
Full Sync occurs when:- First-time synchronization
- Manual full sync is triggered
- Previous sync completed successfully
- Only fetches content modified since last sync
- Uses
updated_attimestamps for change detection
What Gets Processed
Tickets: Number, title, state, priority, group assignment, owner, customer, all articles (messages, replies, notes), attachmentsKnowledge Base: Categories hierarchy, answers/articles with full content and translations, associated attachmentsAttachments: Files attached to ticket articles and knowledge base answersFAQ
How long does the initial sync take?
How long does the initial sync take?
The initial sync duration depends on several factors:
- Instance size: Number of tickets and knowledge base articles
- Network latency: Connection speed to your Zammad instance
- Content complexity: Tickets with many attachments take longer
- Use group filters to sync only the groups you need
- Use date filters to exclude old tickets
What permissions does the API token need?
What permissions does the API token need?
The following permissions must be enabled when creating the API token:
- ticket.agent - Access the tickets as agent based on group access
- ticket.customer - Access tickets as customer
- knowledge_base.editor - Access the knowledge base editor features
- knowledge_base.reader - Access the knowledge base reader features
Can I sync specific groups only?
Can I sync specific groups only?
Yes. Use the Groups filter to specify which groups to include or exclude:
- Include specific groups: Set Operator to
Inand select the groups - Exclude specific groups: Set Operator to
Not Inand select the groups to exclude
Queries not returning results. What could be wrong?
Queries not returning results. What could be wrong?
There are three common causes:
-
Email mismatch - The email used during connector authentication doesn’t match your PipesHub account email. This causes permission issues preventing you from accessing synced data.
- Fix: Reconfigure the connector and authenticate using the same email as your PipesHub account.
-
Records show in “All Records” but not in search - Documents display in the All Records section but don’t appear in search query results.
- Fix: Verify sync filters in the connector settings and ensure indexing has completed. Check that the data matches your search query criteria.
-
Data not yet indexed - The connector is still syncing or hasn’t completed the initial indexing process.
- Fix: Go to Settings > Connectors, check the sync status, and wait for indexing to complete.
Ready to Get Started?
Connect your Zammad helpdesk to PipesHub in just a few minutes. Follow the step-by-step guide above to enable organization-wide support ticket search across all your Zammad content.