
What happens after a file arrives
- Queued. The record waits its turn.
- Type check. PipesHub checks the format. A format it can’t index stops here with File type not supported. See Supported file formats.
- Reading. PipesHub extracts the file’s text, tables and images. Scanned PDFs and images need a model that can read images.
- Indexing. The content is split into blocks, turned into embeddings with your embedding model, and stored in the vector database. The record is now Completed and searchable.
- Data extraction with AI. In the background, PipesHub adds a summary, topics and categories to the record. Search doesn’t wait for this step. Entity extraction, if it is on, runs here too.
Where to see statuses
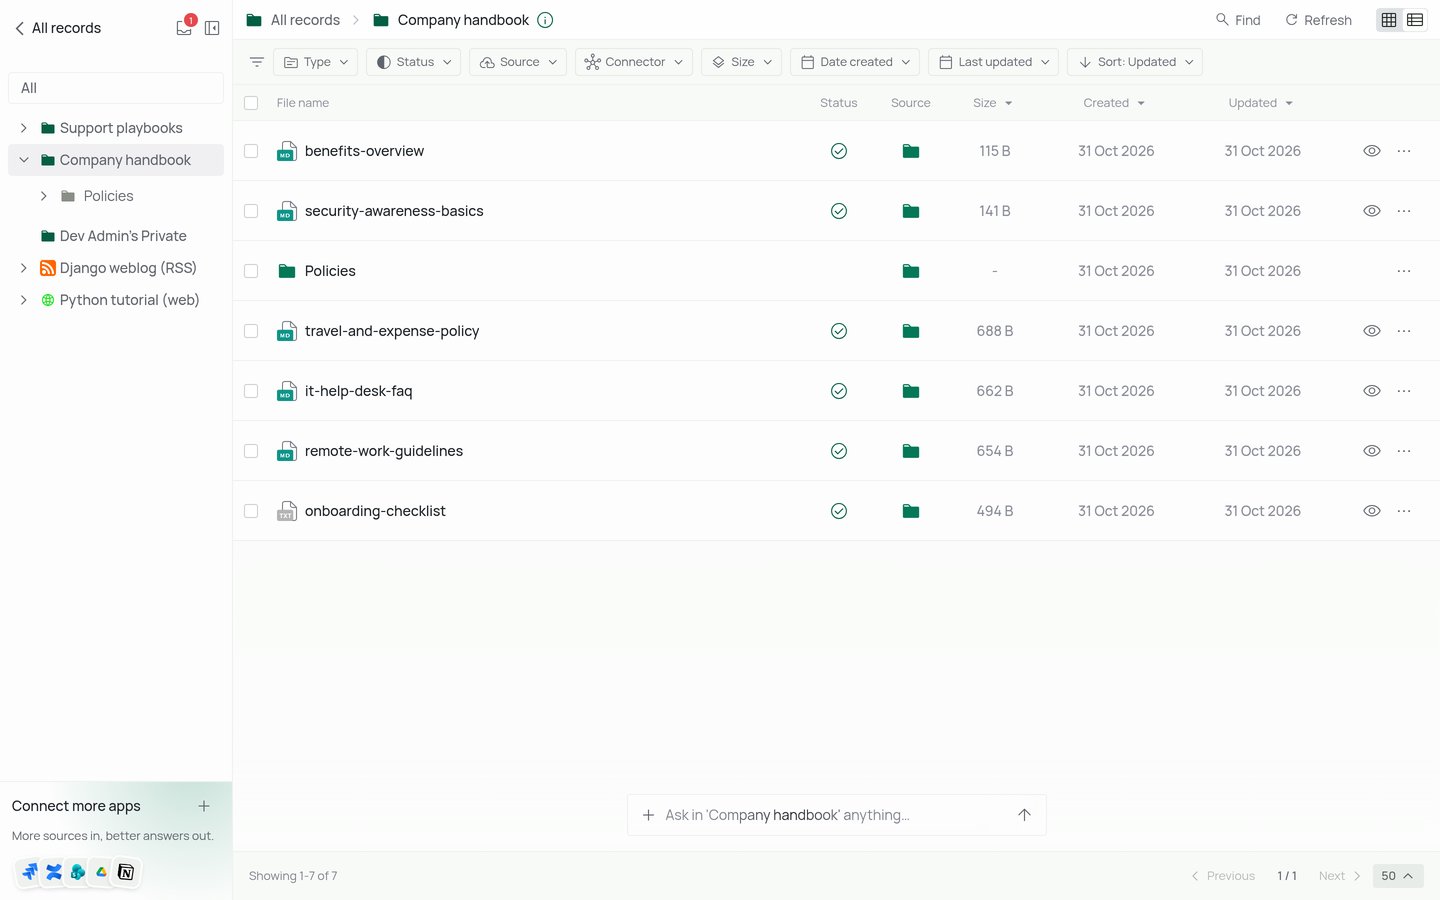
- In a collection or All records, each file shows its status. Some statuses add a short reason, for example why a file failed.
- On a connector’s Overview tab, under Workspace → Connectors, Records status counts the records in each status. Select a count to list those records.
Statuses and what to do
Common reasons for Failed:
- No embedding model is set up, or PipesHub couldn’t reach it. An admin can check it in Workspace → AI models, then reindex the file.
- The file is a scanned document and no model can read images. Add a multimodal model, then reindex.
- The file took too long to process. Reindex it. If it keeps failing, split it into smaller files.
- An e-book is copy-protected (DRM). Upload a copy without copy protection.
Retry or reindex from the UI
Open the actions menu on a file or folder in a collection or All records. The menu shows the action that fits the file’s status:
For a folder, the menu offers Reindex all (or Index all if nothing in it has been indexed), Reindex failed, and Start indexing for files waiting on manual indexing. A collection offers Reindex all and Reindex failed.
On a connector’s Overview tab, Reindex failed retries every failed record from that connector.
Files from a code repository (GitHub, GitLab) can’t be reindexed one by one. Sync the connector instead.
Data extraction with AI
A connector’s Overview tab shows Data extraction with AI with progress for each step:- Classification adds a summary, topics and categories.
- Entity extraction finds people, organizations and places. It shows only when entity extraction is on.
Turn on entity extraction
Entity extraction is off by default. To turn it on for the whole workspace, an admin goes to Workspace → Labs, selects Show advanced feature flags, and turns on Extract Named Entities. It is also always on when the deployment setsHIGH_ACCURACY_MODE=true, which turns on other higher-cost features too. In that case the Labs flag can’t turn it off.
Records indexed before you turned it on get entities the next time they are indexed. Reindex them if you need entities now.