
Start a chat
- Select New chat at the top of the sidebar, or press Cmd/Ctrl + Shift + K.
- Type your question in the box that says Ask anything.
- Press Enter to send. Press Shift + Enter for a new line.
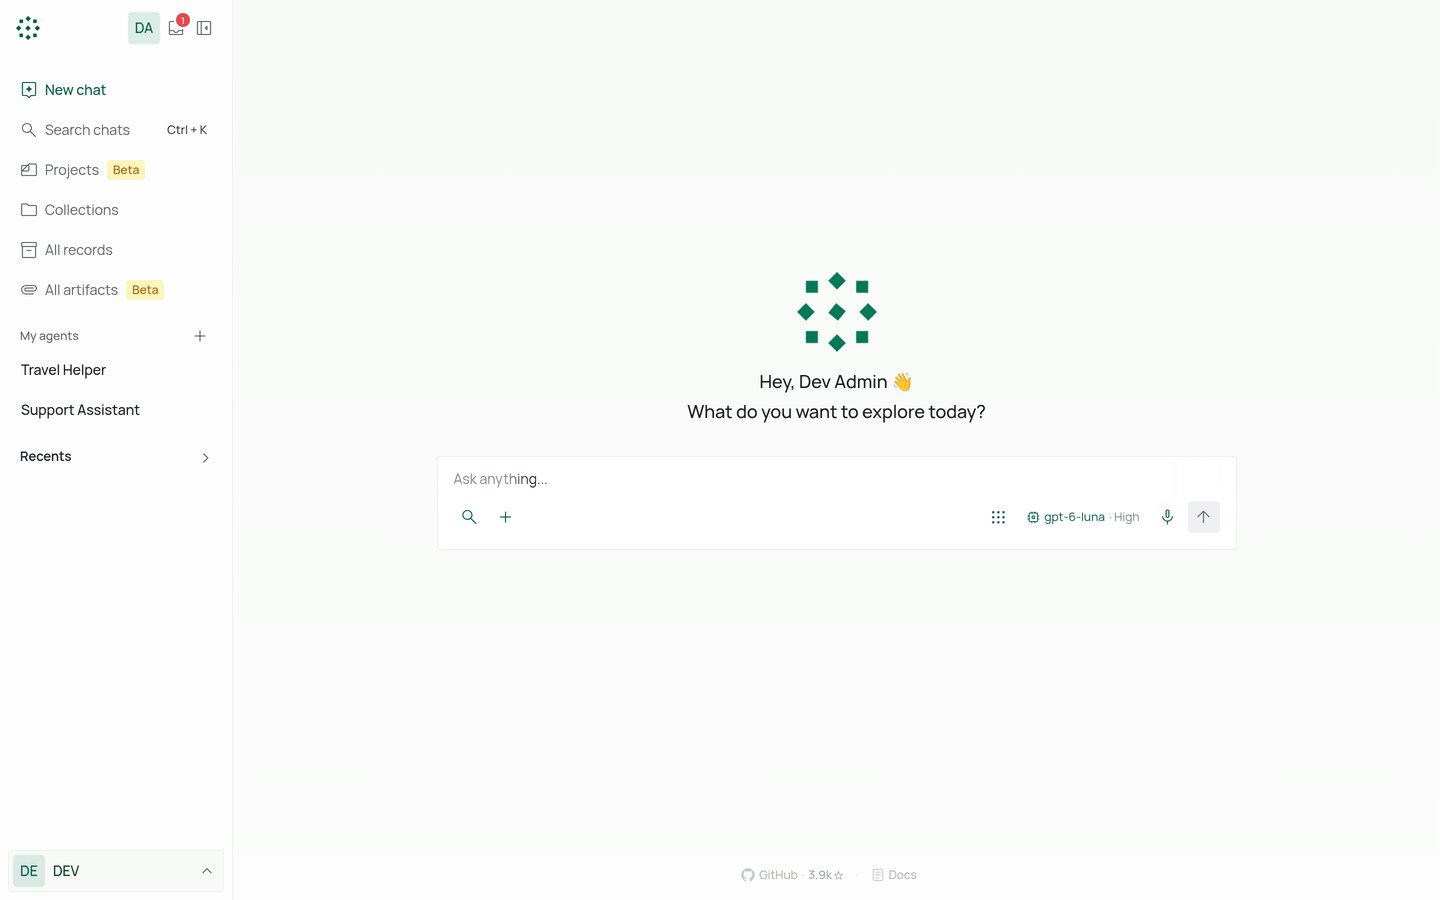
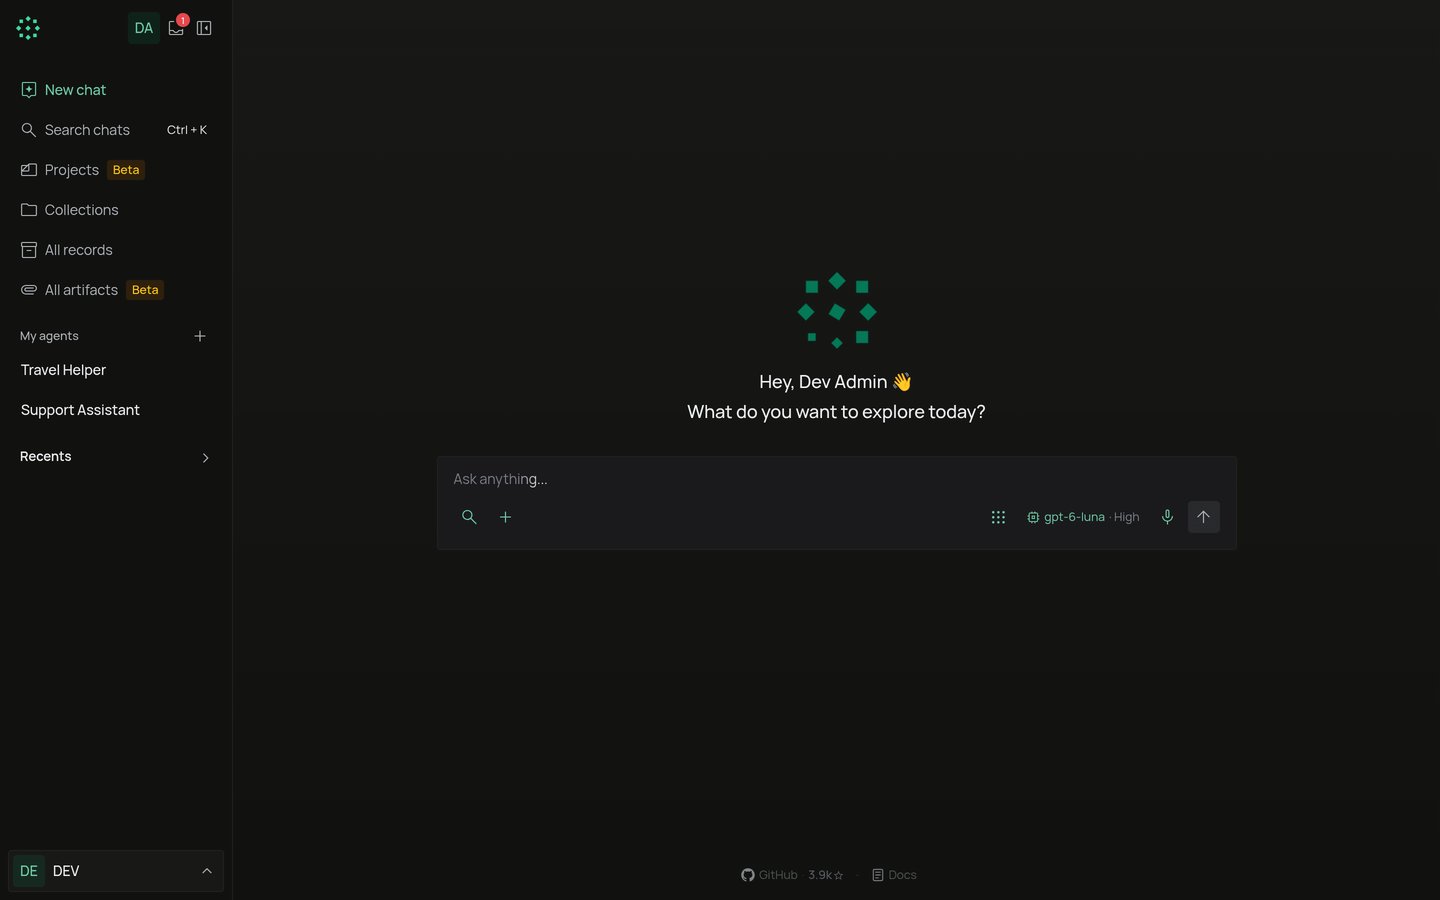
The composer
Choose where to search
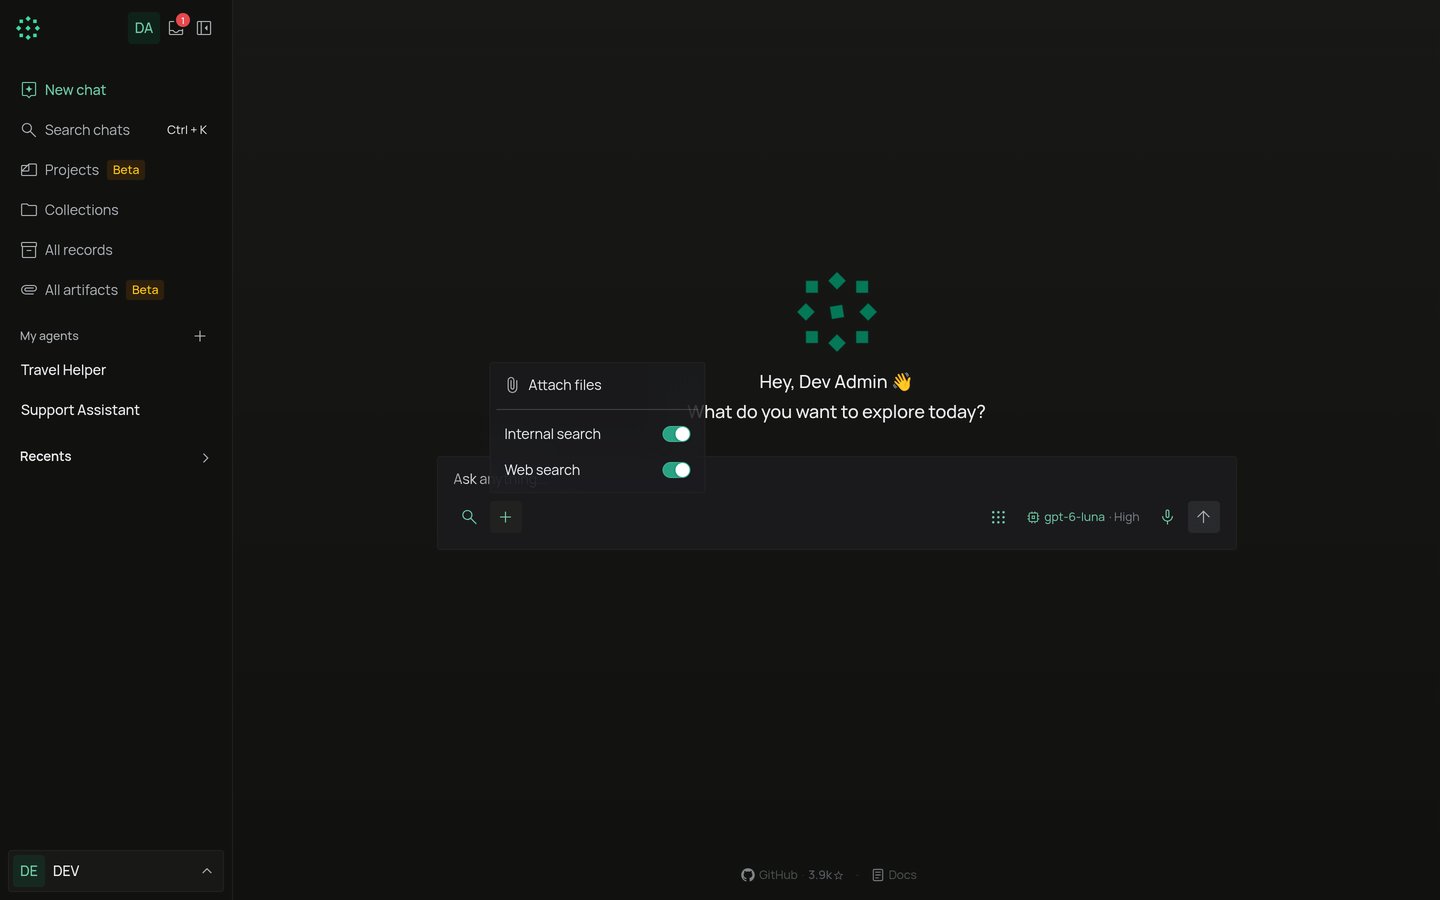
Select the + button (Add files & capabilities) to see these options: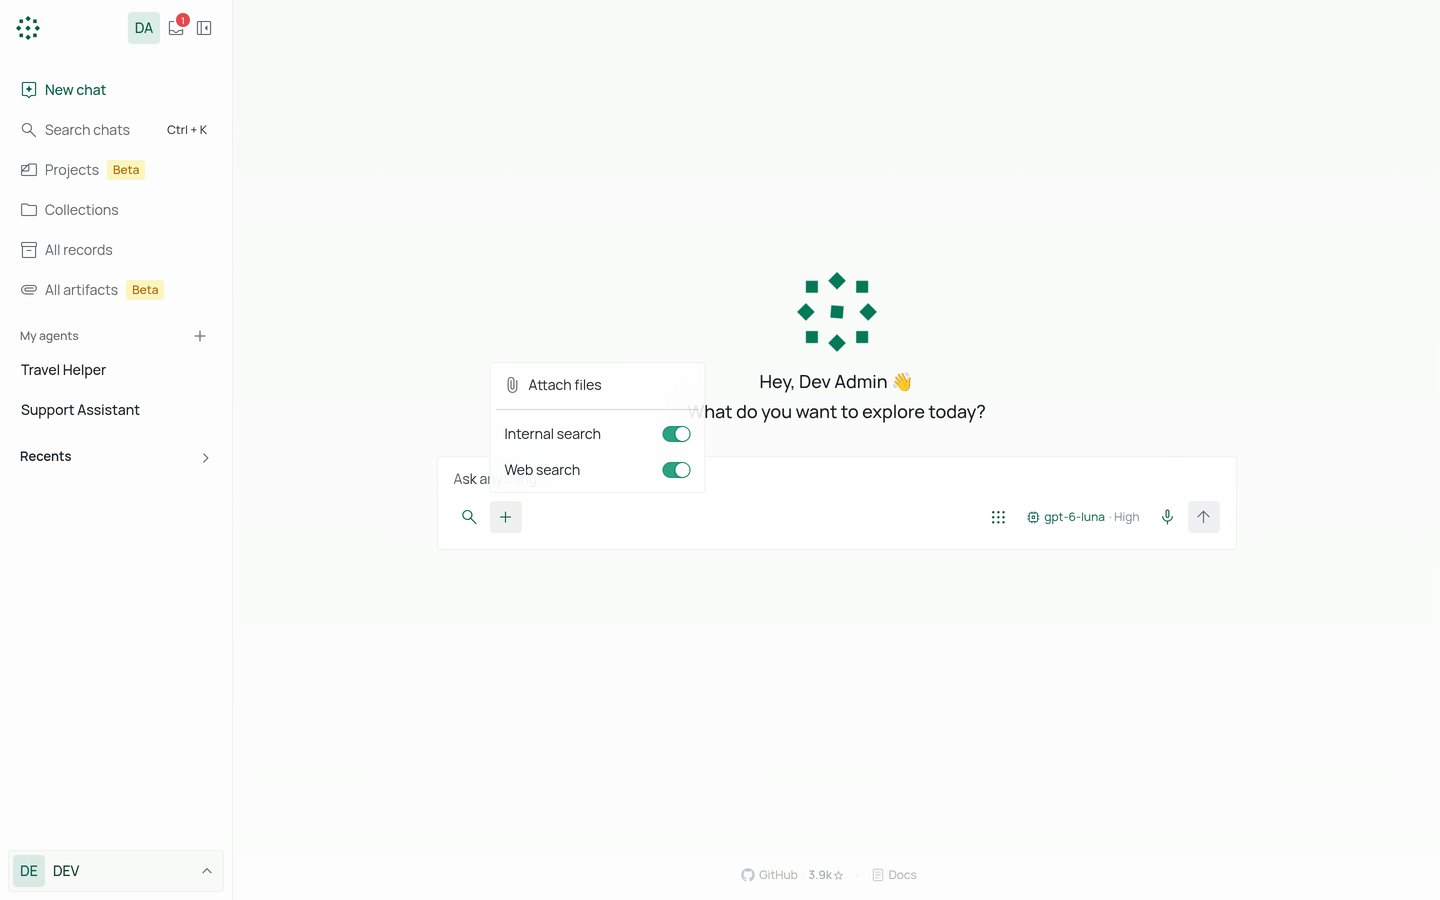
Narrow the sources
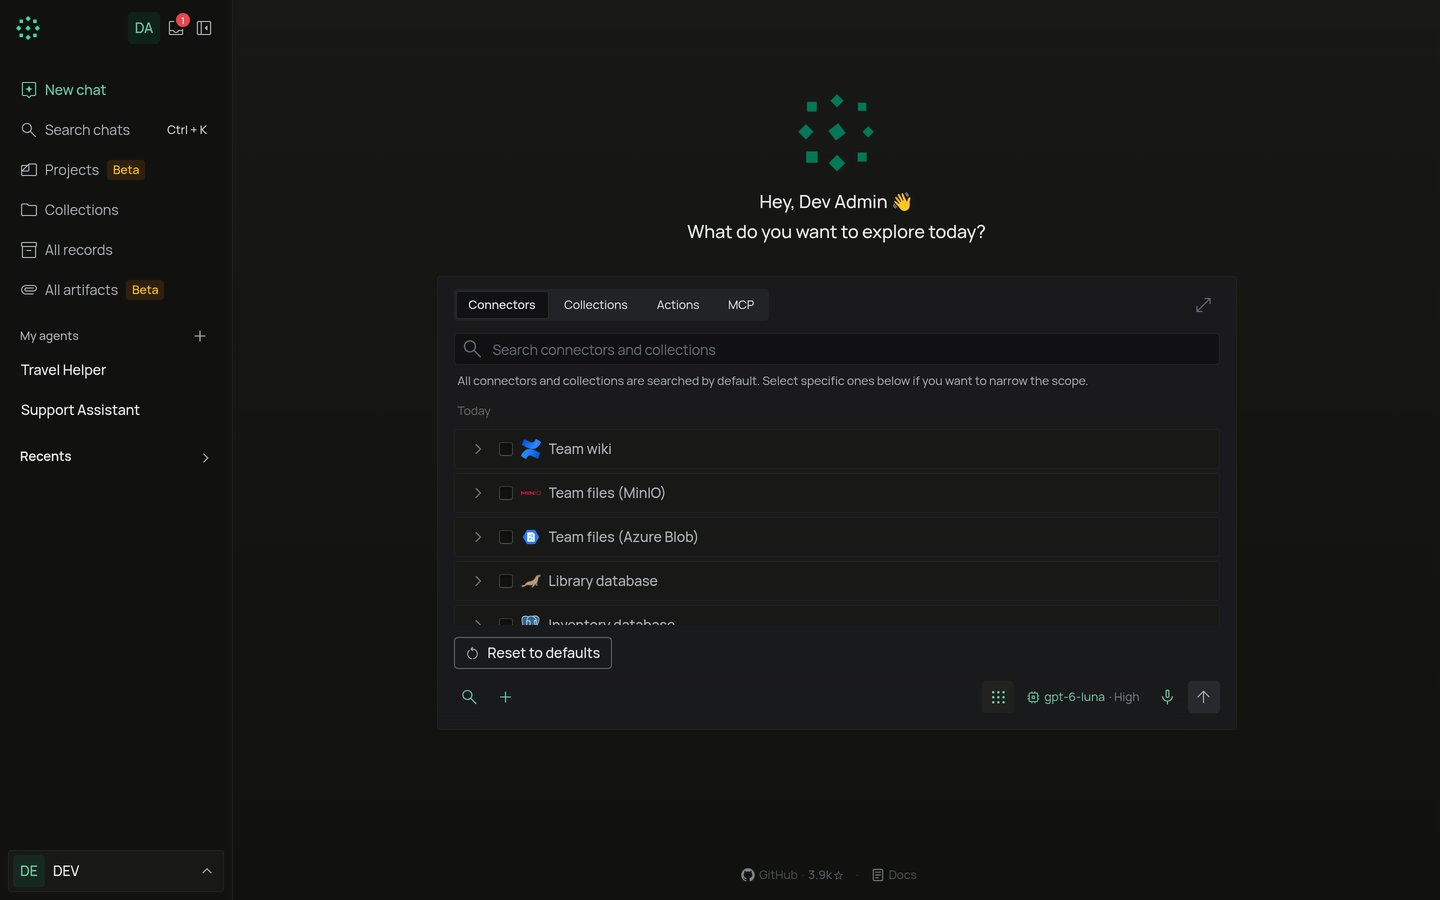
By default, every connector and collection you can see is searched. To narrow it, open Connectors, collections & actions in the composer (tabs Connectors, Collections, Actions and MCP) and pick whole sources, or open a source to pick folders and files inside it.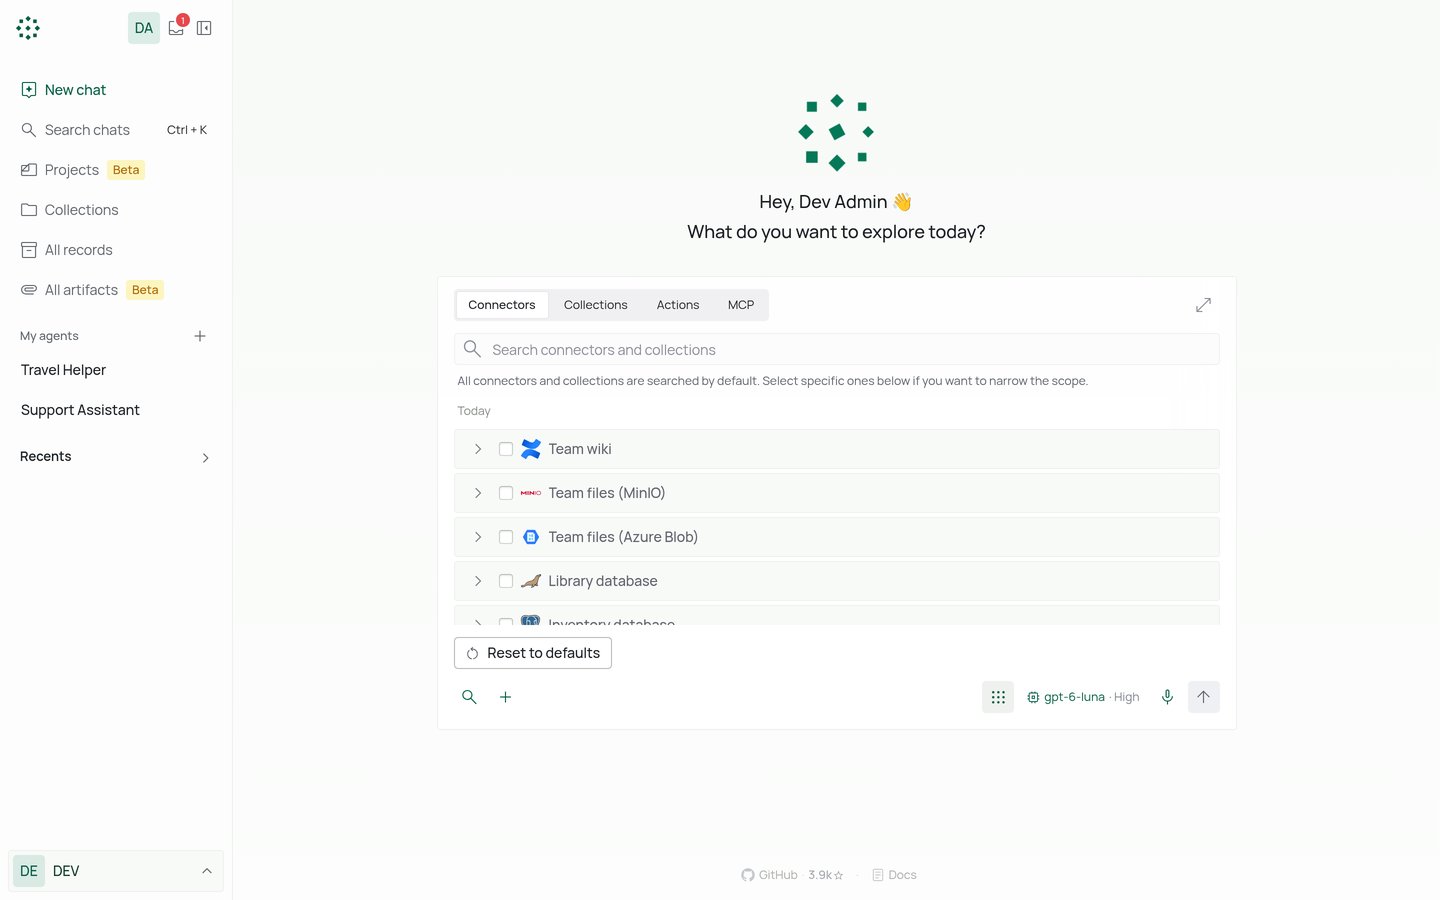
@ in the message box. A menu opens with Your apps and Collections, and you can search by name for folders and files. What you pick is added to the sources for the chat. The @ menu does not open in agent chats or project chats, or while you edit or regenerate a message.
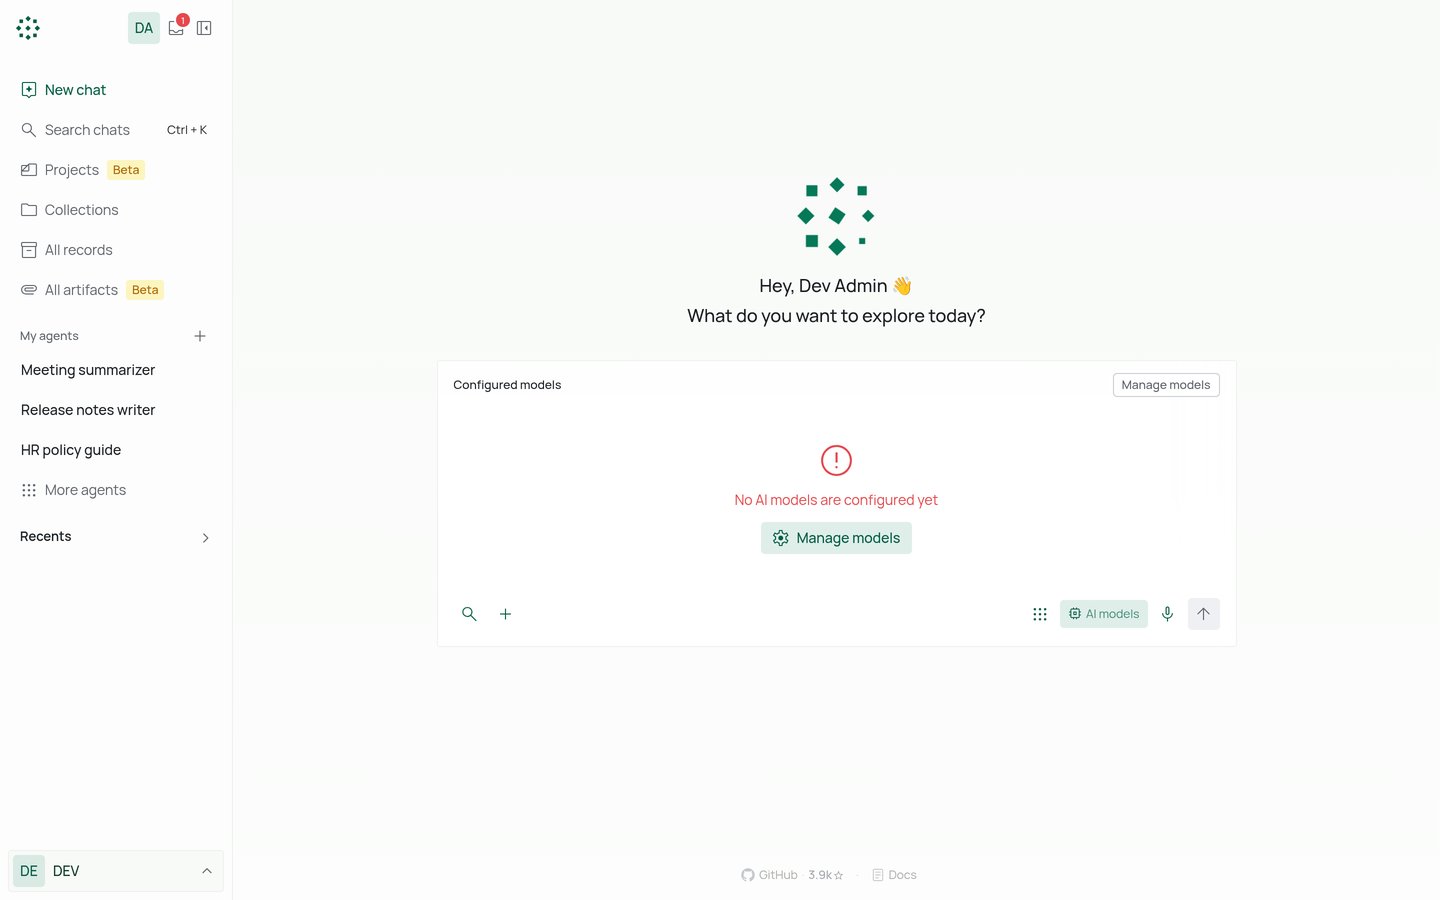
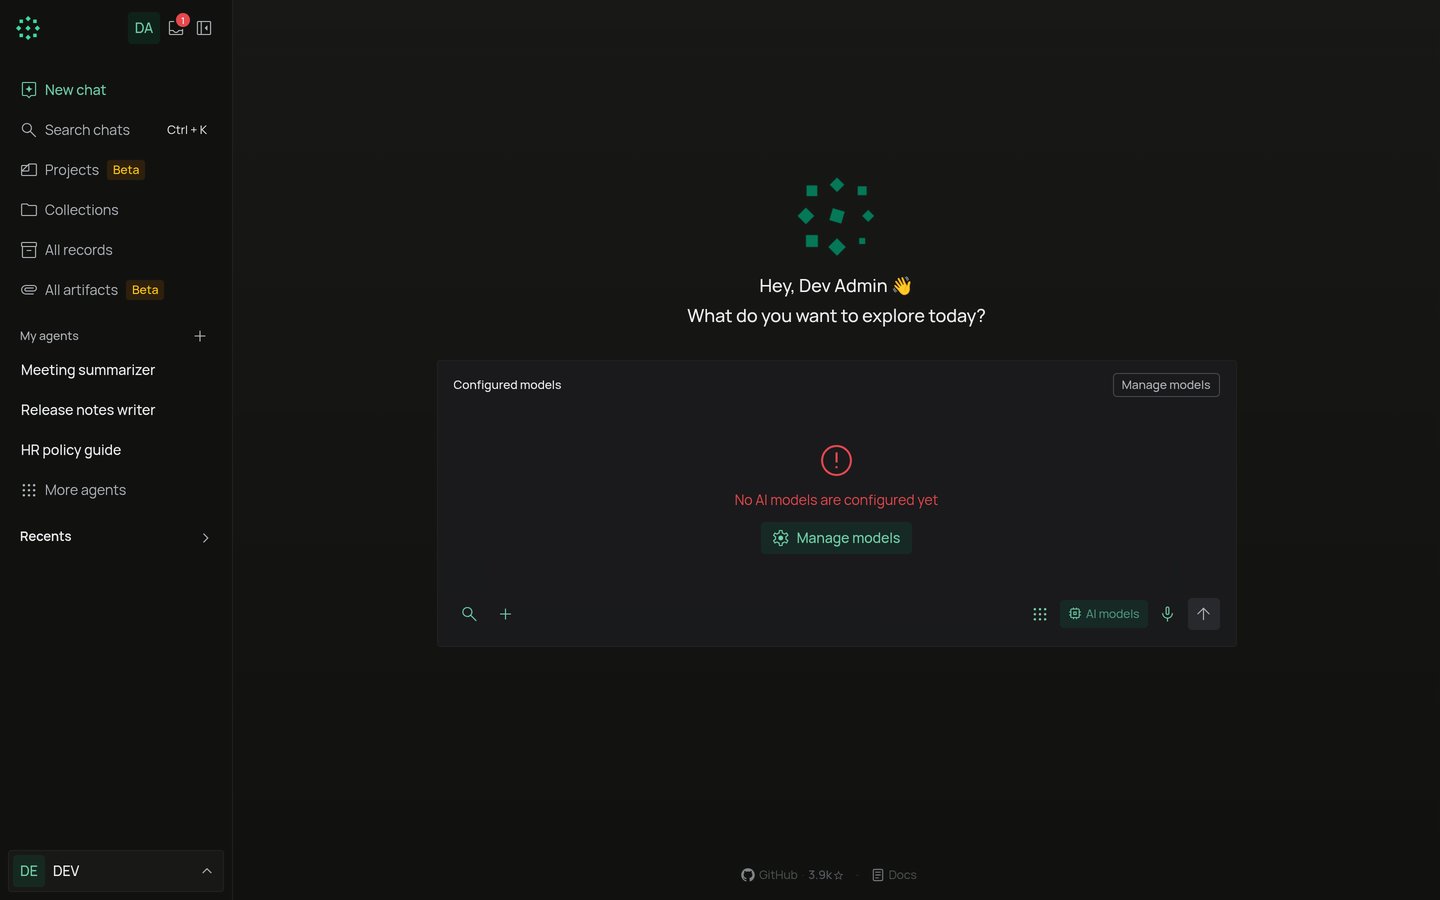
Pick a model and reasoning effort
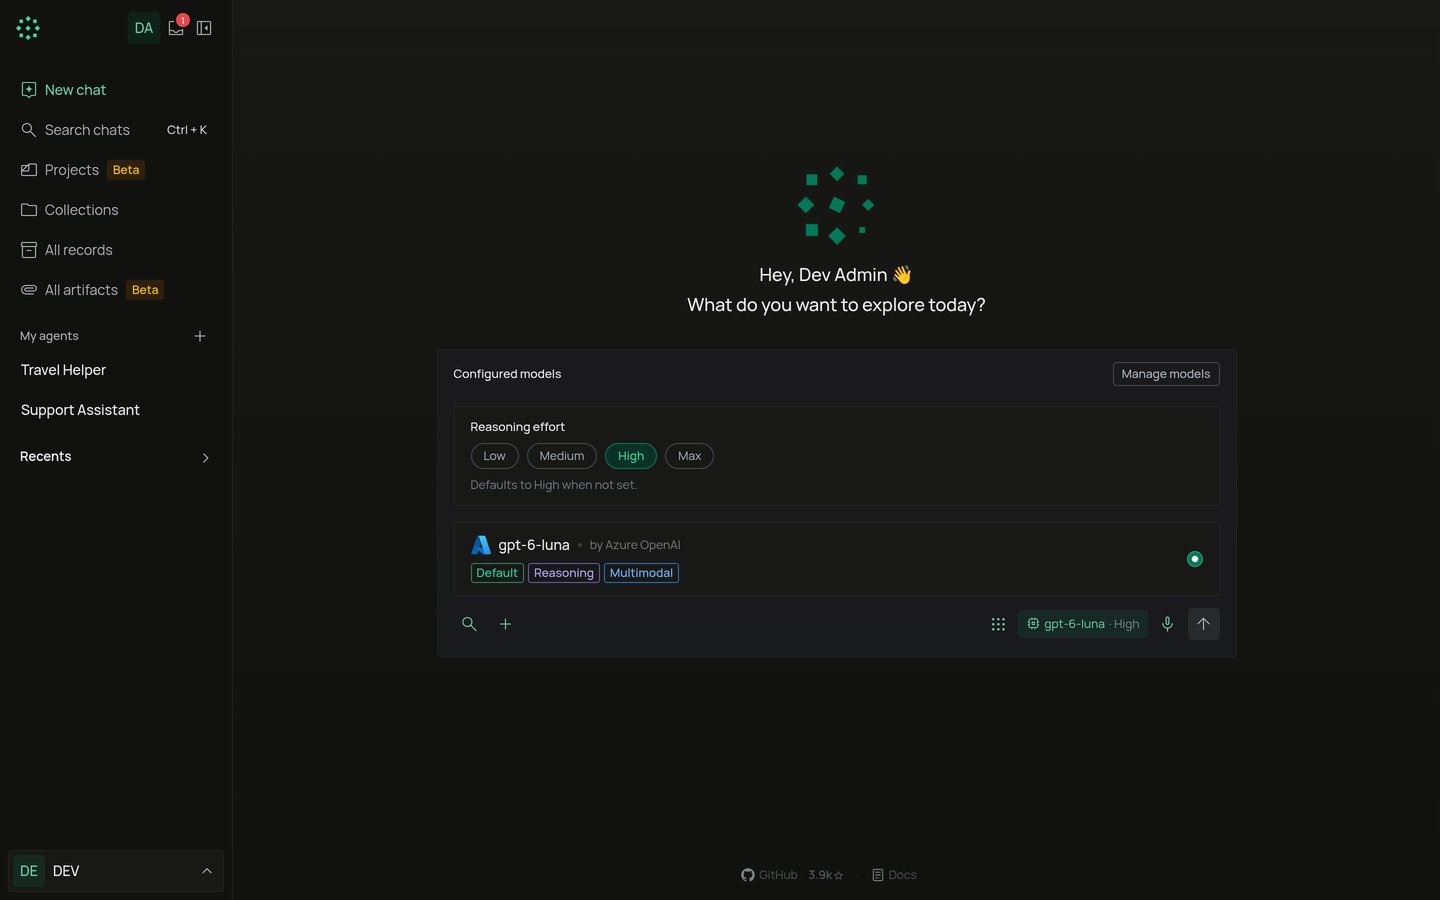
The model button in the composer shows the current model. Select it to see Configured models and pick another one. Admins also see Manage models, which opens Workspace → AI models. For a model that supports reasoning, the same panel shows Reasoning effort: Low, Medium, High or Max. Select the active level again to go back to the model’s default.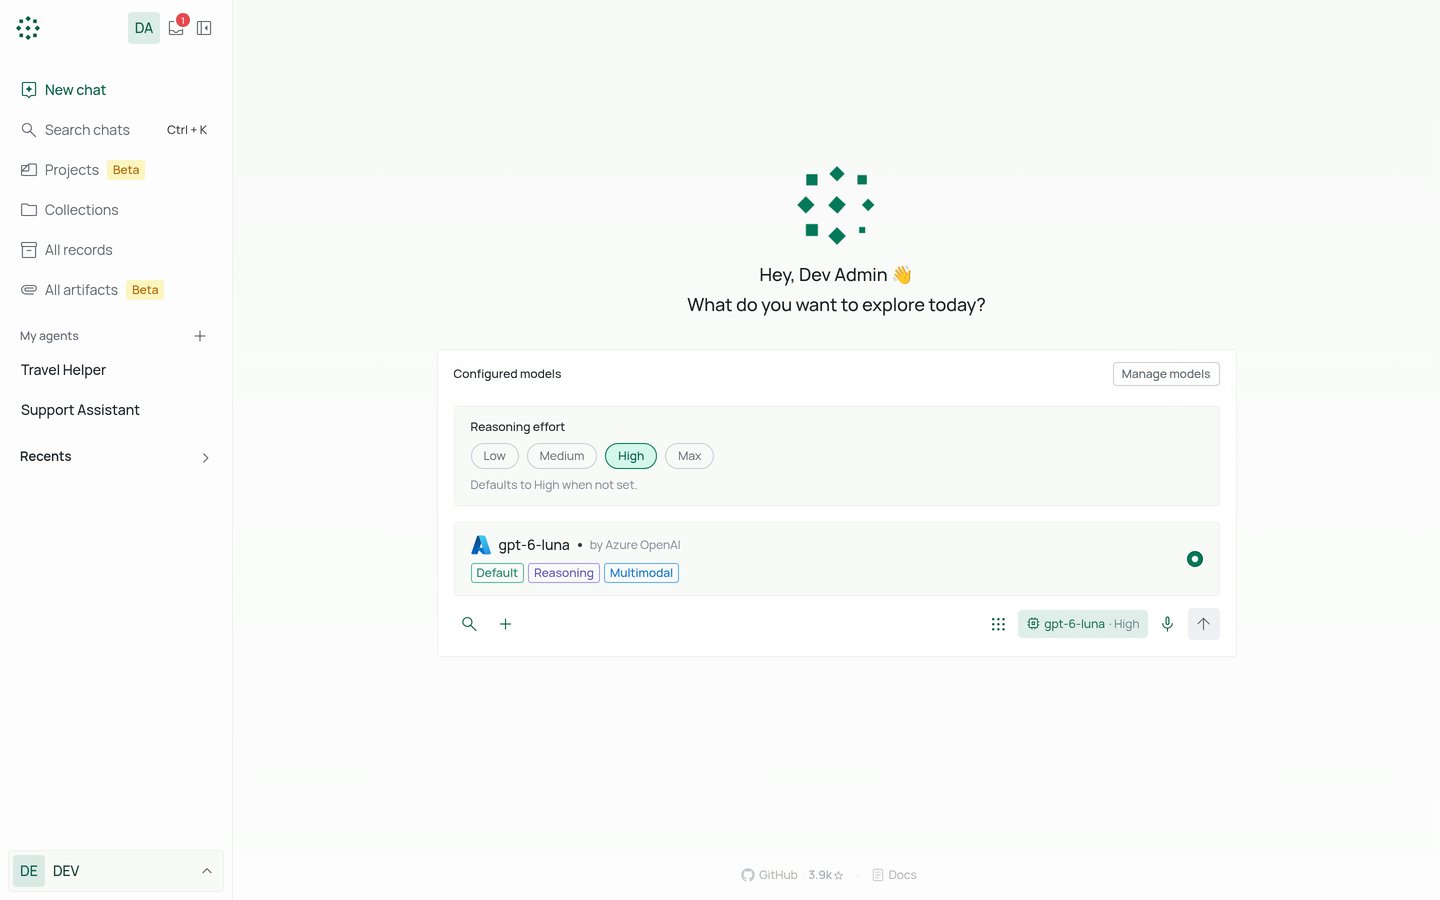
Attach files
- Types: PDF, PNG, JPEG, JPG, TXT, MD, DOCX, XLSX, CSV (and TSV).
- Up to 10 files per message.
- Up to 5 MB per file.
Voice input
Select the microphone (Voice input) and speak. Select it again to stop.- If an admin has added a Speech-to-Text model, your audio is sent to that model. See Speech to Text models.
- If not, the browser’s own speech recognition is used, where the browser has it.
- If neither is available, the button is turned off and its tooltip says: Configure a Speech-to-Text (STT) model in AI models settings to enable voice input.
Read an answer
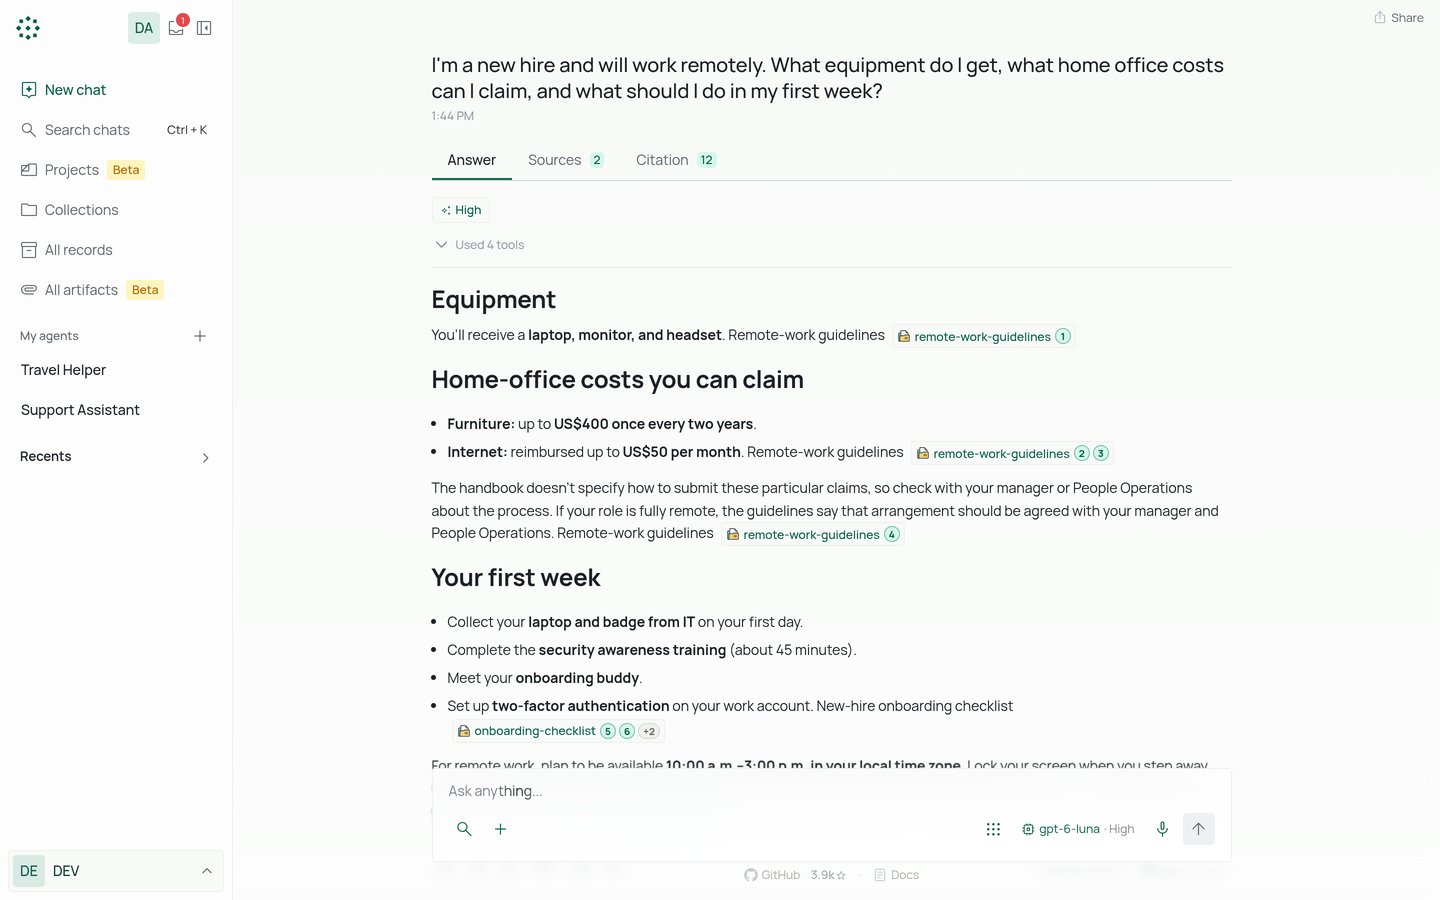
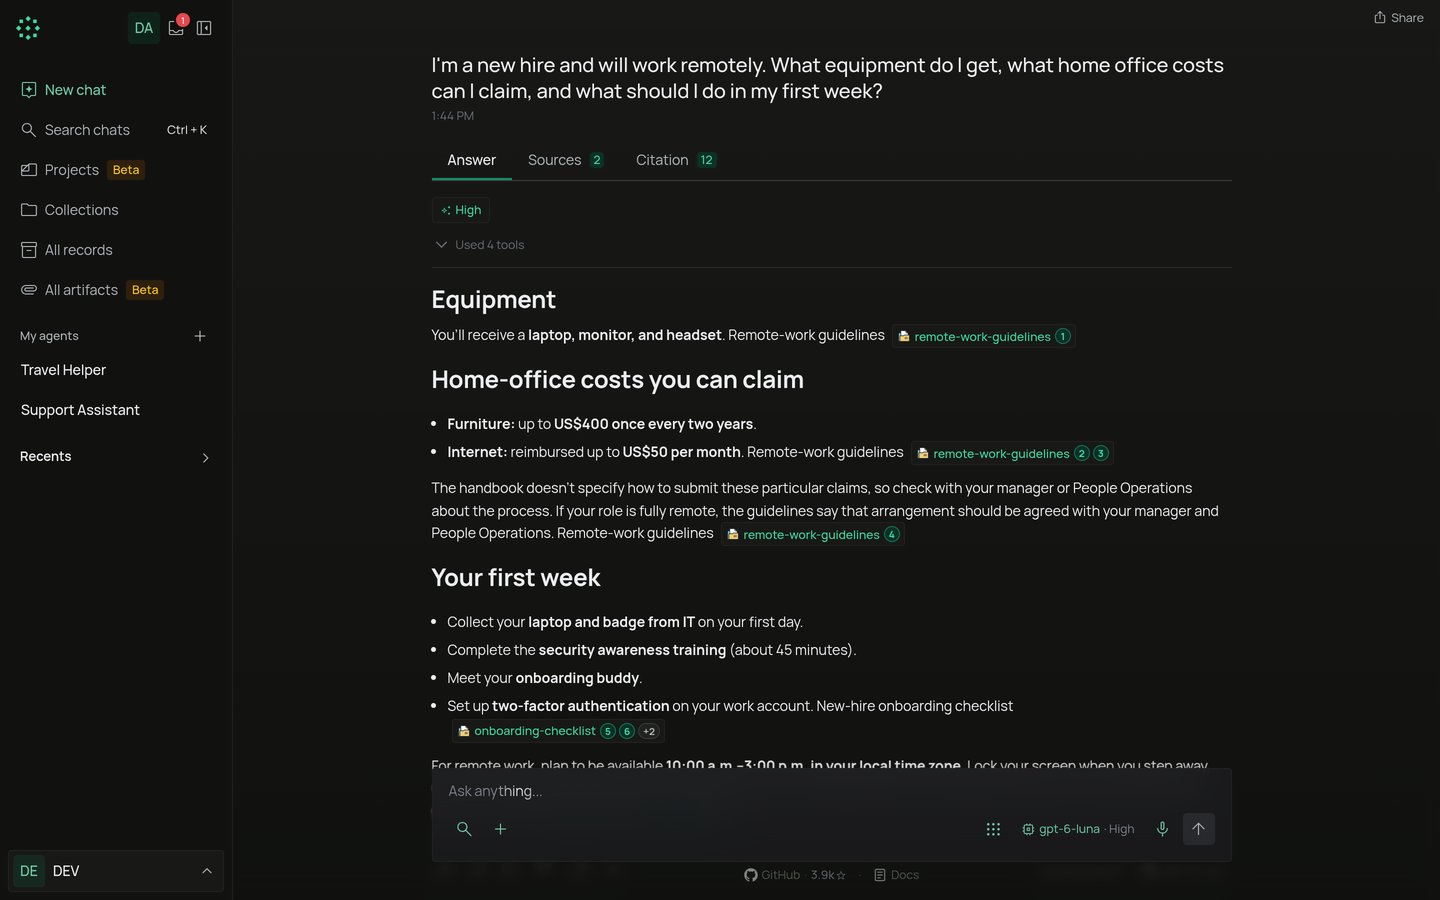
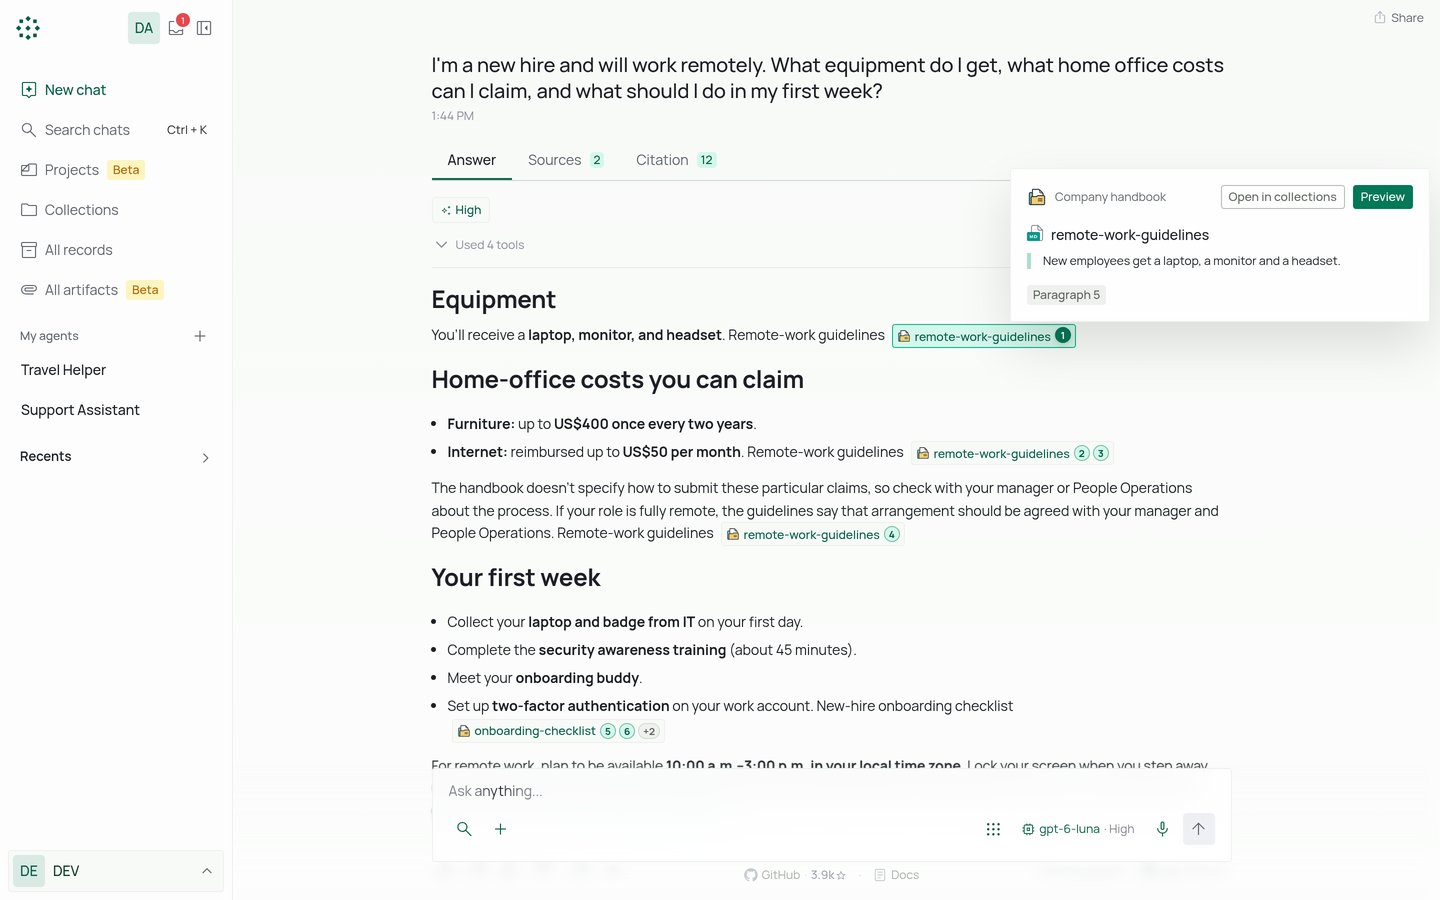
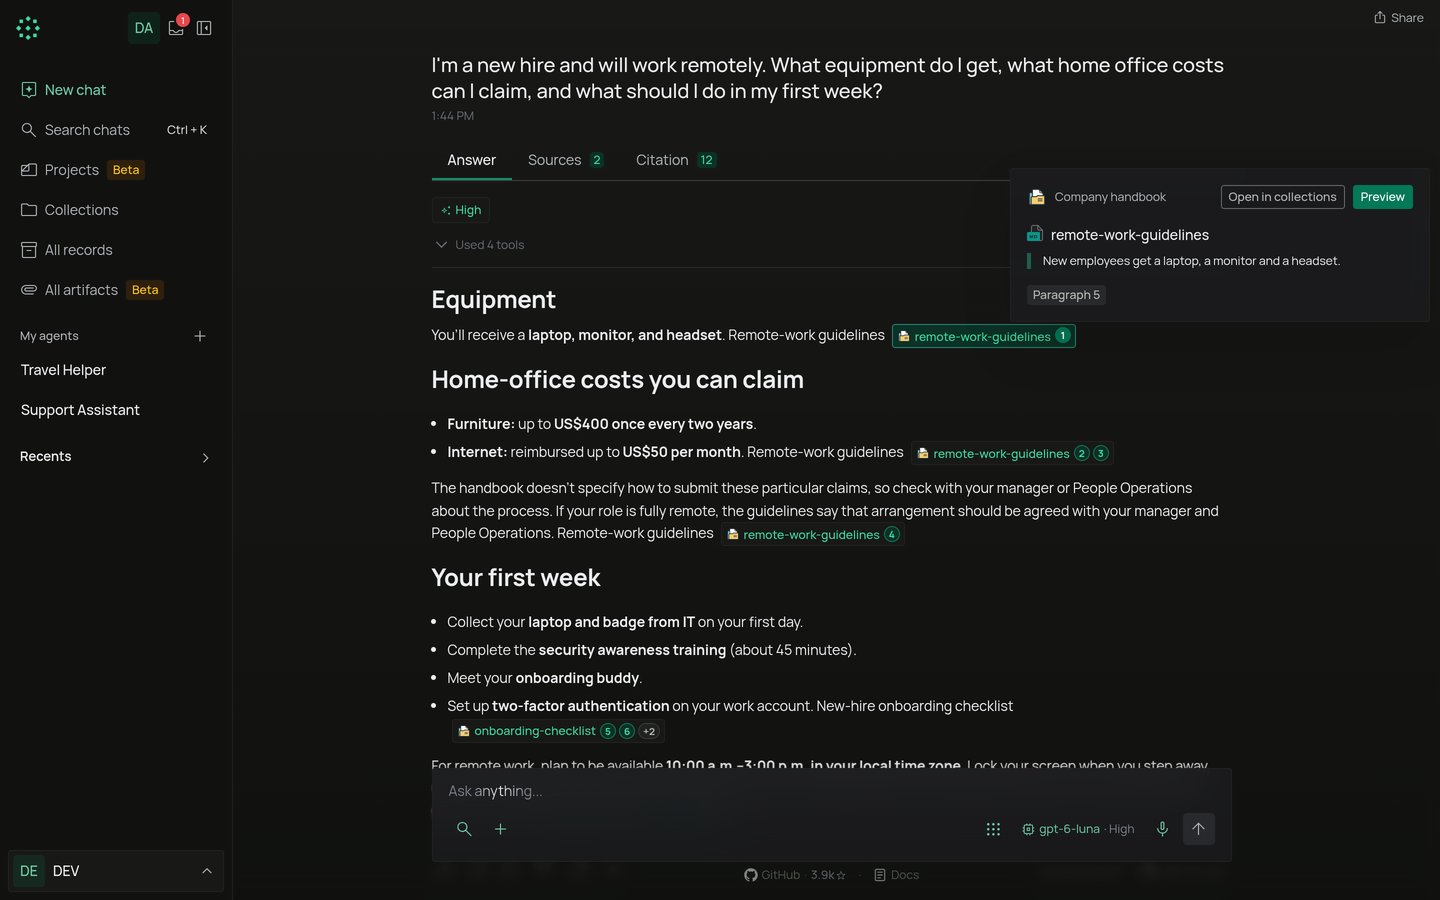
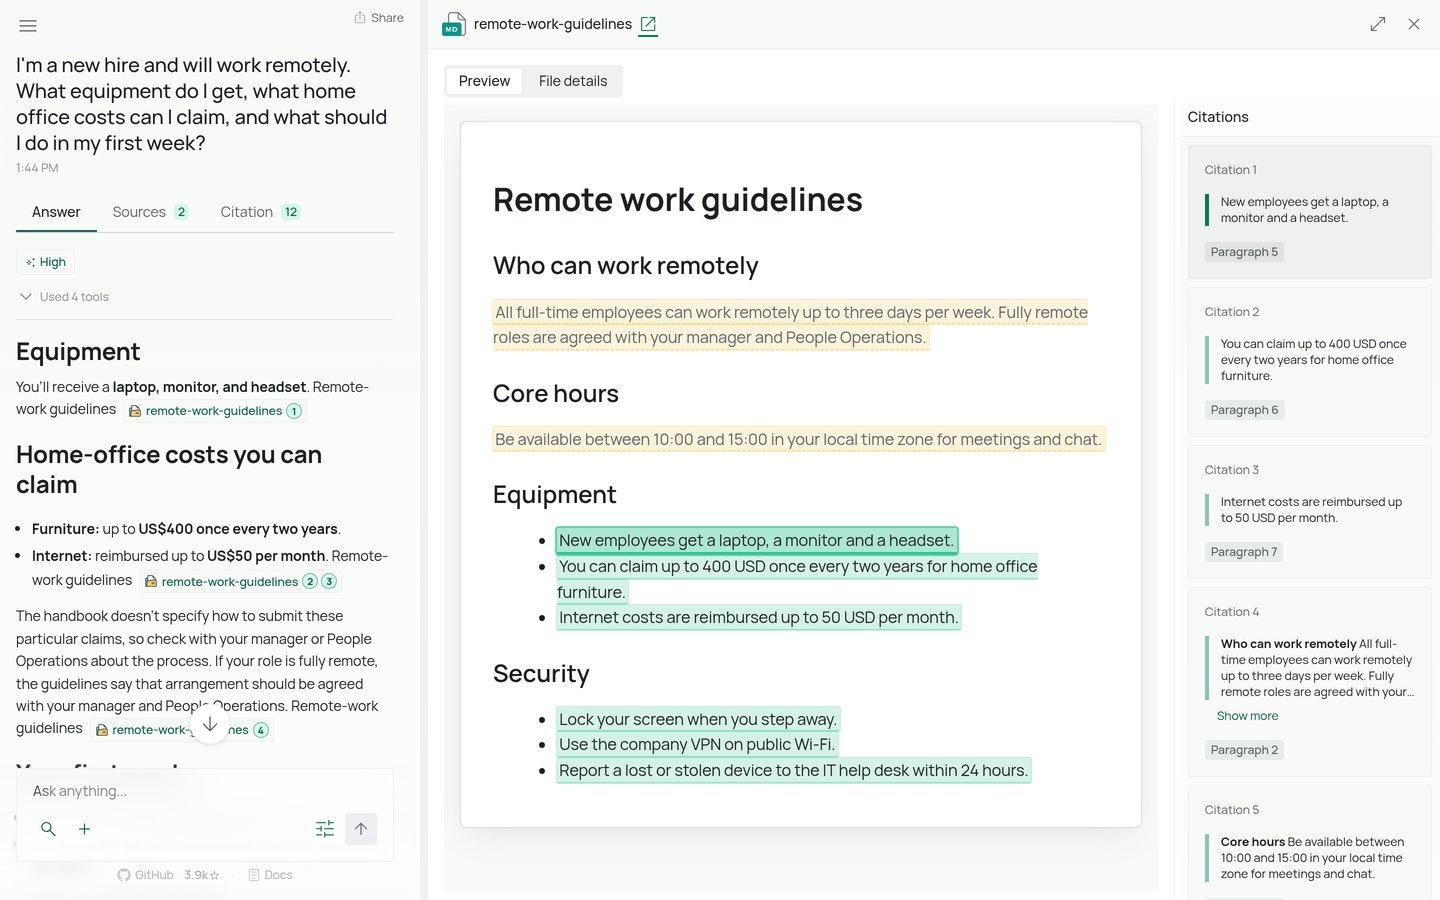
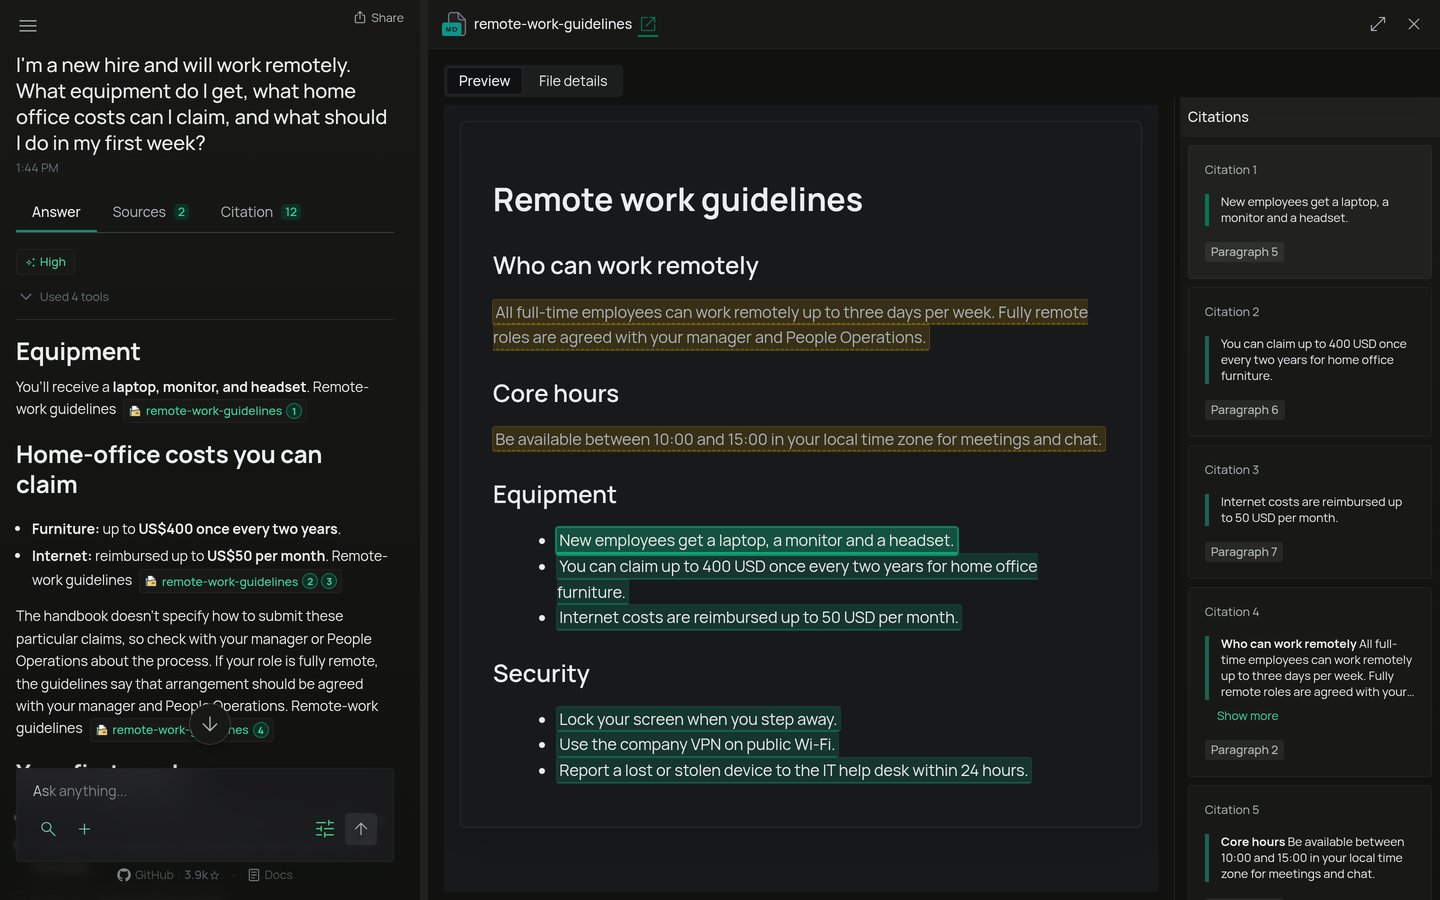
An answer has up to three tabs:- Answer: the response, with numbered citations in the text.
- Sources: the records the answer drew on.
- Citation: each cited passage.
Answer actions
Below each answer: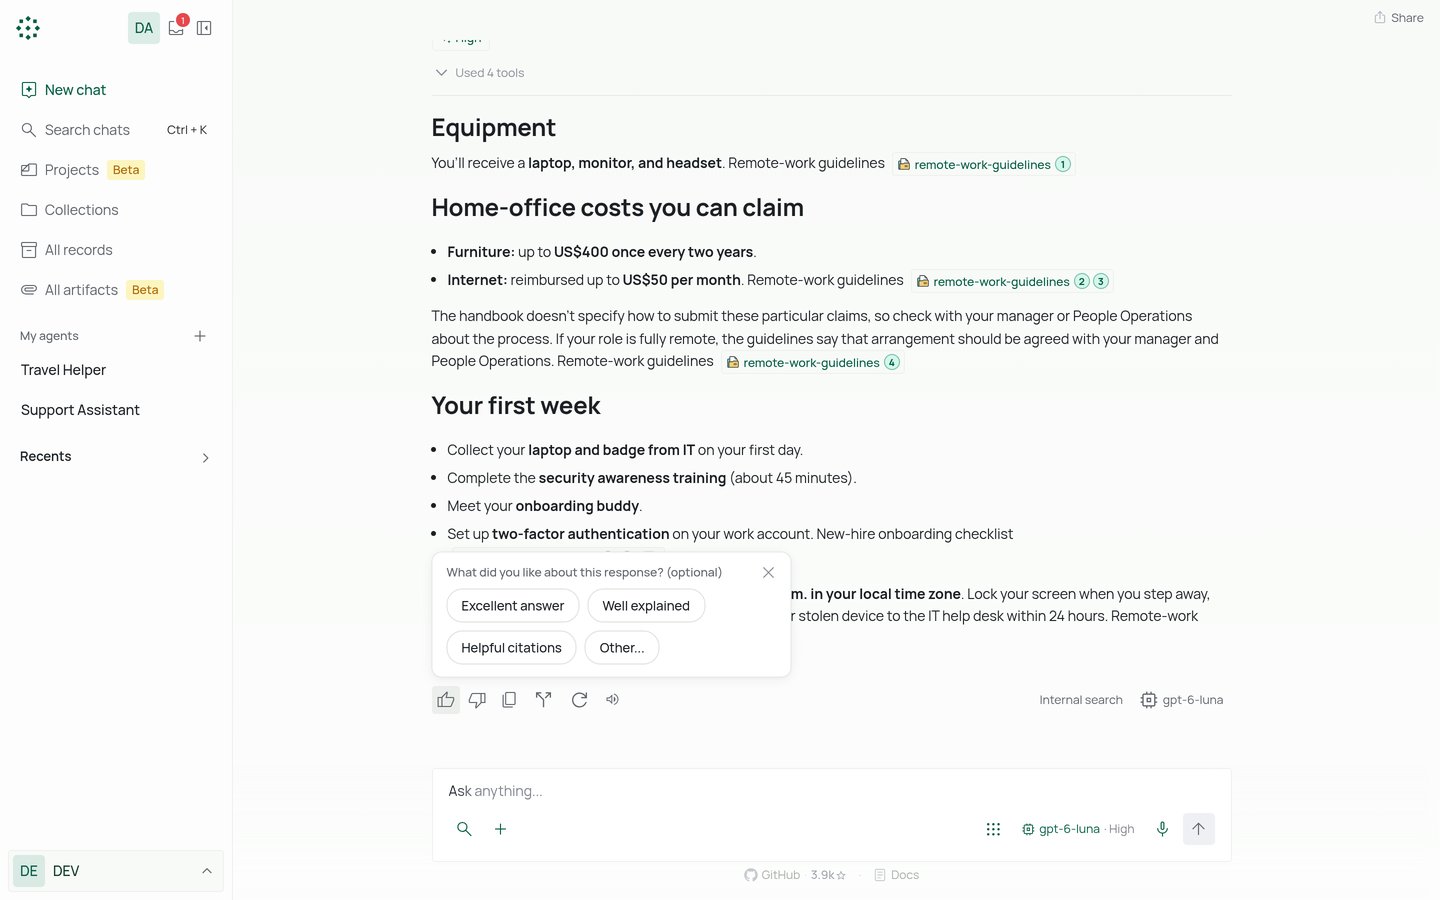
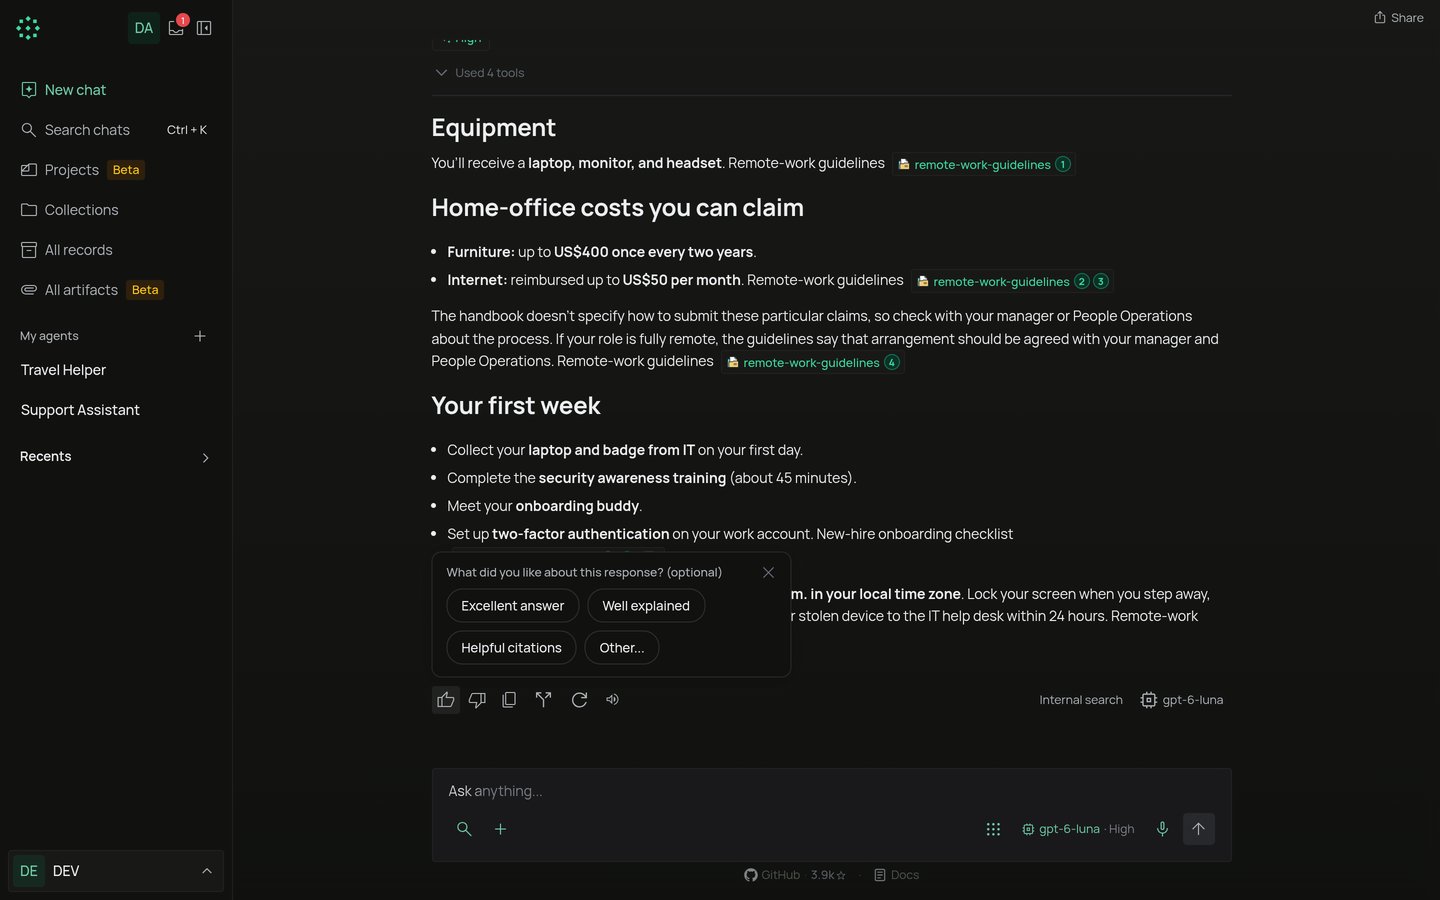
Questions and approvals in agent answers
An agent can stop to ask you something. The card shows Step 1 of 2 and so on. Pick an option, or choose Something else and type your answer. You can Skip a question, Skip all, or Submit. If you wait too long, the card says This question has expired. Reply in the chat to continue. An agent can also ask before it runs a tool. The card says Needs your approval and shows how long until it expires. Select Allow or Deny. Turn on Don’t ask again for this tool to skip the prompt for that tool next time. Only the person who owns the chat can approve.Manage your chats
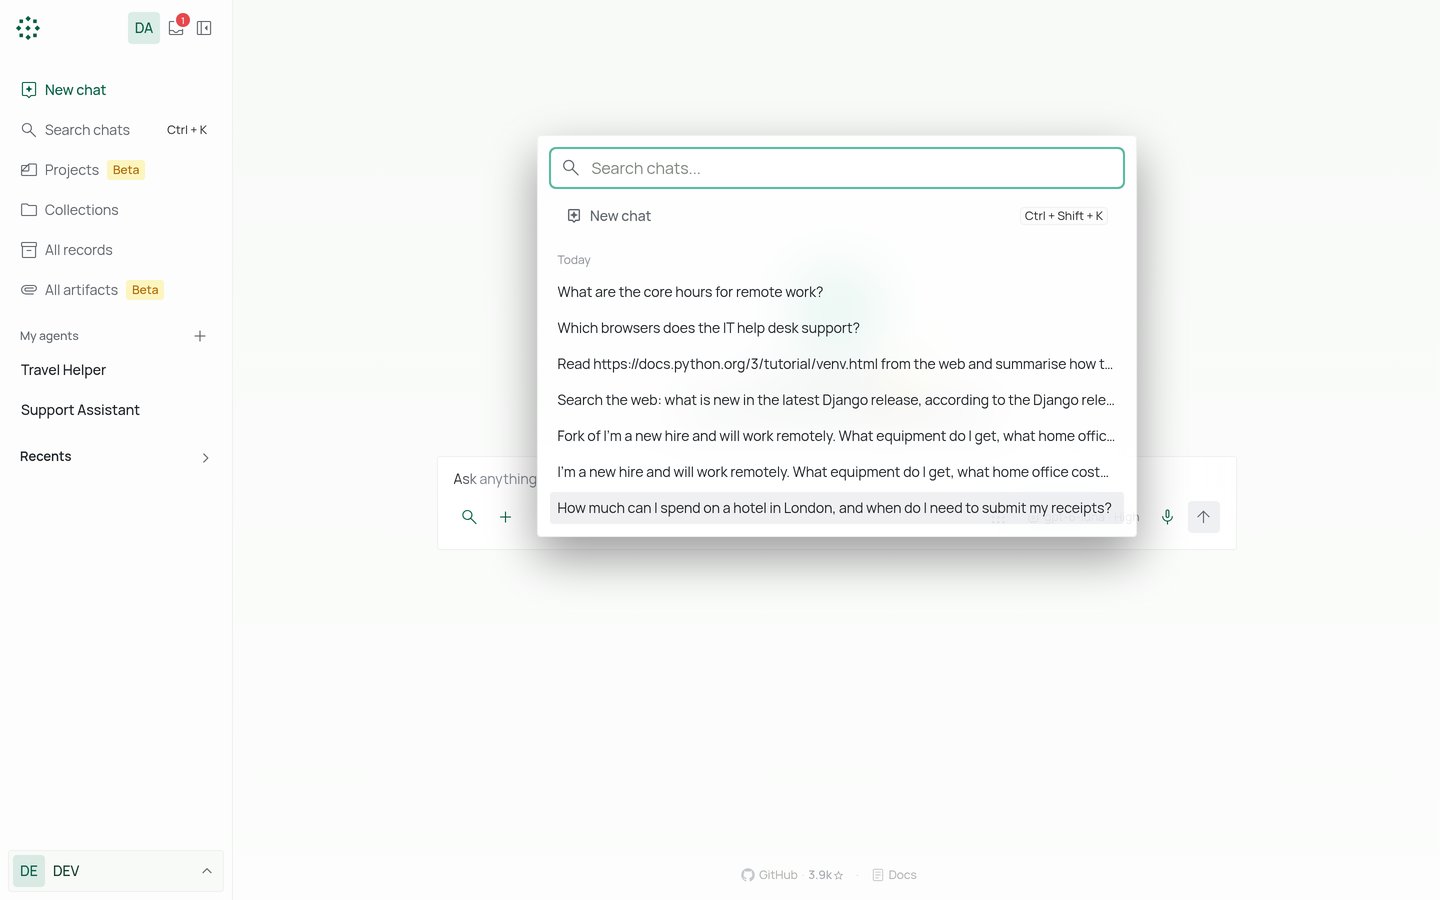
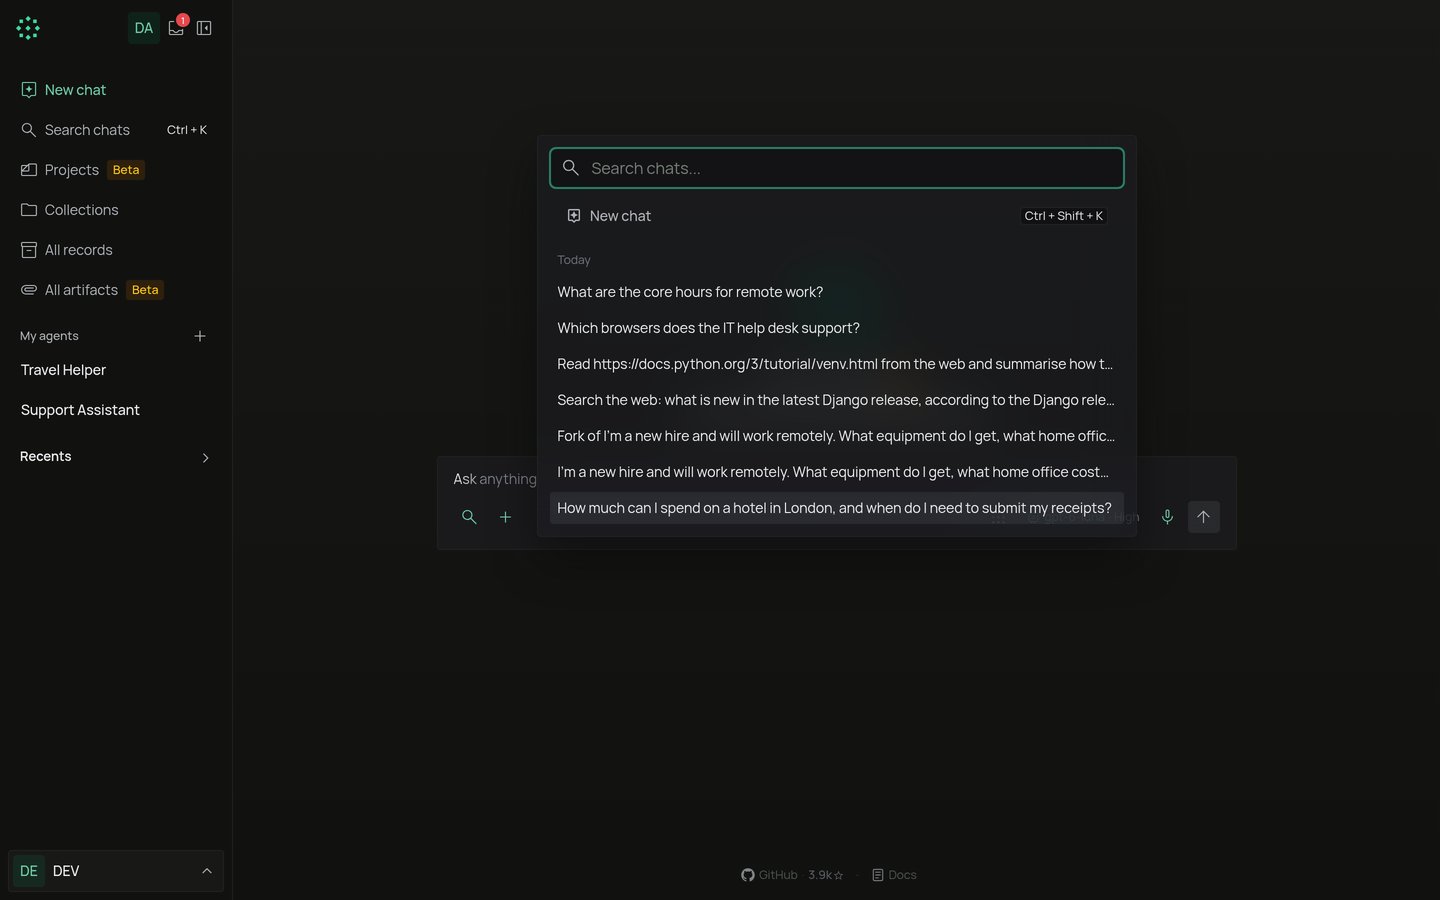
The sidebar lists your chats under Recents:- Shared chats: chats other people shared with you, with Shared by and their name.
- Your chats: your own chats, grouped by Pinned, Today, Yesterday, Last 7 days and Older.
- Rename it.
- Pin or Unpin it. Pinned chats stay at the top.
- Export it as a Markdown (
.md) file. - Archive it.
- Delete it. This can’t be undone. Everyone you shared the chat with loses access, and files the assistant created in the chat are deleted too.
Share a chat
- Open the chat and select Share at the top.
- Search for people by name or email, and add them.
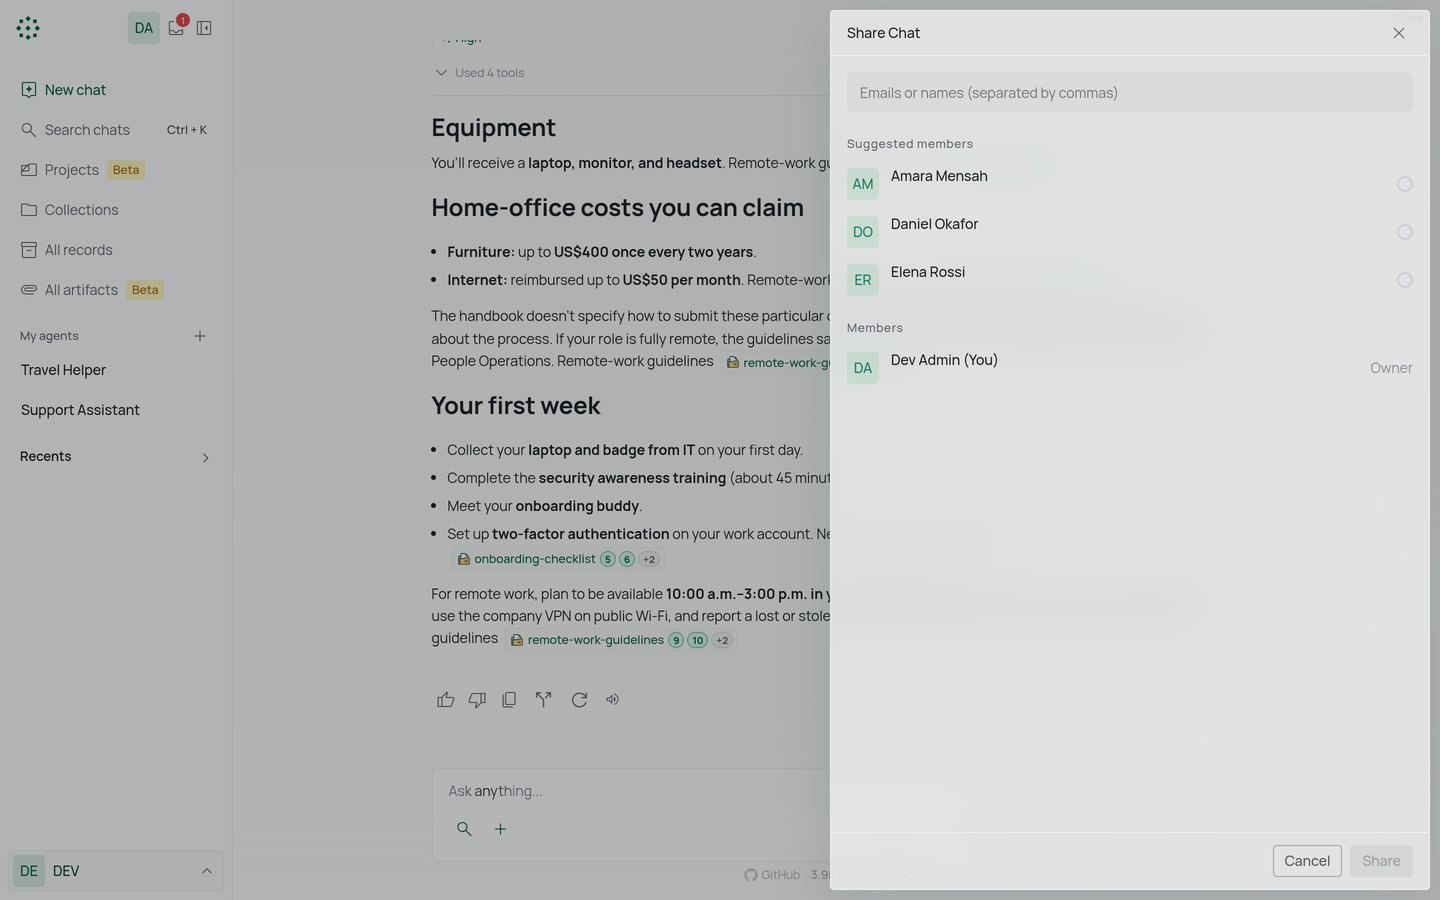
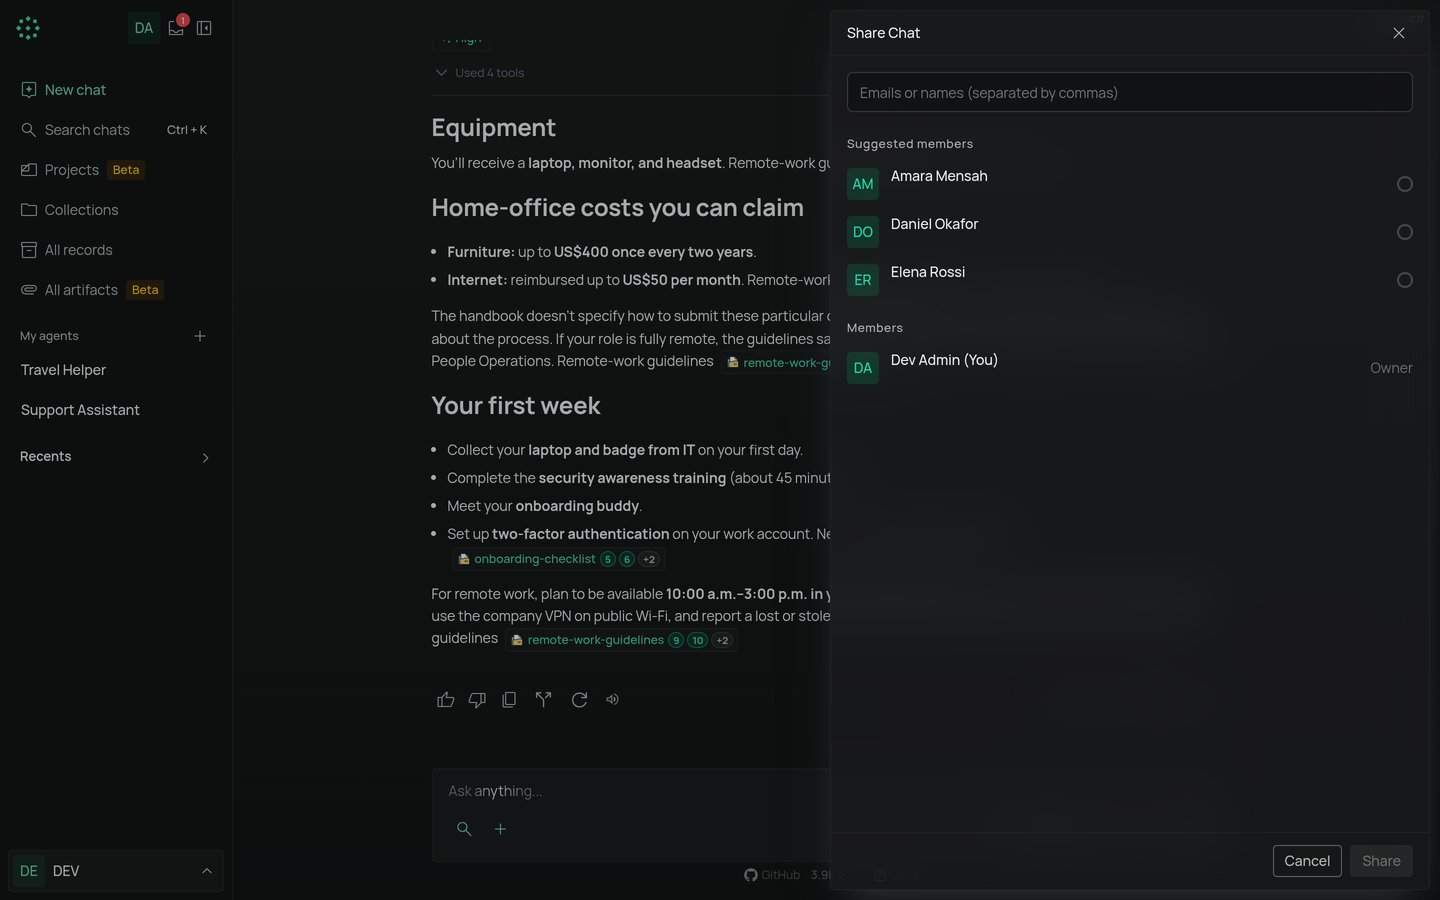
- Only the person who started the chat can share it or remove people.
- You can share only with people in your organization.
- People you share with can read the chat. They cannot rename, delete, fork or regenerate it.
- Files attached in the chat, and files the assistant created in it, become readable for them too. Removing someone takes this access away again.
- Each new person gets a notification: “Name shared a chat with you”. The chat shows up under Shared chats in their sidebar.
Admin settings that affect chat
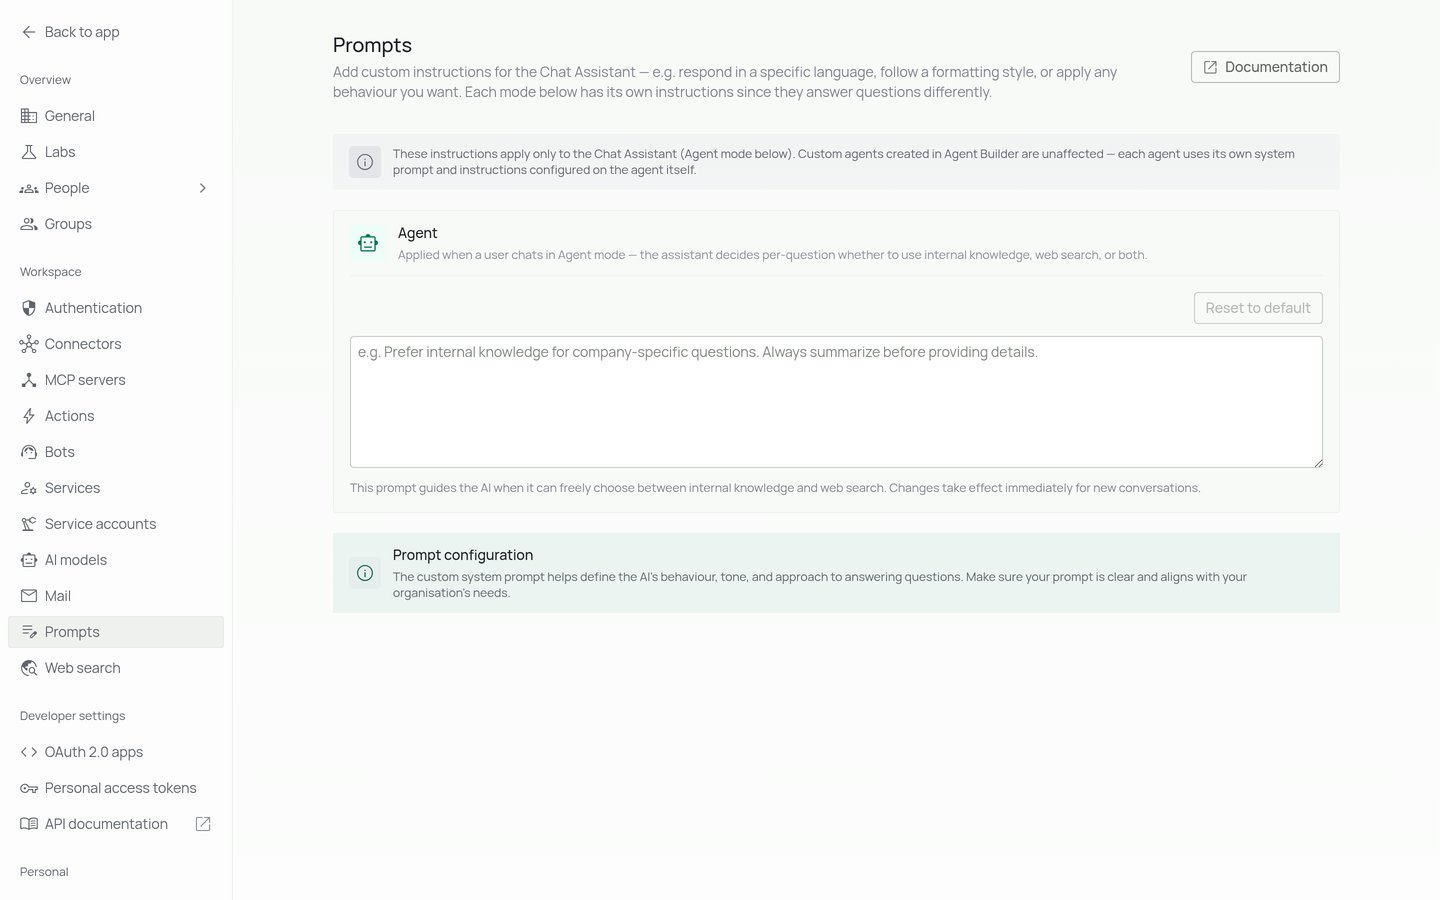
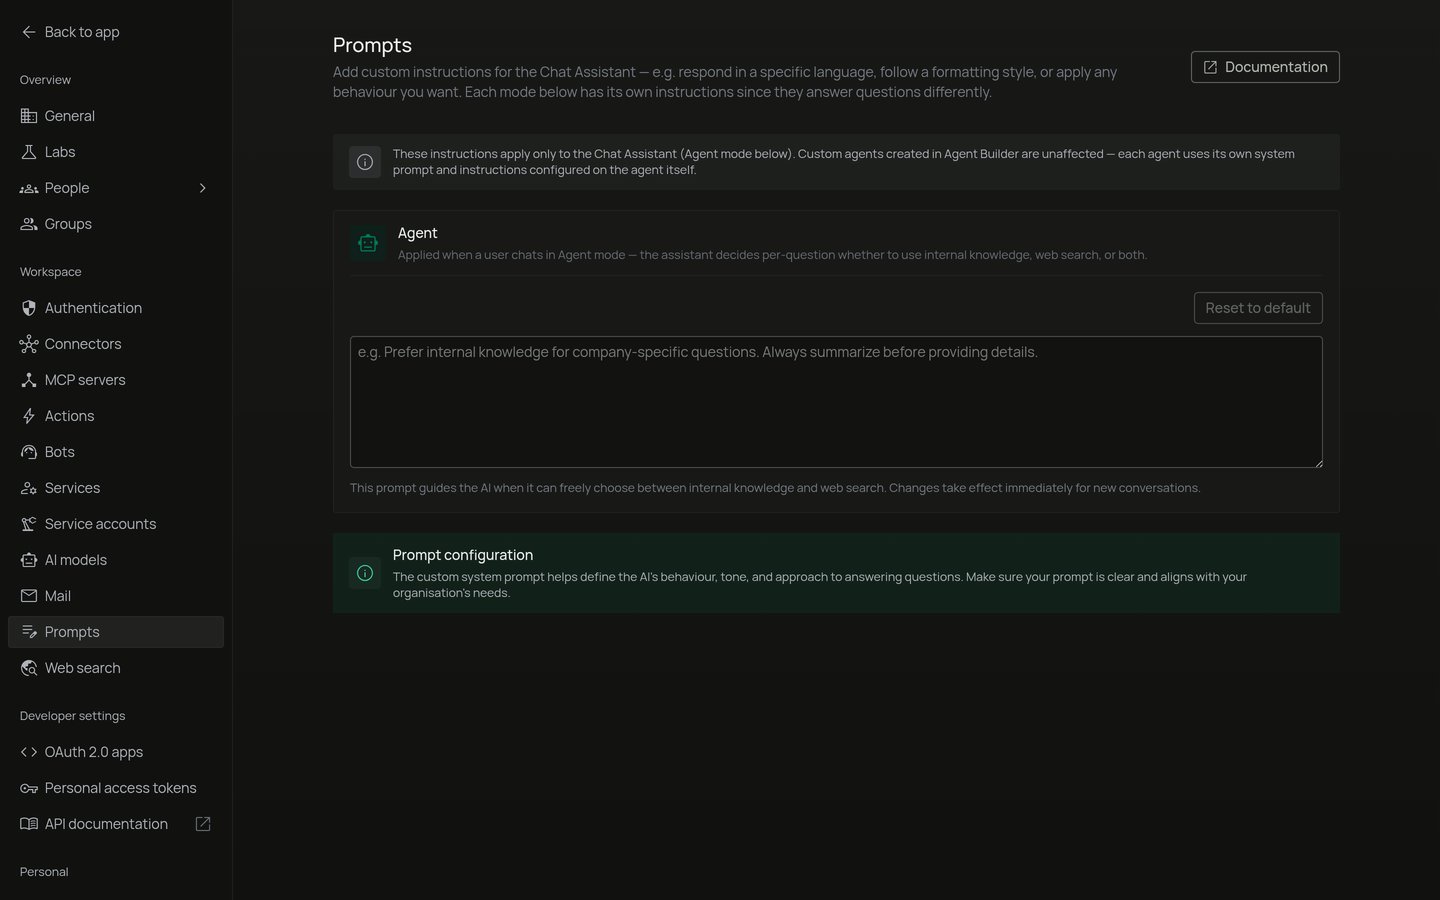
Admins find these under Workspace:- Prompts: custom instructions for the chat assistant, for example to answer in a certain language or follow a format. They apply to new conversations right away. Reset to default clears them. They do not change agents made in Agent Builder, which have their own instructions.
- AI models: the models people can pick, and the Speech-to-Text and Text-to-Speech models used for voice input and read aloud. See AI models.
- Web search: the web search provider. See Web search.
Keyboard shortcuts
More in Getting around the app.