
This feature is currently in beta. Free plan users are limited to one custom connector.
Before you start, create an OAuth app in PipesHub and note your Client ID and Client Secret. See MCP Server Overview.
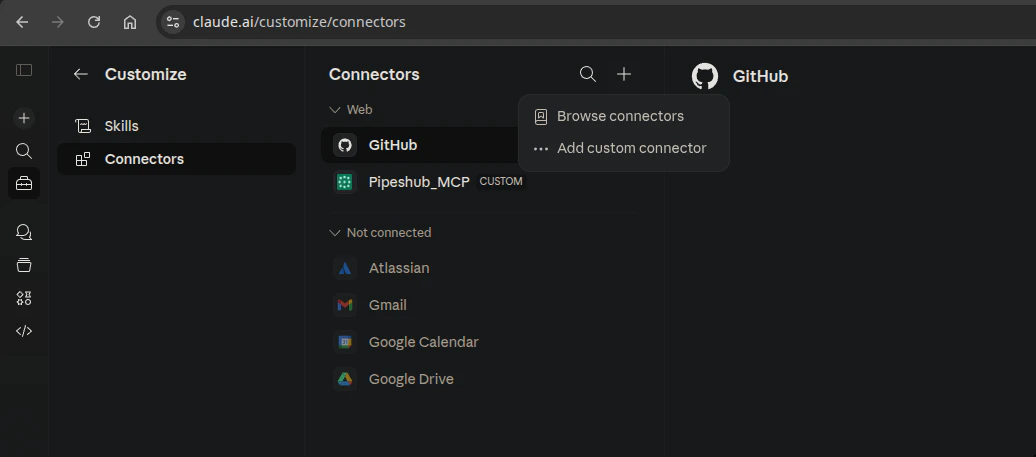
Claude.ai Connectors settings
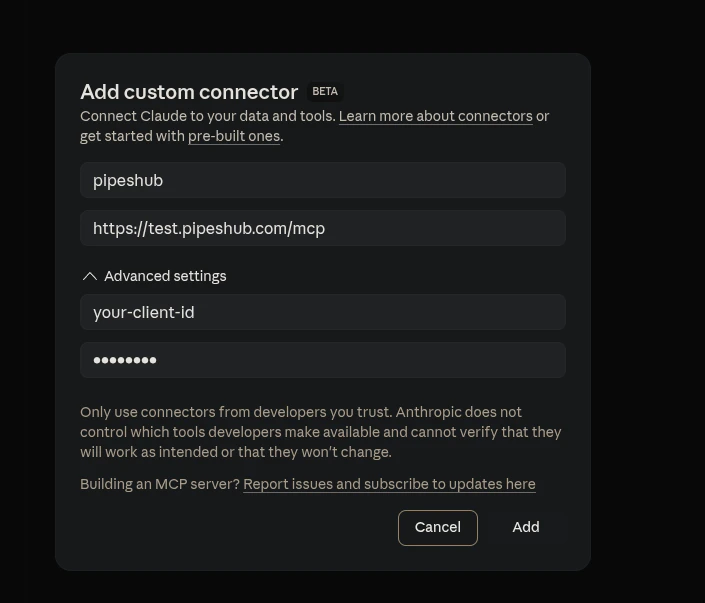
Add custom connector dialog
For Individual Users (Pro / Max Plans)
1
Open Connectors settings
Go to claude.ai and navigate to Settings > Connectors.
2
Add a custom connector
Click Add custom connector at the bottom of the Connectors section.
3
Enter the MCP server URL
4
Enter OAuth credentials
Click Advanced settings and enter your OAuth credentials:
- OAuth Client ID:
YOUR_CLIENT_ID - OAuth Client Secret:
YOUR_CLIENT_SECRET
5
Add and authenticate
Click Add. You’ll be redirected to PipesHub’s login page to authenticate and grant permissions. After authenticating, the connector becomes active and PipesHub tools are available in your Claude.ai conversations.
For Team / Enterprise Plans
Organization Owners must first add the connector:1
Open organization Connectors settings
Navigate to Organization settings > Connectors.
2
Add a custom connector
Click Add custom connector and enter the MCP server URL:
PIPESHUB_INSTANCE_URL/mcp.3
Enter OAuth credentials
Click Advanced settings and enter the OAuth Client ID and Client Secret, then click Add.
1
Open Connectors settings
Go to Settings > Connectors.
2
Find the PipesHub connector
Find the PipesHub connector (marked with a “Custom” label).
3
Connect
Click Connect to authenticate via PipesHub’s OAuth login.
Redirect URI
Claude.ai uses the following redirect URI for OAuth:Security Notes
- Only connect to trusted MCP servers.
- Review the permissions requested during the OAuth authentication flow.
- Claude.ai interacts with PipesHub on your behalf using the granted OAuth token — your password is never shared.