
Projects are off by default. An admin turns them on in Workspace → Labs with Enable Projects. Once on, Projects appears in the chat sidebar.
Projects is a beta feature. The Projects item in the chat sidebar carries a Beta badge, which means the feature may change. On a phone, the Projects page title shows the badge too.
Create a project
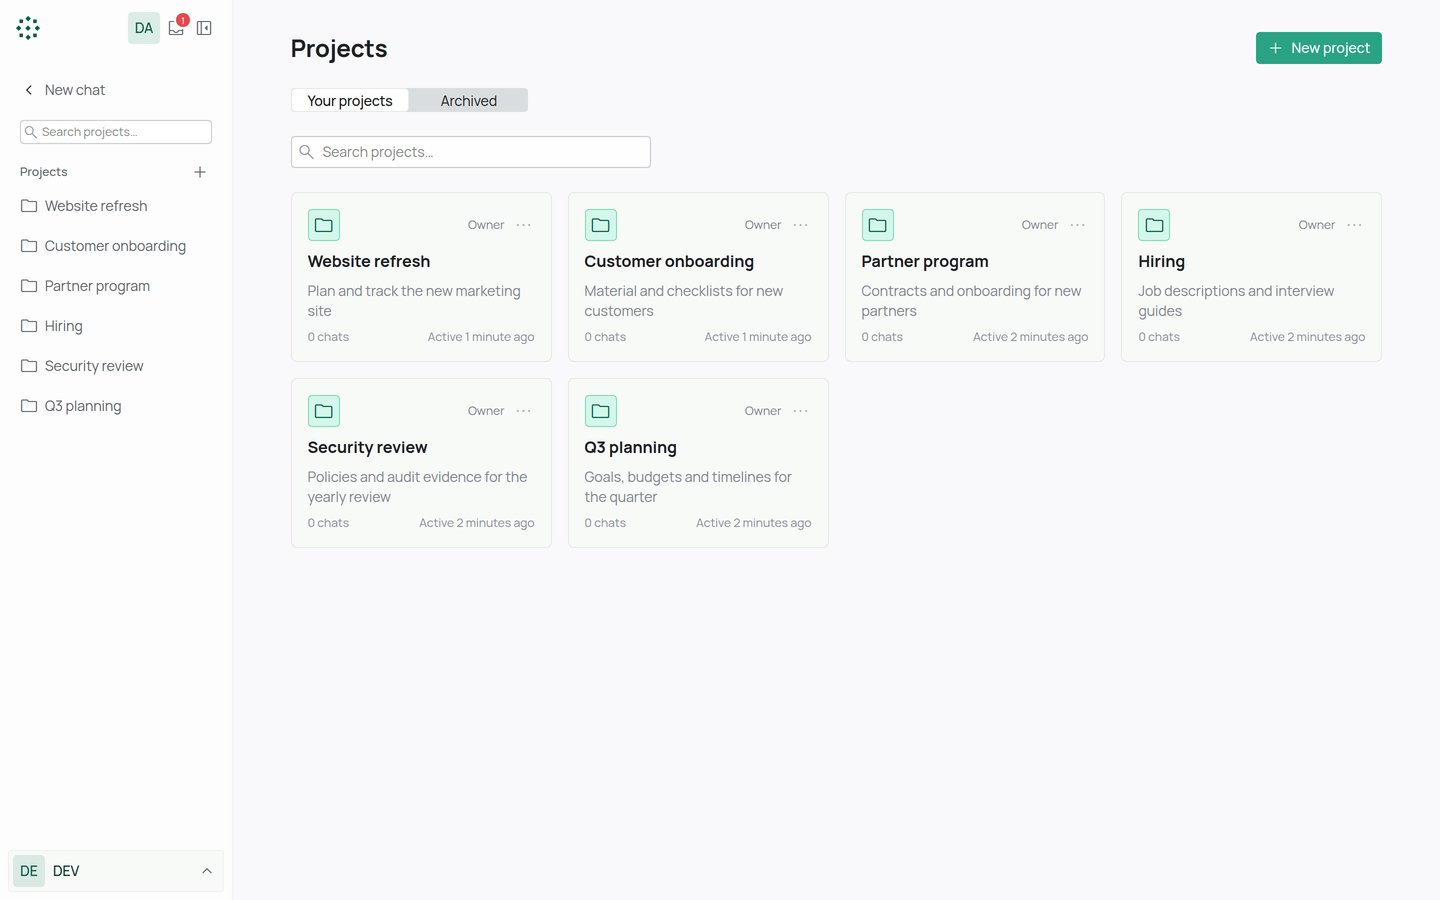
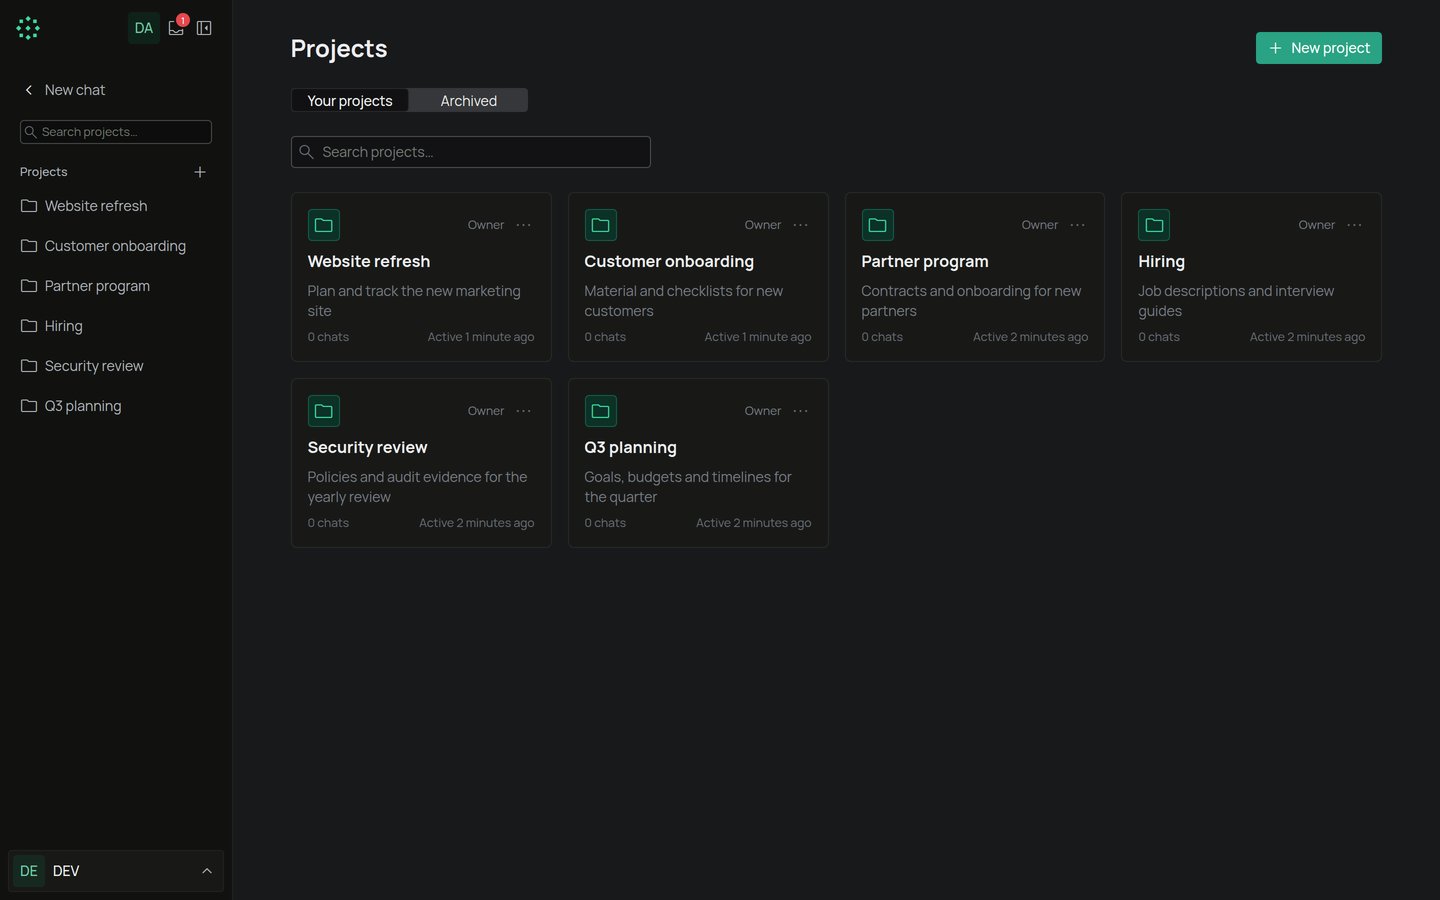
- In the chat sidebar, select Projects, then New project.
- Enter a Name. Description and Instructions are optional.
- Select Create project.
Set up a project
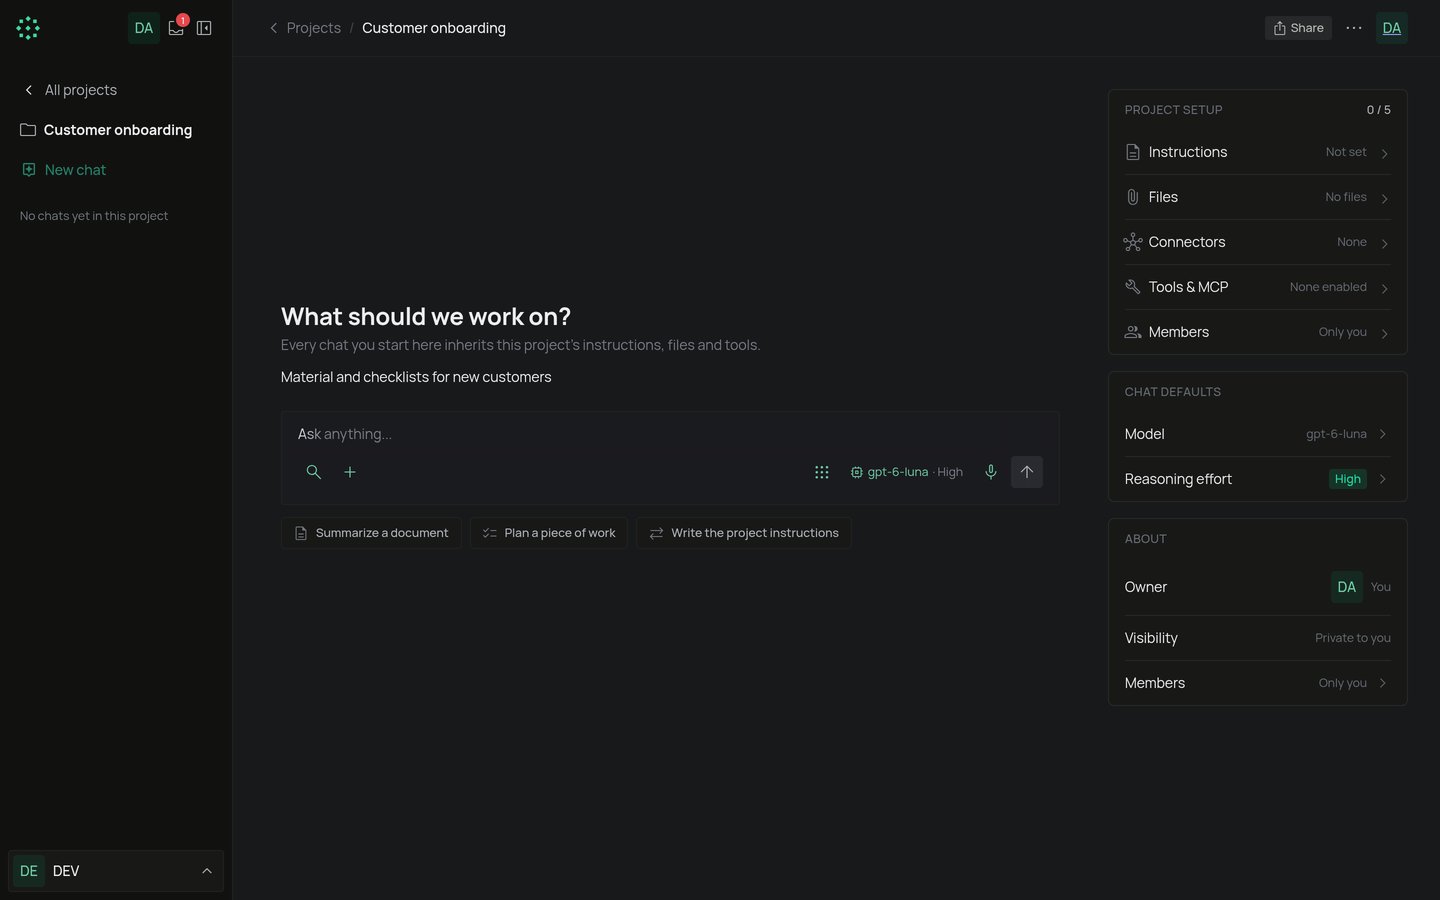
The project page shows a Project setup panel. Each part is optional.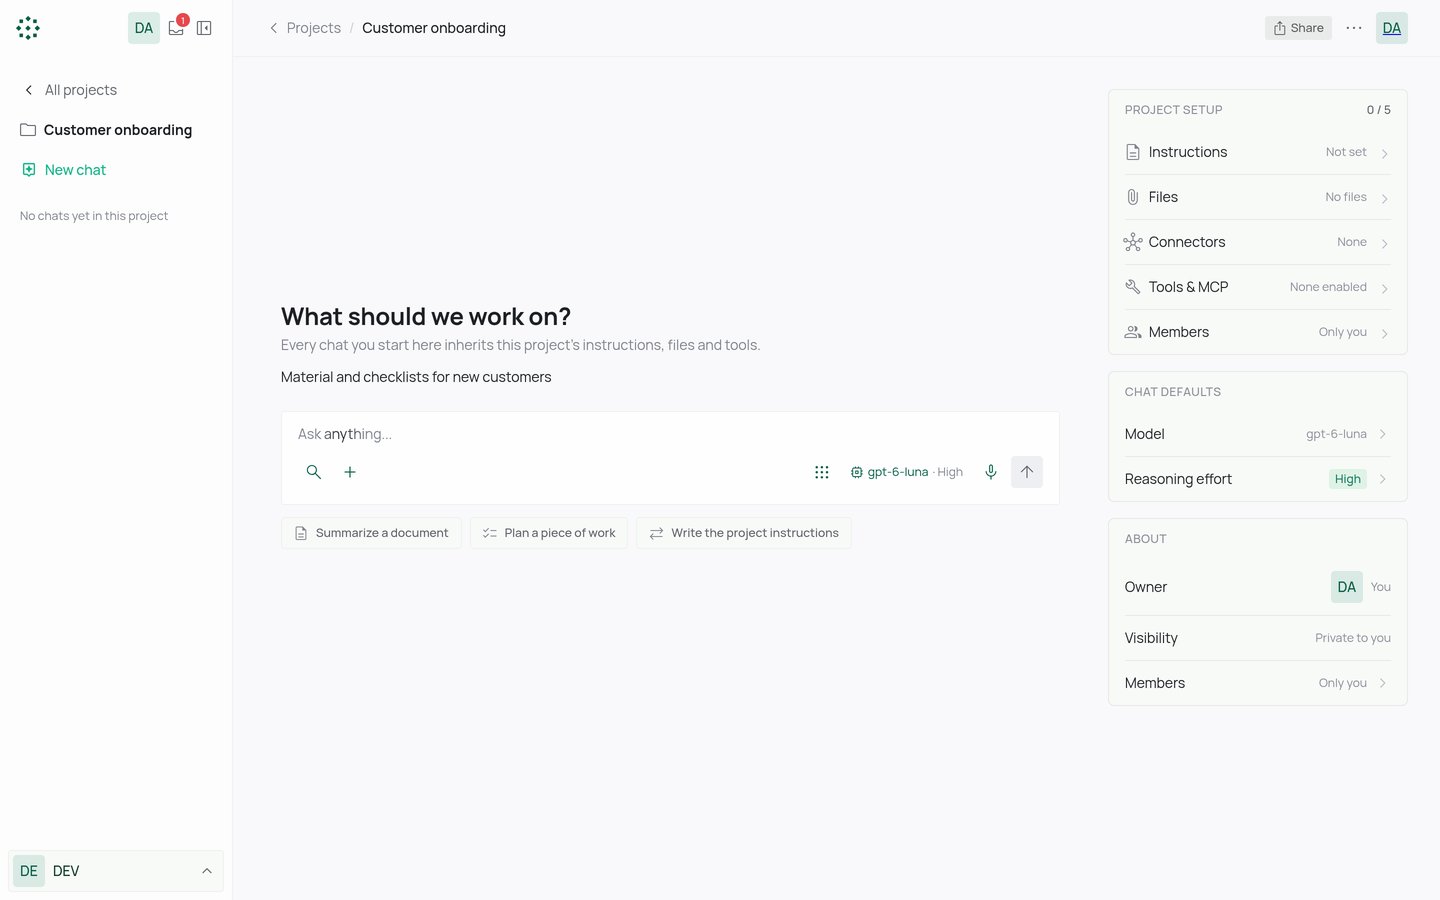
A tool that can delete data shows Needs approval. In a project chat it runs only after someone approves it.
Chat in a project
Open the project and type in the chat box, or pick a suggestion such as Summarize a document. Every chat you start there uses the project’s instructions, files and tools. In a project chat you can still change the sources and tools for that chat. Select Reset to project defaults to go back to the project’s settings. See Using chat for the chat controls.Move a chat into a project
- In the chat sidebar, open the menu of a chat you started.
- Select Move to project and pick a project.
Share a project
The owner shares a project:- Open the project and select Share.
- Add people or teams, and give each a role:
- Can edit: change the name, instructions, files, connectors and tools, and chat in the project.
- Can view: open the project and chat with its files and tools.
- Under Who can find this project, choose:
- Only people it’s shared with: only you and the people or teams you added can open it.
- Everyone in your organization: anyone in your organization can find and open it, with view access.
- Under New chats in this project, choose:
- Private to whoever starts them: each chat stays private unless its author shares it.
- Shared with project members: members can see new chats. An author can still make a chat private.
Pin, archive and delete
From the project’s actions menu:- Pin keeps the project at the top of your list, under Pinned.
- Archive project (owner only) moves it to the Archived tab. No one can start new chats in an archived project. Select Unarchive project to restore it.
- Delete project (owner only) can’t be undone. Files uploaded to the project are deleted for good, and everyone it’s shared with loses access. Chats are kept, but are no longer part of a project.